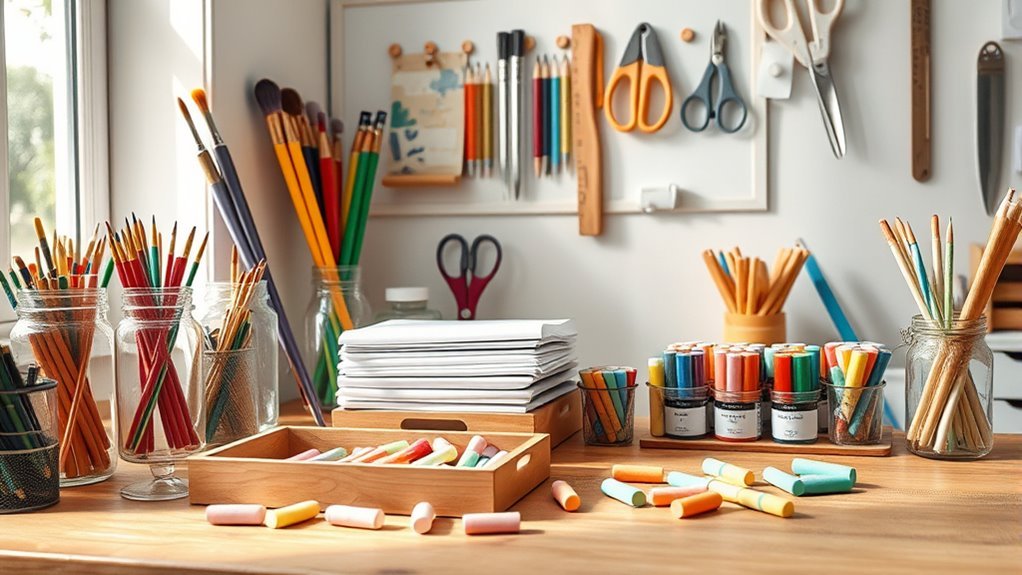
5 Easy Tips to Organize Art Supplies
To organize your art supplies easily, start by evaluating your space and storage needs. This helps you find the perfect containers and shelves that fit just right.
Group your items by category and usage, so you can grab what you need quickly without any hassle.
Choose clear, stackable containers that are labeled for easy identification. It’s a simple trick that saves time and keeps everything visible.
Don’t forget to maximize your storage by using wall-mounted shelves, pegboards, or even hidden spots under furniture.
Keeping your art area tidy is all about regular maintenance. Make it a habit to declutter often and always return supplies to their designated spots after use.
Follow these easy steps to create a neat, inspiring space that really boosts your creative flow.
Key Takeaways
– Assess your space and storage needs to select suitable containers and keep frequently used supplies within easy reach.
This makes it easier to find what you need without digging through everything.
– Group art supplies by category and usage frequency for quick access and a streamlined workflow.
When things are sorted, your creative process flows better.
– Use clear, labeled containers and modular storage solutions to easily identify and organize various supplies.
Labels are a lifesaver, trust me!
– Maximize vertical space with wall shelves, pegboards, and hidden storage under furniture for a clutter-free area.
Think up and out, not just around.
– Maintain organization with regular decluttering, cleaning, and returning supplies to their designated spots after use.
Staying on top of it keeps your space inviting and hassle-free.
Understand Your Space and Storage Needs
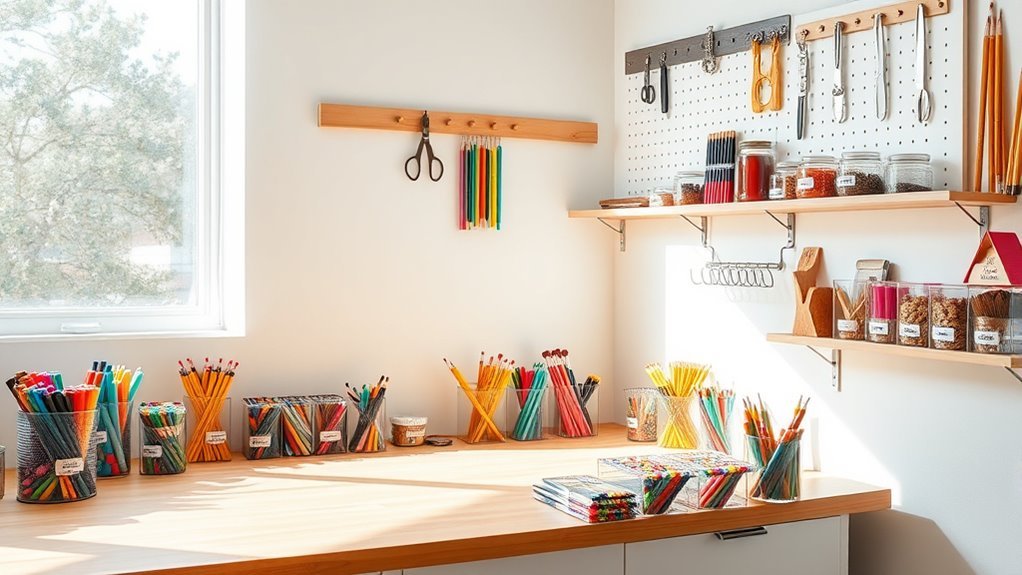
How you organize your art supplies starts with understanding your space and storage needs. First, assess your available area carefully to pick storage solutions that fit comfortably without cluttering your workspace.
Organize art supplies by first assessing your space to choose storage that fits without crowding your workspace.
Measure your supplies, like paint bottles, brushes, and paper stacks, to find containers and shelves that match their size. Think about your workflow—keep frequently used materials within easy reach to boost efficiency and reduce search time.
Identify which art supplies you use regularly versus those you rarely touch, so you can prioritize accessible storage for the essentials. Also, consider any space limitations or structural features such as windows or doorways that might affect placement.
This thoughtful organization sets the foundation for a tidy, functional art area tailored to you. It’s all about making your creative space work for you!
Categorize and Group Your Supplies
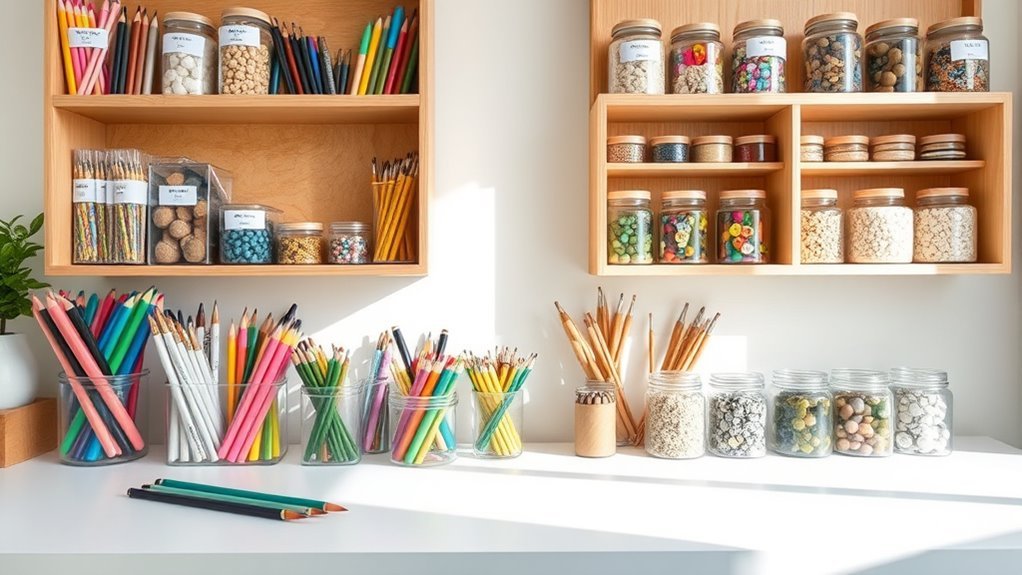
Once you’ve assessed your space and storage needs, start categorizing and grouping your art supplies to keep everything organized and easy to find. Group your supplies by category—paints, brushes, papers—so you can quickly locate what you need.
Organize similar items together, like all pencils or markers. This way, you streamline your creative process and save time searching for what you want.
Use clear containers or labeled bins to make your grouped supplies visible and accessible at a glance. It really helps when you can see exactly where everything is.
Arrange items by how often you use them, keeping frequently used supplies within easy reach. Store less-used materials separately so they don’t clutter your main workspace.
This method of organizing not only maintains tidiness but also reduces clutter and encourages quick, efficient cleanup after your art sessions. Categorizing your art supplies is key to maximizing both your space and your creative flow.
Choose the Right Containers and Storage Solutions
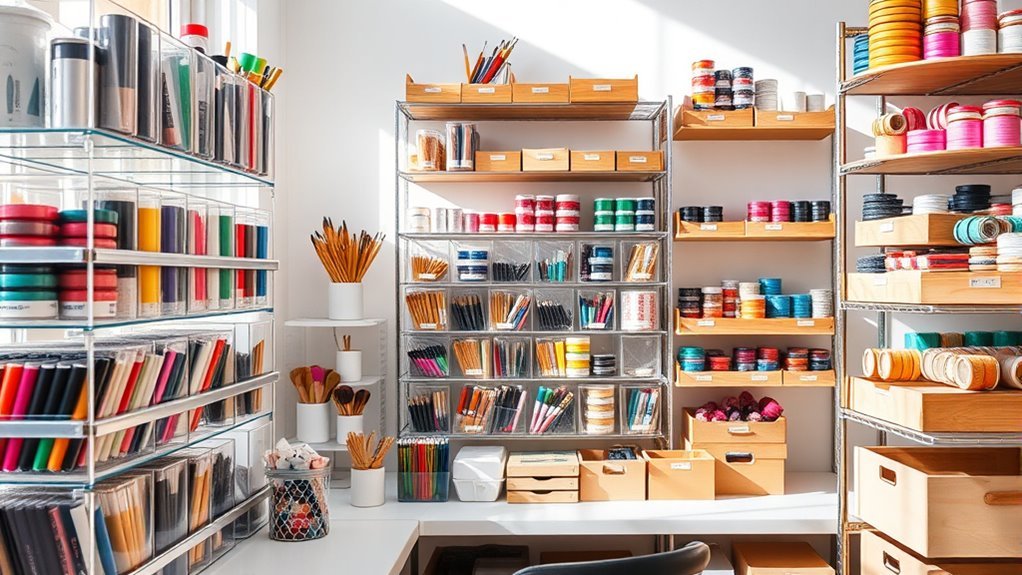
Because your art supplies come in all shapes and sizes, choosing the right containers and storage solutions makes a huge difference in keeping your workspace tidy and efficient.
Choosing the right containers transforms your art space into a tidy, efficient creative haven.
When organizing art supplies, consider these storage options to streamline your art supply storage:
- Use clear plastic containers with lids for easy visibility and quick access to your materials.
- Opt for modular storage units like stackable drawers to customize space for different items.
- Incorporate adjustable bins and dividers to separate supplies by size or type, preventing clutter.
- Label containers with descriptive tags or color codes to simplify finding what you need fast.
Maximize Vertical and Hidden Spaces
Where can you find extra storage in your art space without sacrificing floor area? Maximize vertical space by installing adjustable wall-mounted shelves to fit supplies of different heights.
Use pegboards with hooks to hang tools, brushes, and small items. This frees your workspace and keeps everything visible.
Attach vertical filing systems or pocket organizers to walls for flat materials like paper and canvases. Ceiling-mounted racks or nets provide hidden storage for lightweight items such as sponges and cloths, keeping them out of the way.
Don’t overlook under-furniture areas. Shallow drawers or storage bins tucked beneath your desk or shelves make excellent hidden storage spots.
These organization ideas help keep your art supplies accessible and tidy while making the most of every inch of your creative environment.
Maintain Your Organization Regularly
To keep your art space efficient, you need to maintain your organization regularly. Start by scheduling routine sessions—weekly or monthly—to declutter and tidy your storage bins. Labeling each container clearly helps you find supplies quickly and keeps everything categorized properly.
During these sessions, clean surfaces and bins to prevent dust buildup and preserve your materials. Remember to remove unused items to free up space for essentials. It really makes a difference!
Here’s a simple routine to follow:
- Declutter unused supplies regularly.
- Clean storage bins and surfaces.
- Update and maintain clear labeling.
- Always return supplies after use.
Frequently Asked Questions
What Is the 70/30 Rule in Art?
The 70/30 rule in art means you keep 70% of your supplies functional and organized for easy access, while 30% can be experimental or seldom used.
This helps you stay efficient and creative without clutter. It’s a simple way to balance practicality with inspiration.
How Can I Easily Organize My Art Supplies?
You can easily organize your art supplies by grouping similar items together. Using clear, labeled containers helps you find what you need quickly.
Maximize vertical space with shelves or pegboards. This keeps things visible and frees up your workspace.
Keep frequently used tools handy so you don’t waste time searching for them. And don’t forget to regularly declutter—it makes your space tidy and more functional.
What Is the 80/20 Rule in Art?
The 80/20 rule in art means you’ll get 80% of your results from just 20% of your supplies.
Focus on that small, essential set to boost creativity and cut down on clutter effectively. It’s all about working smarter, not harder.
What Are Some Creative Ways to Organize Art Supplies at Home?
You’ll conquer mountains of clutter by using wall-mounted pegboards, repurposing jars, and grouping supplies by color or project. Muffin tins can tame tiny treasures, making your creative space so organized, it feels like magic!
Seriously, pegboards are a game-changer. Hang scissors, brushes, and ribbons right where you can see them. Plus, jars are perfect for storing buttons, beads, or markers, and they add a cute vibe to your workspace.
Grouping supplies by color or project not only looks good but also saves you time hunting for what you need. And those muffin tins? They’re surprisingly handy for keeping all those little bits and bobs sorted. Give it a try—you’ll love the difference!
Conclusion
Imagine opening your art supply area to find every brush, pencil, and paint perfectly in place. Colors and tools are ready to inspire your next creation.
By understanding your space and grouping your supplies, you make everything easier to find. Choosing smart containers helps keep things neat and accessible. Don’t forget to use vertical spots to maximize your area.
Keep it tidy regularly, and your organized space will feel like a fresh canvas every time you start a project. This makes creativity flow effortlessly. With these easy tips to organize art supplies, you’ll create a vibrant, clutter-free haven that fuels your artistic inspiration.