10 Tips on How High Art Should Be Hung
You should hang your art with its center about 57 inches from the floor, matching average eye level for comfortable viewing. This guideline ensures your artwork is easily seen without straining your neck or eyes.
Keeping art at eye level also helps create a natural flow in your room’s design.
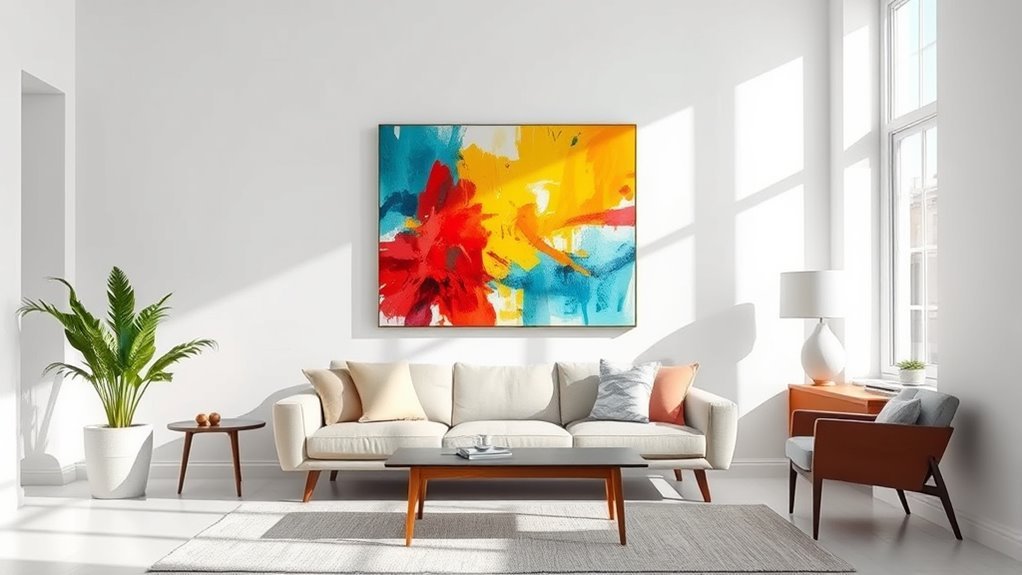
Keep artwork 6-8 inches above furniture and aim for it to be about two-thirds to three-quarters the width of the piece below. This balance helps your art feel connected to the space without overwhelming it.
Adjust height for taller ceilings or large walls, and space grouped art consistently to maintain harmony.
Avoid hanging too high or using hardware that isn’t secure. Proper hanging techniques keep your pieces safe and looking great over time.
Follow these tips, and you’ll create a balanced, visually pleasing display that fits your space perfectly.
Key Takeaways
- Hang artwork so its center is about 57-60 inches from the floor. This matches average eye level and makes for comfortable viewing.
- Keep about 6-8 inches of space between the bottom of the art and the top of any furniture below it. This helps maintain balanced proportions.
- Adjust the hanging height depending on your room’s ceiling height. For standard ceilings, stick with 57-60 inches, but if you have tall walls, go a bit higher—around 60-68 inches.
- Make sure the artwork’s width is roughly 2/3 to 3/4 the width of the furniture beneath it. That way, everything feels visually harmonious.
- Always use proper hardware that’s rated for your art’s weight. And secure it into studs whenever possible to keep things safe and stable.
The Ideal Height for Hanging Art
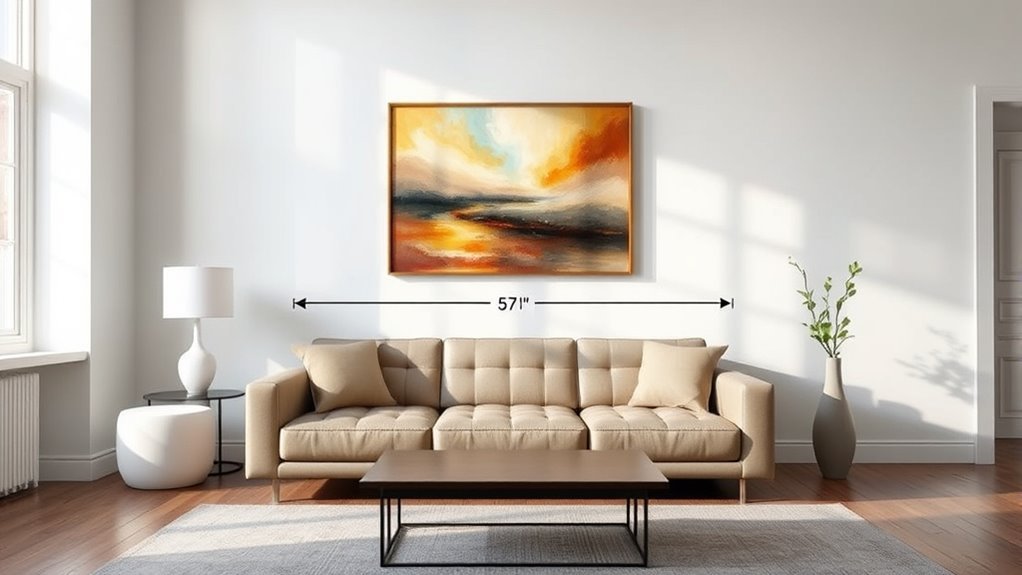
Although room dimensions vary, you should hang art so its center sits around 57-60 inches from the floor, matching average eye level. This height guarantees your artwork is easily seen without straining your neck, creating a natural focal point.
When hanging art in rooms with taller wall height, aim slightly higher—around 60-68 inches—to maintain proper visual balance. If you’re placing art above furniture, keep the bottom of the frame 6-8 inches above the piece to avoid awkward gaps and preserve proportion.
Adjusting the height based on your room’s wall height and furniture size helps maintain harmony. Following these guidelines, you’ll achieve a balanced display that complements your space and feels comfortable to view.
Calculating the Center Point of Your Artwork
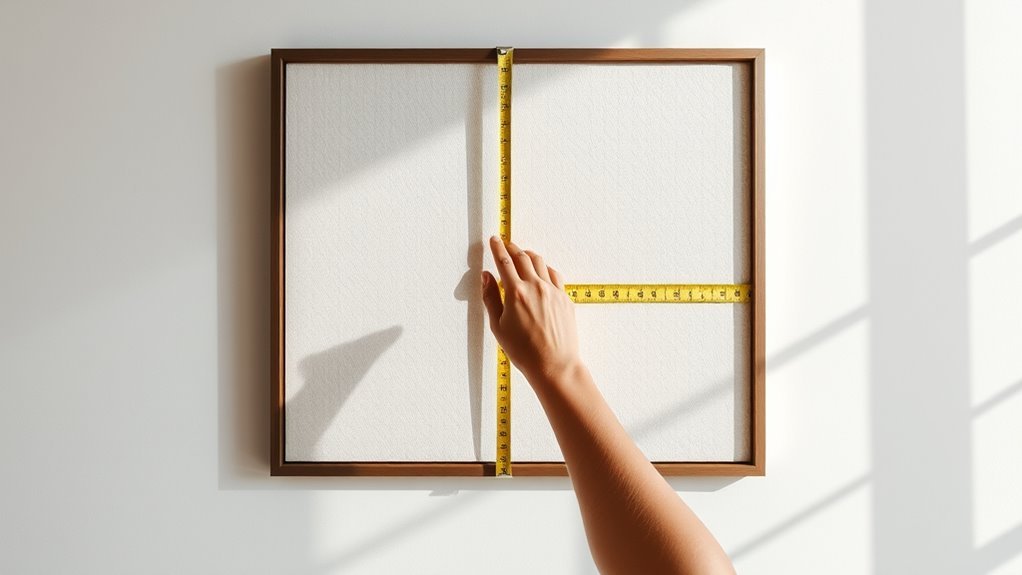
Start by measuring the total height of your artwork and divide it by two to find its center point.
Next, identify the focal point you want to highlight and align it with your ideal hanging height.
Finally, mark this reference point on your wall to guarantee precise placement when hanging.
Measuring Artwork Height
When you measure the total height of your artwork and divide it by two, you find its center point, which is essential for proper placement. Start by taking accurate measurements of your art to determine this midpoint.
Next, mark 57 inches from the floor on your wall space—this is the standard eye level for hanging art. Identify the focal point of your piece, such as the image’s midpoint or frame top.
Then, measure the distance from this point to where your hanging wire or hook sits. Using these measurements, you can calculate the exact height at which to place your nail or hook. This ensures your artwork aligns perfectly with eye level.
Proper measuring guarantees your art complements the wall space and creates a balanced visual impact. It really makes a difference in how your piece looks in the room.
Finding Artwork Center
To find the center point of your artwork, measure its height from top to bottom and divide that number by two. This gives you the artwork center, which is essential for proper alignment.
Next, mark the desired eye level on your wall. Usually, this is between 57 and 60 inches from the floor.
Identify the focal point of your piece—often the midpoint of the image—to match this eye-level mark.
Then, take measurements from the hanging wire or hook to the top edge of your artwork. This helps you figure out how far below the center your hanger should be placed.
Using these measurements, you can accurately place your wall marking so the artwork center aligns perfectly with your eye level. This way, you’ll have a balanced, visually appealing display.
Marking Wall Reference
After identifying the center point of your artwork and marking the ideal eye level on your wall, the next step is to translate these measurements into a precise wall reference for hanging. Start by measuring the height of your artwork and dividing it by two to find its center.
On the wall, mark a spot between 57 and 60 inches from the floor—this aligns with the average eye level for the artwork’s center. Next, use a tape measure to connect this wall mark with the artwork’s focal point, such as the image’s midpoint.
Adjust where you’ll place the hanger based on this connection. Always double-check your measurements before drilling to guarantee the artwork’s center aligns perfectly with the mark on your wall.
Adjusting Height Based on Ceiling and Room Size
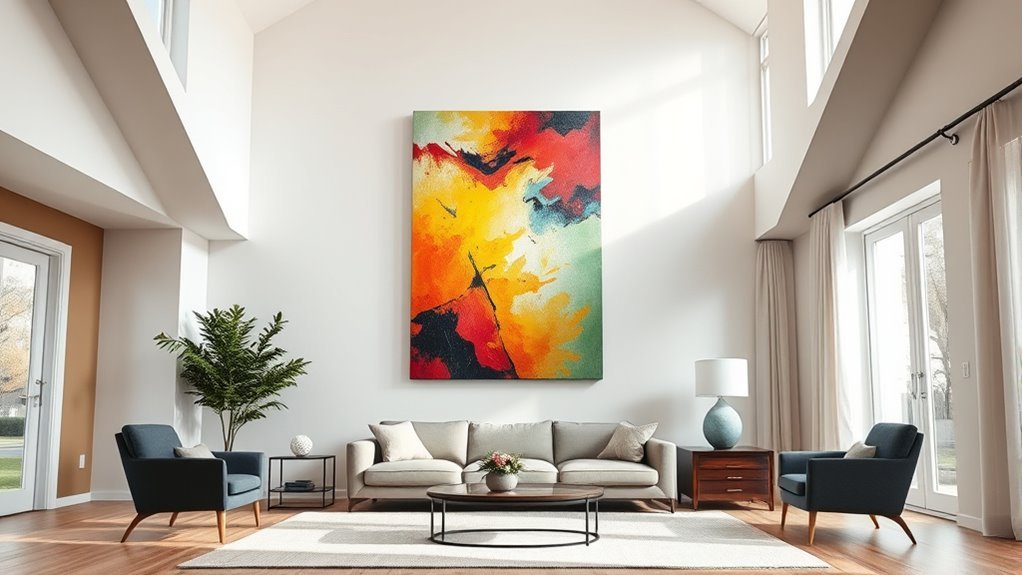
Although ceiling height often goes unnoticed, it plays an essential role in determining the ideal artwork placement. When you adjust hanging height based on ceiling height and room size, you create visual balance that feels natural.
For ceilings above 9 feet, hang your art between 60 and 68 inches from the floor to avoid it looking too low. In rooms with lower ceilings around 8 feet, stick closer to 57-60 inches so the art doesn’t overwhelm the space.
If your ceiling soars past 12 feet, try stacking pieces vertically or raise the hanging height proportionally. For vaulted or angled ceilings, follow the slope by placing artwork slightly lower to maintain harmony.
Tailoring the hanging height to your room’s dimensions ensures the art complements, not competes with, the space. It’s all about making the room and your artwork feel just right together.
Hanging Art Above Furniture: Key Considerations
How high should you hang art above furniture to achieve a balanced and harmonious look? Getting the height and proportion right is key to making your space feel cohesive.
Here are four essential tips:
- Hang your artwork 6 to 8 inches above the furniture to maintain a comfortable visual gap. This keeps things looking neat without feeling too cramped.
- Ensure the artwork’s width is about two-thirds to three-quarters of the furniture’s width for perfect proportion. This helps everything feel nicely balanced.
- For larger pieces, raise the height slightly to avoid crowding and keep the area open. It gives the room some breathing space.
- Always adjust height based on your room’s ceiling and furniture size to guarantee harmony. Every space is different, so trust your eye!
Proper Spacing Between Multiple Pieces
When hanging multiple pieces, keep your frames about 2-3 inches apart to maintain a clean, cohesive look. Start by placing the central artwork at eye level, then arrange the rest evenly to create a balanced gallery wall.
Consistent spacing helps prevent clutter and highlights each piece’s unique beauty. It’s all about making sure every frame gets its moment to shine without feeling cramped.
Ideal Frame Spacing
Since spacing greatly influences the visual impact of your gallery wall, you’ll want to keep frames consistently 2 to 3 inches apart to create a unified look. Proper spacing guarantees your art hangs at eye level and looks balanced.
To nail ideal frame spacing, follow these steps:
- Measure the wall space and plan the layout using painter’s tape or paper templates.
- Keep 2 to 3 inches between frames for a cohesive feel; increase to 4 inches for larger pieces.
- Ensure even margins and symmetrical gaps to maintain harmony across your gallery wall.
- Choose closer spacing (1-2 inches) for intimacy or wider (3-4 inches) for an airy vibe.
Gallery Wall Grouping
Spacing plays a key role not just between individual frames but also in grouping multiple pieces into a cohesive gallery wall.
To maintain harmony, keep a consistent spacing of 2-3 inches between each frame. Treat the entire gallery wall as one unit by aligning the centers of all pieces, ensuring neat center alignment.
Using paper templates helps you plan spacing and visualize the layout before drilling. Vary frame sizes and orientations to add visual interest, but keep spacing uniform for balance.
Hang the whole gallery at about 57-60 inches from the floor, adjusting for your room’s specifics.
| Tip | Detail |
|---|---|
| Spacing | 2-3 inches between frames |
| Center Alignment | Align centers of all pieces |
| Visualization | Use paper templates before hanging |
| Height | 57-60 inches from the floor |
| Visual Interest | Mix sizes and orientations |
Visual Balance Techniques
Although arranging multiple pieces may seem straightforward, achieving visual balance requires careful attention to consistent spacing and alignment.
To create a cohesive grouping that pleases the eye at eye level, follow these tips:
- Maintain 2-3 inches of even spacing between artworks to ensure clean separation without clutter.
- Align the top or bottom edges of your pieces to unify the grouping visually.
- Use paper templates to map out spacing before hanging, guaranteeing balanced distribution on the wall.
- For large or asymmetrical arrangements, stagger spacing slightly to add movement and avoid rigidity.
Balancing Art Size With Wall and Furniture Dimensions
When you select artwork for a space, matching its size to the furniture it hangs above guarantees a balanced look. Aim for art size that’s about two-thirds to three-quarters the width of your furniture to maintain visual balance.
For example, a 6-foot-wide sofa pairs well with artwork between 4 and 4.5 feet wide. This proportion fills the wall space appropriately without overwhelming the furniture or appearing too small.
If you’re hanging multiple pieces, consider their combined width and spacing so they complement the furniture dimensions and surrounding wall space harmoniously.
Properly scaled art enhances the room’s overall balance, creating a cohesive and attractive display that feels neither cramped nor sparse. Always keep furniture and wall dimensions in mind to achieve this perfect visual harmony.
Avoiding Common Hanging Mistakes
Don’t hang your art too high—keeping it between 57 and 60 inches from the floor works best. Make sure your artwork’s size matches the wall and furniture to avoid awkward proportions.
And always use the right hardware to keep your pieces secure and looking sharp. This way, your art will not only look great but also stay safely in place.
Typical Height Errors
Why do so many people hang their art too high? Often, it’s because they misjudge the ideal eye level or ignore proper spacing.
Here are typical height errors to avoid:
- Hanging the center of the art above 60 inches from the floor, placing the art too high and reducing its visual impact.
- Forgetting to adjust for the room’s height or furniture size, relying solely on the generic eye level rule.
- Positioning artwork too far above furniture—less than 6-8 inches spacing can make the display feel unbalanced.
- Choosing art that’s too small for the wall or furniture and then hanging it high, which causes awkward proportions.
Size and Scale
Misjudging artwork height often goes hand in hand with overlooking size and scale. When hanging art, you want to guarantee the piece is proportionate to the furniture and wall space.
Aim for artwork that’s at least two-thirds the width of the furniture below it; this maintains balance and prevents awkward empty spaces. Large pieces should fill about 50% to 66% of the wall to avoid looking lost or out of place.
Keep your art roughly 6-8 inches above furniture to maintain proper proportion. Avoid hanging too high—above the top quarter of the wall—as it disrupts visual harmony and scale.
Proper Hardware Use
When you hang artwork, choosing the right hardware is essential to keep your pieces secure and your walls unharmed. To avoid common hanging mistakes, follow these tips:
Use wall anchors and hardware rated for your artwork’s weight to prevent accidents. Match the hardware type—nails, hooks, screws, or toggles—to both your wall material and the art’s weight.
For heavy pieces, opt for heavy-duty picture hooks or wall anchors designed for substantial loads. Whenever possible, secure hardware into wall studs to distribute weight properly and increase stability.
Always check hardware ratings and manufacturer instructions to guarantee your chosen hardware suits your wall type and the artwork’s weight. Using proper hardware keeps your art safe and your walls intact.
Using the 57-Inch Rule Effectively
Although hanging art might seem straightforward, using the 57-inch rule effectively guarantees your pieces sit at eye level for most viewers. This eye level rule suggests you hang your artwork so the center of the artwork is about 57 inches from the floor.
First, measure the artwork’s height, then divide it by two to find its center point. Next, position your hook or nail so that this center aligns with the 57-inch mark on your wall.
For larger pieces, keep this same principle in mind to maintain balance. Adjust slightly if your space or preferences call for it, but always aim to keep the focal point near 57 inches.
Treating Gallery Walls as One Cohesive Unit
To create a harmonious gallery wall, treat all the artworks as parts of a single visual unit rather than separate pieces. When you hang your gallery, follow these steps to achieve a cohesive layout:
- Align the top or bottom edges of all frames to unify the look.
- Keep consistent spacing of 2-3 inches between each artwork to maintain balance.
- Use a central anchor point, like the middle of your gallery wall, to arrange art around it.
- Plan the entire layout on the floor or with paper templates before hanging to ensure everything works together.
Also, adjust the height so the center of your gallery is about 57–60 inches from the floor. This matches eye level for the best visual impact.
Selecting the Right Hardware for Secure Hanging
Achieving a cohesive gallery wall means more than just arranging artwork thoughtfully; you also need the right hardware to keep everything safely in place. Start by choosing wall anchors and hooks rated for your artwork’s weight.
For heavier pieces, opt for heavy-duty D-rings and wall anchors that can support at least twice the weight to ensure extra security. When hanging on drywall, toggle bolts or molly bolts provide better stability than standard nails or hooks.
If you’re working with brick or concrete walls, use masonry anchors and a power drill with a masonry bit to install your hardware properly. Don’t forget to regularly inspect all hardware and replace any worn or loose parts.
This attention to detail keeps your art secure and your walls damage-free. It’s a simple step that makes a big difference!
Frequently Asked Questions
What Is the 70/30 Rule in Art?
The 70/30 rule means you should fill about 70% of your wall with artwork, leaving 30% empty space.
This balance helps your art stand out without overwhelming the room. It creates a harmonious and visually pleasing display.
What Is the 2/3 Rule for Hanging Pictures?
Think of the 2/3 rule like a knight’s shield—your artwork should be about two-thirds the width of the furniture beneath it.
This keeps your room balanced, ensuring your art neither dominates nor disappears awkwardly.
What Is the 57 Rule for Hanging Art?
The 57 rule means you hang your art so its center sits about 57 inches from the floor, matching average eye level.
It helps your art feel balanced and looks great with furniture or gallery walls. This way, your artwork naturally catches the eye without straining your neck or feeling awkward.
What Are the Rules for Hanging Art?
You can’t just hang art anywhere—it’s an art form itself! Center pieces at eye level, about 57-60 inches from the floor.
Keep consistent spacing, and don’t cram them too high or too close to furniture. It really makes a difference in how your space feels.
Conclusion
Now that you’ve got these tips, hanging your art will feel less like assembling a rotary phone and more like crafting a timeless masterpiece. Remember, the right height, spacing, and hardware all play their part in showcasing your pieces beautifully.
Treat your walls like a gallery, and don’t be afraid to adjust based on your room’s unique vibe. With these tricks, your art will command attention and bring your space to life every time.
By mastering how high art should be hung, you ensure each piece stands out perfectly. Proper placement enhances the visual flow and harmony of your room, making your art the focal point. So take these guidelines, have fun experimenting, and watch your walls transform into an inspiring display of creativity and style.