How to Make Diamond Art Sticky Again Step by Step
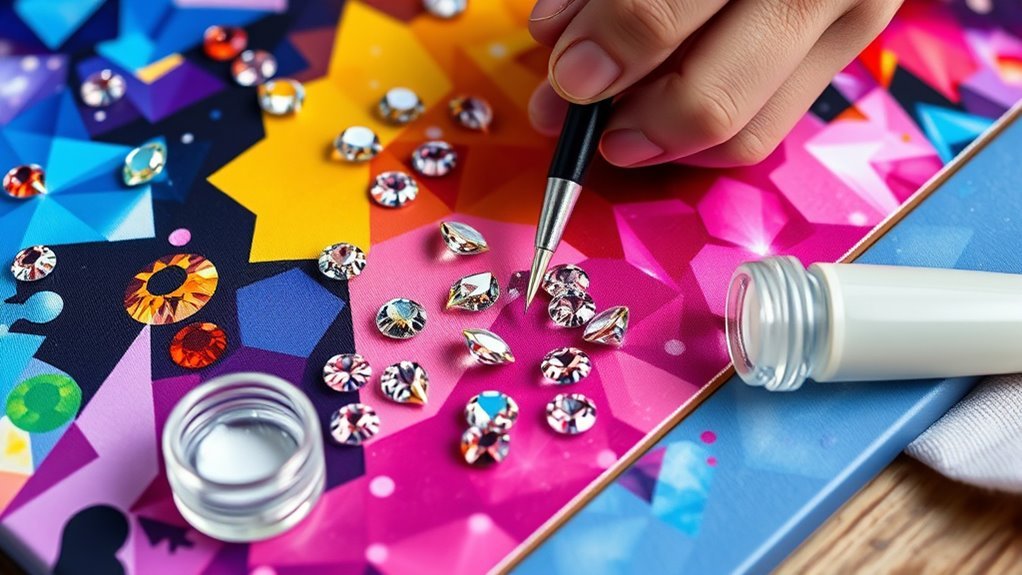
If your diamond painting canvas isn’t sticky anymore, don’t worry—it happens to the best of us. First, start by gently cleaning it with a lint roller or a damp baby wipe to remove any dust and oils that might be blocking the adhesive.
Next, warm the canvas slightly with a hairdryer on low heat. This helps reactivate the adhesive and brings back some of that original stickiness.
For dull spots, try applying a thin layer of craft glue. Just make sure to let it dry fully before you continue working on your diamond art.
You can also place parchment paper over the area and iron gently for a few seconds. This little trick can help restore the tackiness without damaging your canvas.
Keep going to uncover more helpful tips that will make your diamond art sticky again and keep your project looking perfect!
Key Takeaways
- Clean the adhesive surface gently with a lint roller or damp baby wipe to remove dust and debris. This step helps make sure nothing is blocking the sticky part.
- Use a hairdryer on low heat to warm and reactivate the canvas glue’s tackiness. Just be careful not to get it too hot!
- Apply a thin layer of diamond painting or craft glue to dull sticky areas with a small brush. This gives the canvas a fresh sticky boost where it’s needed most.
- Let the glue dry fully before resuming diamond placement on the canvas. Patience here really pays off.
- If it’s still not sticky enough, cover the area with parchment paper and gently iron it for a few seconds. This can help bring back that adhesive power.
Why Diamond Painting Canvas Loses Its Stickiness
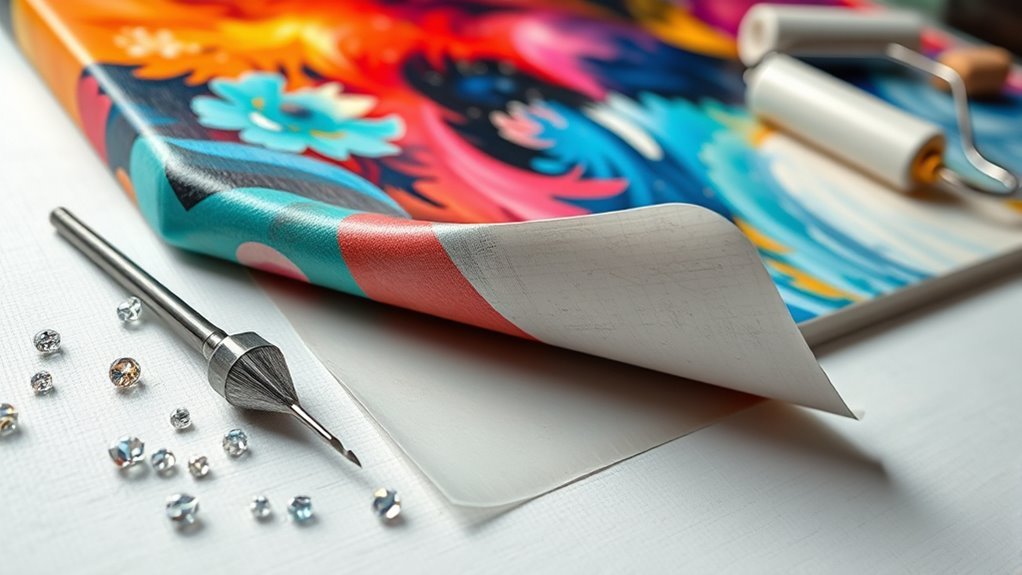
Although diamond painting canvases are designed to be sticky, they can lose their tackiness over time due to factors like dust, oils from your fingers, and exposure to sunlight or humidity. Dust and lint accumulate on the canvas, blocking the adhesive surface and reducing stickiness.
Oils and moisture from your hands gradually break down the glue, weakening the adhesive. If you leave the protective film off too long or store the canvas improperly, environmental factors like heat and humidity speed up the deterioration of the glue layer.
Older or lower-quality kits often have adhesives that degrade faster, making the canvas less sticky. Regular dust removal and keeping the protective film on when not working help slow this loss, but over time, the adhesive naturally loses its grip and requires attention.
Effective Methods to Restore Canvas Adhesiveness
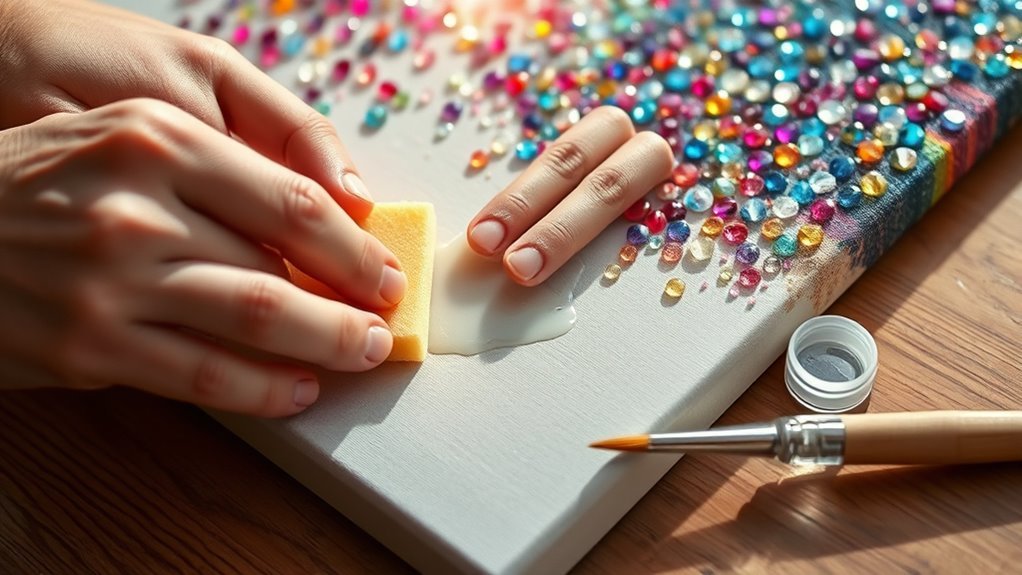
When your diamond painting canvas starts to lose its stickiness, you don’t have to give up on your project. Start by gently cleaning the adhesive surface with a lint roller or damp baby wipe to remove debris that blocks stickiness on your diamond.
Next, warm the canvas slightly using a hairdryer on low heat to reactivate the glue. If some areas remain dull, apply glue to sections with a small brush—use a thin layer of diamond painting glue or craft glue for diamond art.
Let the layer of glue dry completely before continuing. For stubborn spots, place a protective cover like parchment paper and gently iron for a few seconds to restore stickiness.
These effective methods for restoring stickiness ensure your diamond painting glue works perfectly, keeping your artwork firmly in place.
Frequently Asked Questions
How to Restore Stickiness on Diamond Art?
You can restore stickiness by gently cleaning the canvas and warming it with a hairdryer. This helps loosen any dirt or debris that might be making the adhesive less effective.
If you notice dull spots, try applying clear craft glue on those areas. Another trick is to use a warm iron with parchment paper over the canvas to reactivate the adhesive.
Just remember to store your art properly afterward to keep that adhesive strength intact. It’ll help your diamond art stay sticky and beautiful for longer!
What if My Diamond Art Is Not Sticky?
If your diamond art has lost its sticky magic, don’t despair. You can gently clean the surface, shield it from harsh elements, or apply a light adhesive layer to revive its sparkle and grip like new again.
It’s easier than you might think to bring your artwork back to life. Just take it slow and be gentle, and your diamond art will feel fresh and sticky again in no time!
How Do I Make My Diamond Art Sticky Again Without Glue?
You can gently clean the canvas, then press clear double-sided tape on non-sticky spots.
Warm the area with a hairdryer or lightly iron it through parchment paper to reactivate the adhesive without using glue.
This way, your diamond art can stick again without any mess from extra glue!
How to Keep Diamond Art Sticky?
You might think keeping diamond art sticky is tricky, but it’s simple if you store your canvas covered, in a cool place. Handle it with clean hands to avoid transferring oils and dirt.
Also, clean the adhesive gently to preserve its tackiness over time. This way, your diamond art will stay sticky and ready for your next session.
Conclusion
If your diamond painting canvas loses its stickiness, don’t worry—you can bring it back to life. For example, imagine Sarah, who thought her unfinished masterpiece was ruined.
By gently cleaning the surface and applying a light adhesive spray, she restored its grip and finished her project with joy. You can do the same!
Just follow the steps carefully, and your canvas will stay sticky, letting your creativity shine through every sparkling diamond. Keeping your diamond art sticky again is easier than you think. With a little care and the right technique, your canvas will hold those dazzling diamonds perfectly, making your artwork look amazing. So, don’t give up on your diamond painting—refreshing the stickiness can help you complete your masterpiece beautifully and enjoy the process every step of the way!