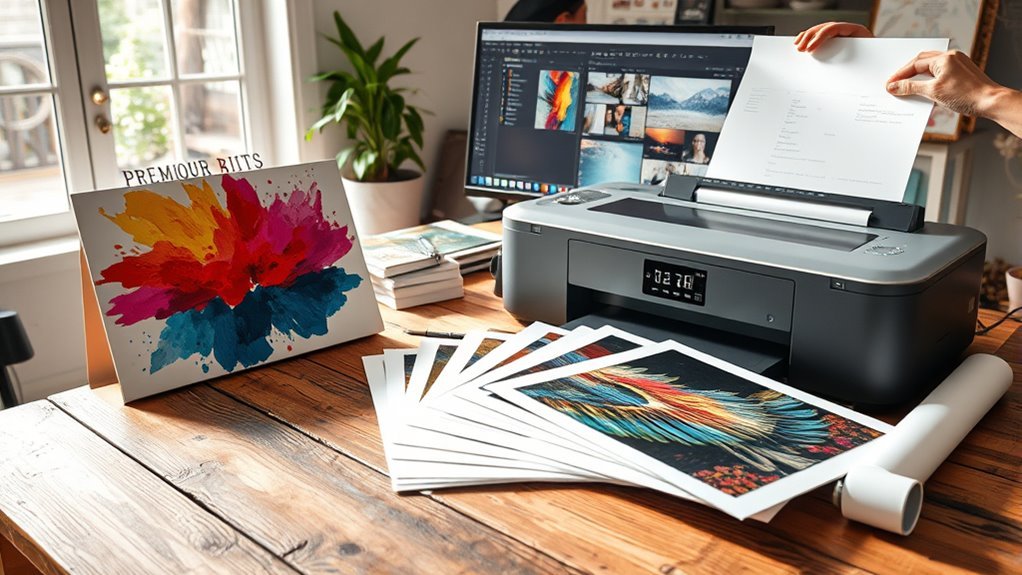
How to Make Prints of Your Art to Sell in 3 Simple Steps
To make prints of your art to sell, start by capturing high-quality photos. Use good lighting and a steady camera to ensure your images are sharp and true to color. This step is crucial for preserving the details and vibrancy of your original artwork.
Next, digitally edit your photos. Adjust brightness, contrast, and colors to make sure the digital version matches your original piece as closely as possible. This helps your prints look professional and attractive to buyers.
Finally, choose a reliable printing method. Prepare your files with the correct color profiles for the best results on durable materials. Keep following for tips on perfecting each step to make your prints stand out and attract buyers.
Key Takeaways
– Capture high-resolution images of your artwork in soft, natural light. Use a stable camera setup to get clear, color-accurate photos.
This helps your prints look just like the original piece.
– Edit the images digitally to adjust brightness, contrast, and color. Then, convert the files to a print-ready color profile like CMYK.
This step makes sure your prints come out vibrant and true to your art.
- Choose a suitable print method, such as professional print shops or print-on-demand services. Pick durable materials like archival paper or canvas for lasting quality.
- Prepare your artwork files at 300–600 DPI resolution. That way, your prints will be sharp and detailed.
- Set pricing, edition size, and framing options in advance. This helps streamline the selling process and attract buyers effectively.
Capture High-Quality Images of Your Artwork
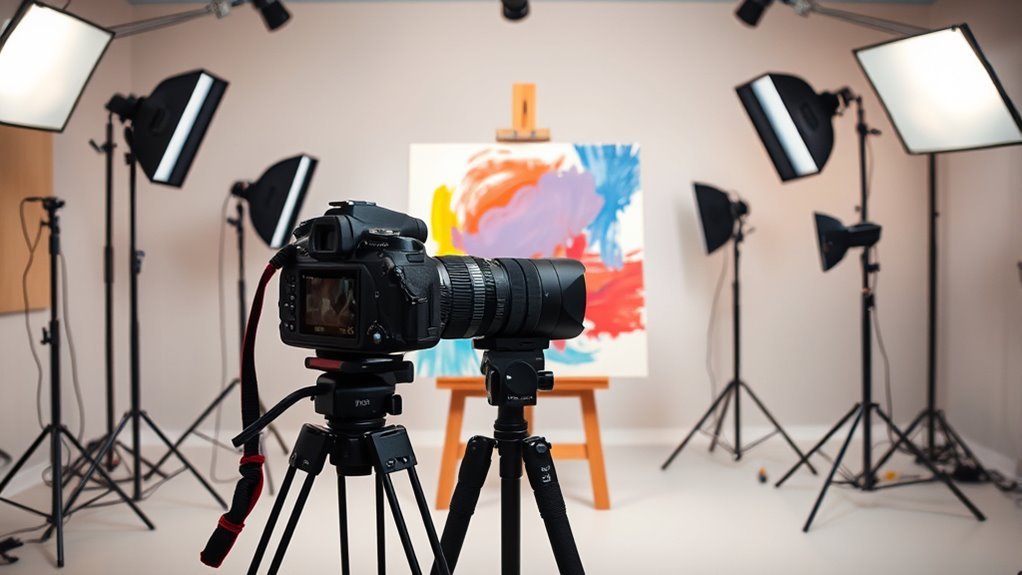
When capturing images of your artwork, make certain to use a high-resolution camera or smartphone set to at least 300 DPI to guarantee sharp, detailed prints. Focus on camera stabilization by mounting your device on a tripod or flat surface to avoid blurriness and maintain precise alignment.
Shoot in soft, natural light under even lighting conditions to prevent harsh shadows or glare that can alter your artwork’s true colors. Take multiple shots from various angles and distances to increase your chances of capturing sharp images with accurate color.
Pay attention to color profiles during photo capture to ensure the digital image reflects your original work. Later, use photo editing software to fine-tune brightness, contrast, and color balance, preserving the integrity of your art before printing.
Edit and Enhance Your Artwork Digitally
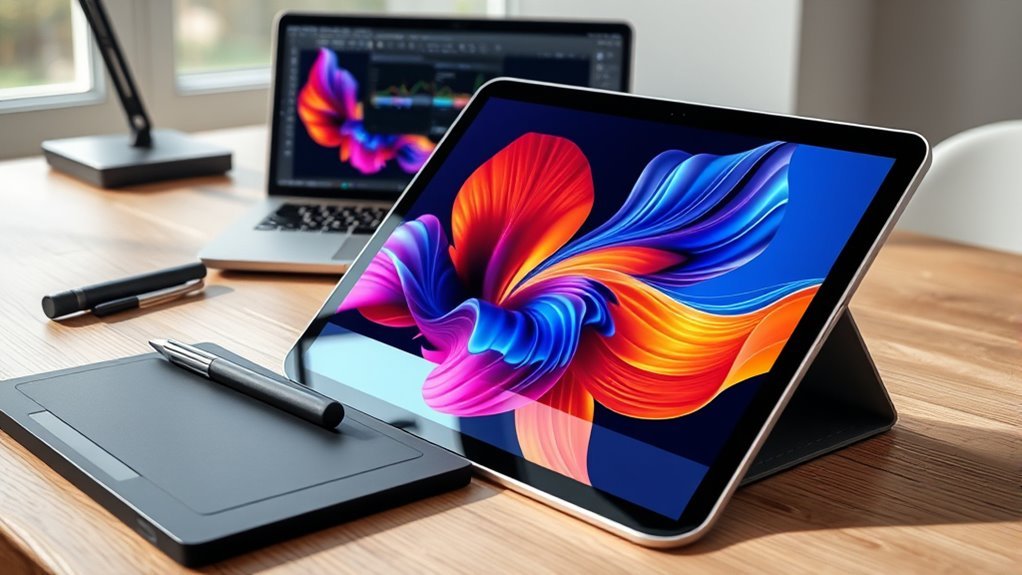
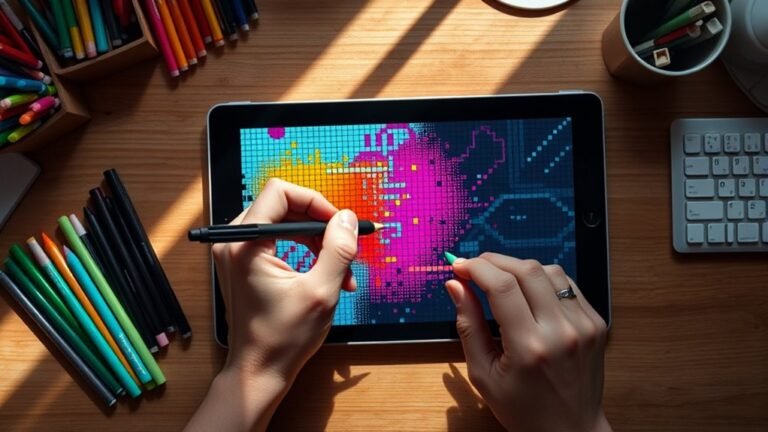
Although capturing a high-quality image is essential, you’ll need to edit and enhance it digitally to guarantee your artwork looks its best in print. Start by using photo editing software like Photoshop or Lightroom for digital editing—adjust brightness, contrast, and color balance to reflect your original piece accurately.
Apply color correction by matching your image to the intended print colors, using color profiles from paper manufacturers or printing labs. Use retouching tools to remove imperfections, dust, or reflections for a clean finish.
Convert your artwork to the appropriate color profile, usually CMYK for print, ensuring color fidelity. Finally, save your file as a high-resolution image in formats like PNG or TIFF.
This image enhancement and artwork editing process is crucial for effective print preparation and professional results. It might seem detailed, but taking these steps really makes a difference in how your artwork turns out.
Choose a Printing Method and Prepare for Sale
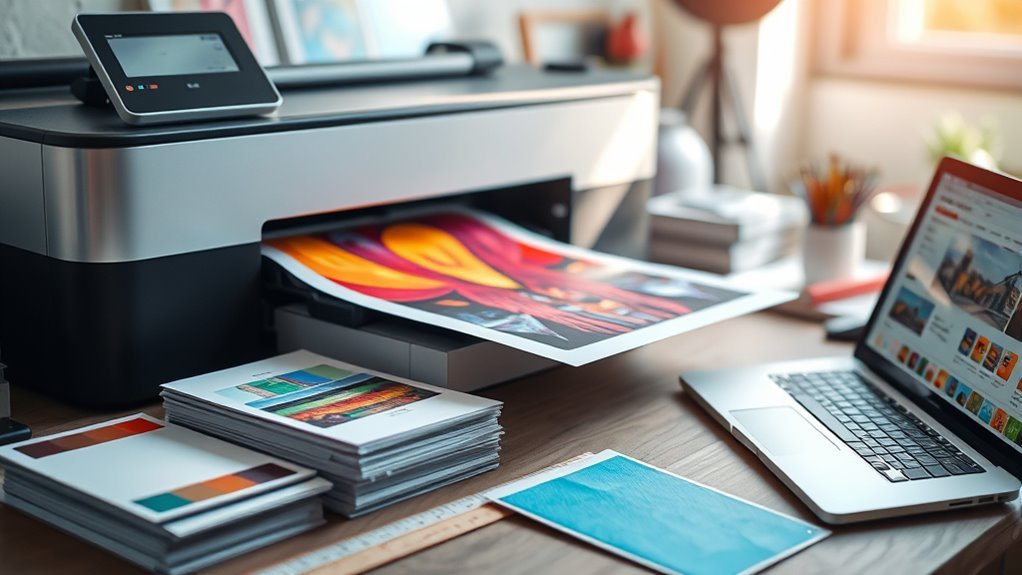
Since choosing the right printing method shapes the final quality and presentation of your artwork, you’ll need to decide between digital printing at home or outsourcing to professional print shops. You can also explore print-on-demand services like Printful or Gelato.
Prepare for sale by capturing high-quality photos or scanning your artwork at 600 dpi under soft, natural light to ensure accurate color and detail. Edit files carefully in software like Photoshop to adjust color, contrast, and sharpness, then convert to the correct color profile.
Select materials such as archival fine art paper, canvas, or metal to produce durable art prints. Finally, establish your pricing, edition size, and whether to offer framed or unframed prints.
This thorough approach guarantees your printing process enhances your artwork’s appeal and value. It’s all about making sure your art looks its best and attracts the right buyers.
Frequently Asked Questions
How Do I Turn My Art Into Prints to Sell?
You start by digitizing your art with a high-res scanner or camera, then edit the image for color accuracy. This step is super important because you want your prints to look just like the original.
Next, print on quality paper or canvas. Don’t forget to sign and number each piece to add that personal touch. Finally, package them securely for sale so they arrive in perfect condition. Easy, right?
How to Make Your Own Prints to Sell?
You’re the gardener nurturing a seed—digitize your art, tend it with editing tools, then harvest prints on quality paper.
Sign and package them carefully, and your creations will bloom in others’ homes, ready to sell.
How to Begin Selling Art Prints?
You start selling art prints by digitizing your work, choosing a reliable printer, setting prices, and promoting your prints online or locally.
Build your audience and stay consistent to grow sales and recognition over time. It’s all about getting your art seen and appreciated by the right people. Keep at it, and you’ll start to see results.
What Kind of Art Prints Sell Best?
Oh sure, just print random doodles—because everyone loves chaos!
Actually, you’ll sell best with vibrant, limited edition prints on quality paper, featuring popular themes like nature or abstract designs.
These connect emotionally and visually with buyers.
Conclusion
Now that you’ve mastered capturing, editing, and printing your art, you hold the key to sharing your creativity with the world. Like a bridge connecting your imagination to enthusiastic eyes, each print carries your unique story beyond the canvas.
Remember, every step you take transforms your passion into something tangible—something people can cherish. So, don’t wait; let your art leap off the page and into the hands of those who’ll appreciate it most.
Making prints of your art to sell is more than just a process; it’s about turning your vision into a product that resonates. By following these simple steps, you’re not just creating prints—you’re building a connection with your audience. Ready to showcase your art and grow your creative business? Start printing today and watch your art reach new heights!