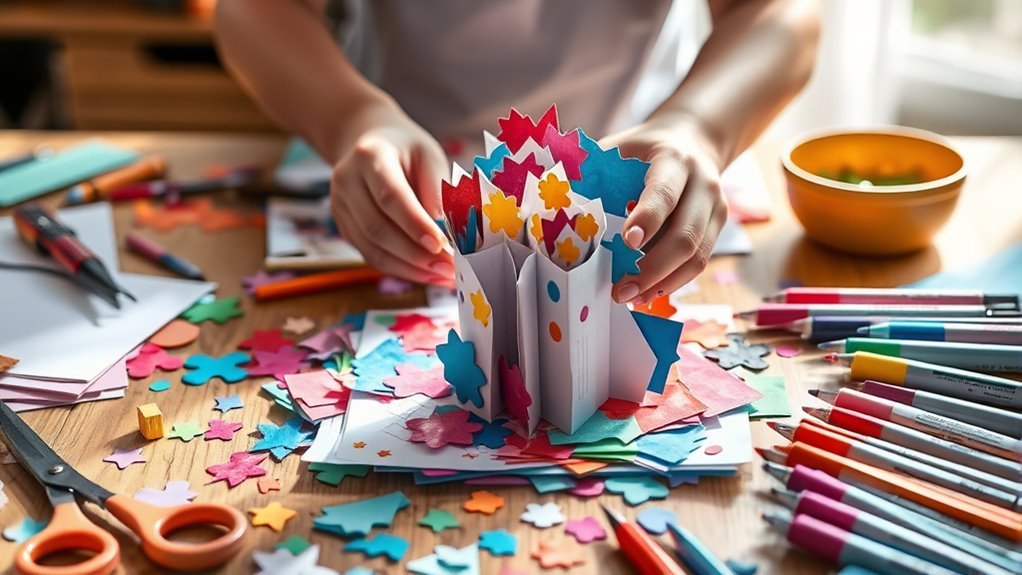
How to Make 3D Art Step by Step
To make 3D art, start by gathering basic materials like white paper, pencils, and markers. These simple tools will help you bring your ideas to life and understand the basics of three-dimensional drawing.
Begin with simple shapes such as cubes or spheres, sketching them lightly to get comfortable with their forms.
Use contour lines to define edges and add shading to create depth and volume. This is where your drawing starts to pop and look more realistic.
Try viewing your shapes from different angles—it really helps enhance the illusion of three-dimensionality.
With practice, you’ll develop skills to build more complex forms and understand perspective better. Keep exploring, and you’ll discover even more techniques to elevate your artwork.
Don’t worry if it feels tricky at first; every artist started exactly where you are now!
Key Takeaways
- Start by selecting a simple 2D shape to use as your base for the 3D art creation. Use contour lines and shading to create the illusion of volume and depth on the shape.
- Next, construct basic 3D forms like cubes, cylinders, or spheres. This helps you practice spatial understanding and get a feel for three-dimensional space.
- Don’t be afraid to experiment with different angles and perspectives. Playing around with these can really boost the three-dimensional effect of your art.
- Finally, trace outlines with fine-tip pens and add texture or materials. This step increases realism and depth, making your 3D art truly stand out.
Materials and Tools Needed for 3D Art
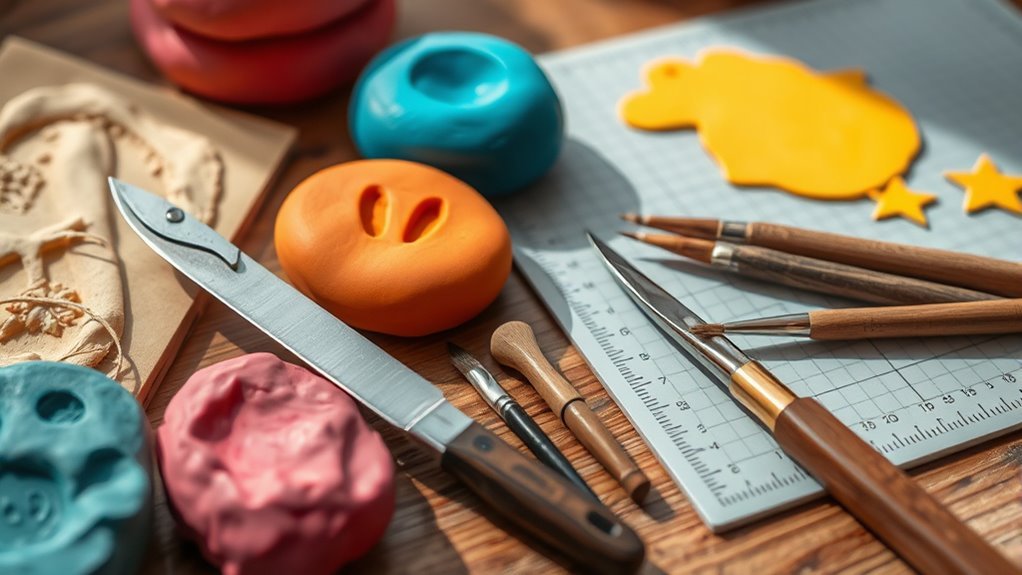
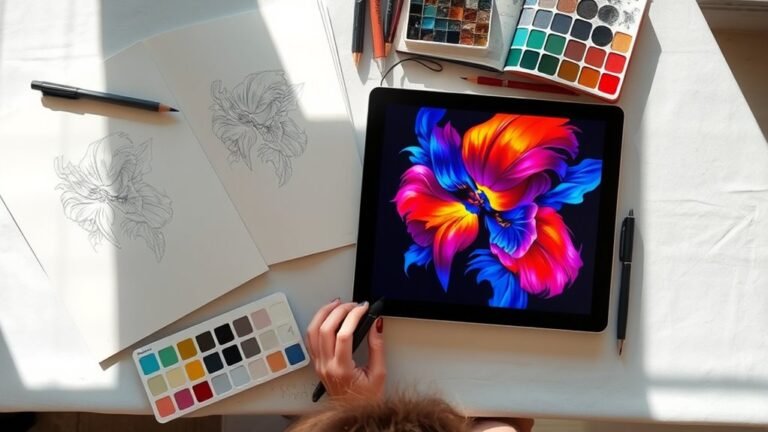
Before you begin creating your 3D art, gather essential materials like white paper, pencils, and coloring pens or markers for sketching and outlining. Start by sketching your design on white paper, using pencils for flexibility and coloring pens to add vibrant details.
To make your lines stand out, use a fine-tip pen or marker to trace over your sketches, enhancing contours and intricate features. You can also incorporate household items or found materials to introduce unique textures and depth to your work.
Optional tools like blending stumps or even your fingers help smooth shading for a more realistic effect. Remember, if you use sharp tools or glue guns during assembly, wear gloves and goggles to keep yourself safe throughout the process.
Step-by-Step Process to Create Your First 3D Artwork
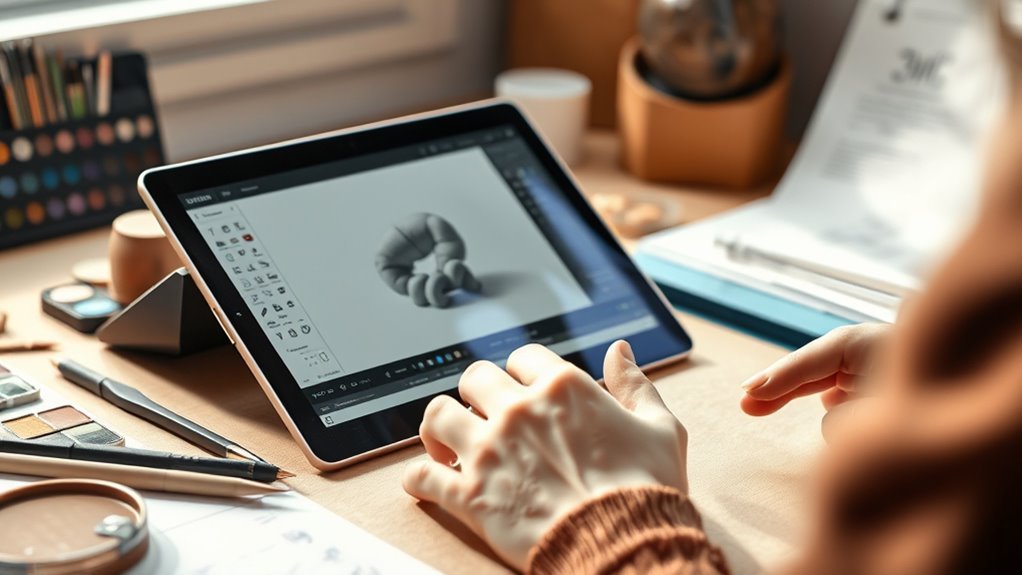
Once you’ve gathered your materials and tools, it’s time to focus on creating your first 3D artwork. To create the illusion of depth, start simple and build your skills step by step.
Here’s how you can Grow Your Art effectively:
- Choose a basic 2D shape as your starting point.
- Use contour lines and shading to add volume and depth.
- Construct simple 3D forms like cubes, cylinders, or spheres using geometric principles.
- Experiment with different angles and perspectives to see how your shapes change in space.
Frequently Asked Questions
How to Start Making 3D Art?
Start by picking a 3D medium you enjoy, then practice basic shapes like spheres and cubes. Use references to guide you, experiment with tools, and build simple models to develop your skills and confidence step by step.
It might feel tricky at first, but keep at it! The more you play around with different techniques, the better you’ll get. Just take it one step at a time, and you’ll see progress before you know it.
How to Make a 3D Drawing Easy Step by Step?
Start by sketching a simple shape, then add perspective lines converging to a vanishing point.
Draw contour lines for volume, shade to show light and shadow, and practice different angles to make your 3D drawing easy and realistic.
It’s all about breaking it down step by step and practicing regularly.
You’ll get the hang of it in no time!
What Is a Good App to Create 3D Art?
If you want a reliable companion, Blender’s your go-to—it’s free and versatile.
For a touch of professionalism, Maya or ZBrush can elevate your creations.
Don’t worry; you’ll find the perfect fit that matches your style.
Can You Give Me Some Examples of 3D Art?
You can create clay sculptures, wire art, digital models in Blender, or 3D printed figurines.
Installation art and augmented reality projects also offer immersive 3D experiences you can design and explore creatively.
Conclusion
Congrats, you’re now a 3D art wizard—well, sort of. If your masterpiece looks more like a toddler’s science project, don’t worry; that’s just called “abstract.”
Remember, Rome wasn’t built in a day, and neither is your 3D empire. So grab your glue, clay, or whatever weird stuff you picked, and keep experimenting.
Who knows? Your next creation might just confuse the art critics—in a good way, of course. Keep crafting!
Mastering how to make 3D art step by step takes patience and practice, but each attempt helps you improve. Whether you’re sculpting with clay or assembling mixed media, the key is to stay creative and keep exploring different techniques. Your 3D art skills will grow, and soon enough, you’ll create stunning pieces that truly wow. So, don’t give up—embrace the process and enjoy the journey of making amazing 3D art!