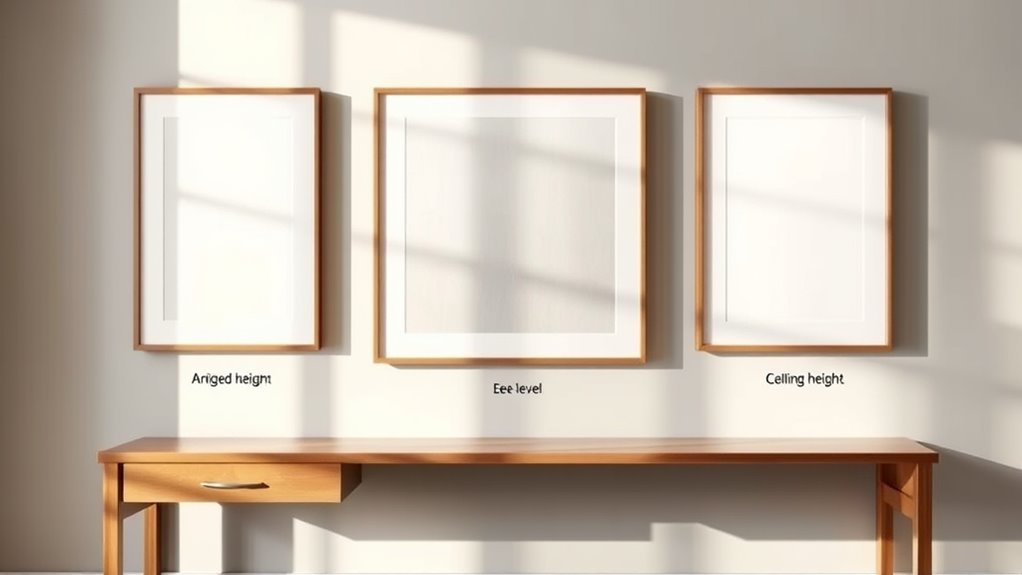
3 Tips for How High to Hang Art Above a Console Table
When hanging art above your console table, the height really matters for that perfect look. A good rule of thumb is to place the artwork about 4 to 8 inches above the tabletop. This spacing creates a balanced feel that ties the pieces together without crowding the space.
Next, think about the size of the art. Ideally, choose something that’s about two-thirds to three-quarters the width of your console. This helps keep the visual harmony and makes the whole setup feel intentional.
Of course, every room is a little different. If you have taller lamps or the space feels a bit crowded, don’t hesitate to tweak the height a bit. Adjusting for your unique decor keeps everything cohesive and polished.
Keep these tips in mind, and you’ll nail a stylish, well-proportioned look that fits your room perfectly. There’s always more to explore for your ideal setup!
Key Takeaways
- Hang artwork so its bottom edge is 4-8 inches above the console table surface for ideal visual balance.
- Measure console height and aim for artwork bottom to be approximately 36-38 inches from the floor.
- Choose artwork width about two-thirds to three-quarters the width of the console for proportional harmony.
- Adjust artwork height based on decor items like lamps to maintain balanced spacing and avoid clutter.
- Step back and fine-tune placement to ensure the artwork complements the console and room layout visually.
- It really helps to look at the whole setup from a distance to make sure everything feels just right.
Measure and Calculate the Ideal Height
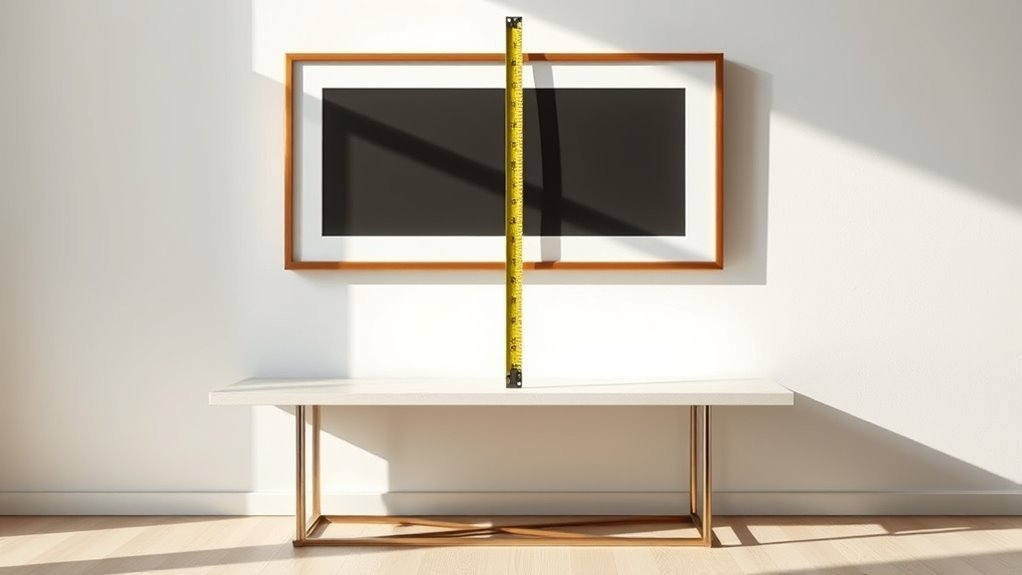
Before you hang your artwork, measure from the floor to the top of your console table to set a starting point. The key is to establish the console height accurately, as it influences your art placement.
Typically, you’ll want the bottom edge of your artwork to sit 4-8 inches above the console surface. This creates ideal spacing that ensures visual balance.
For example, if your console is 30 inches tall, aim for an artwork height with the bottom approximately 36-38 inches from the floor. Use painter’s tape or a paper template to mark this measurement on the wall, factoring in hardware placement and frame size.
Step back and assess the proportion and decor arrangement. Make sure the artwork size complements the console and the overall room aesthetic.
Choose the Right Size Artwork for Your Console Table
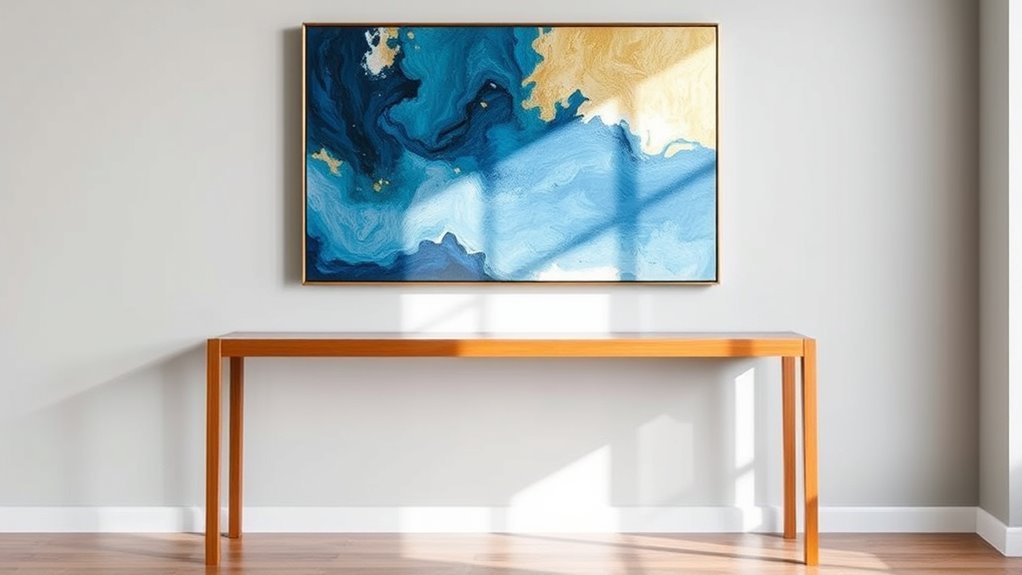
Once you’ve determined the ideal height for your artwork above the console table, it’s time to focus on selecting the right size piece. Aim for artwork size that’s roughly two-thirds to three-quarters the width of your console table to achieve visual balance.
For example, a 36-inch wide console calls for artwork about 24 to 27 inches wide, while a 48-inch table suits art around 32 to 36 inches wide. Choosing a proportional art scale guarantees your piece feels substantial without overwhelming the space.
Large art creates a bold focal point, whereas small pieces or a gallery wall work well for narrow consoles or compact entryways. Thoughtful art placement based on artwork width and console size will result in a harmonious, well-balanced display.
Adjust Placement Based on Console Decor and Room Layout
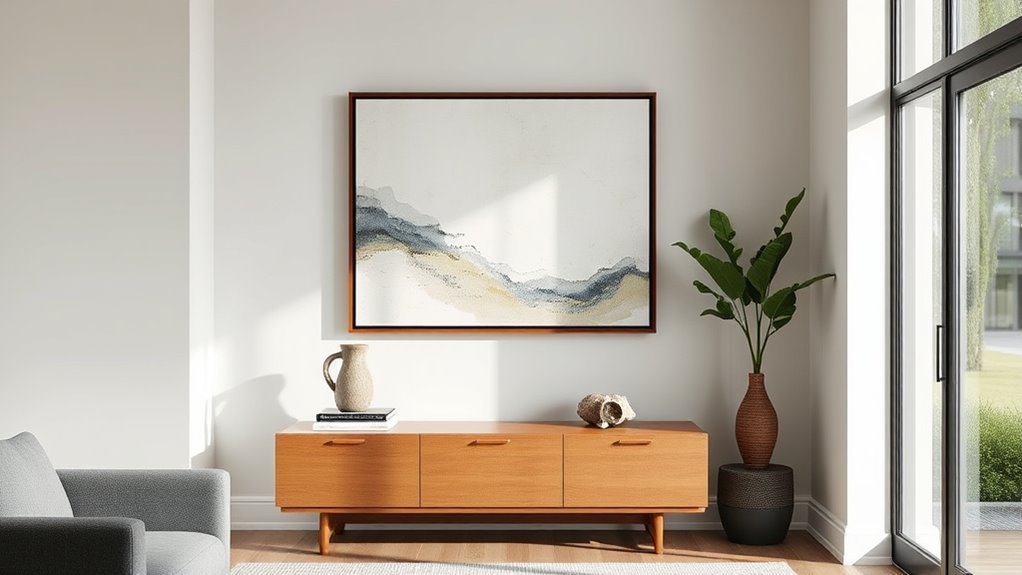
Although selecting the right size artwork is essential, you’ll want to adjust its placement based on your console’s decor and the room’s layout. Aim to hang art 4-8 inches above the tabletop, but tweak the art height depending on your decor objects.
Choose artwork size wisely and hang it 4-8 inches above your console, adjusting for decor and room layout.
For example, taller items like lamps call for artwork closer to the table—around 6 inches—to avoid a cramped look. If your console is crowded with decor, lower the artwork slightly to maintain visual balance and prevent clutter.
Consider overall proportional balance by spacing the artwork according to the size and style of your decor. Step back often to assess art placement, ensuring it complements the room layout and console decor.
These adjustments create visual harmony and perfect artwork spacing for your space. It’s all about making your art feel like it belongs, right where it hangs.
Frequently Asked Questions
How High Should Artwork Be Above a Console Table?
You should hang artwork about 4-6 inches above your console table to create balance.
Make sure the bottom of the art sits roughly 36-38 inches from the floor for the best visual proportion and comfort.
This way, everything looks just right and feels comfortable to the eye.
What Is the 2/3 Rule for Wall Art?
The 2/3 rule says your wall art should be about two-thirds the width of the console table below it.
This keeps the proportions balanced, so your art doesn’t feel too small or overpowering in the space.
What Is the 3-5-7 Rule of Decorating?
You’ll find the 3-5-7 rule suggests grouping items in odd numbers—3, 5, or 7—to create a balanced, engaging space.
Studies show odd groupings increase viewer interest by up to 30%, making your décor more dynamic. It’s a simple trick that really changes the vibe of a room.
What Is the 70/30 Rule in Art?
The 70/30 rule in art means your artwork should be about 70% as wide as the surface it’s above, like a console table.
This way, it looks balanced and doesn’t overpower or get lost against the furniture.
It’s a simple guideline to help your space feel just right, not too crowded or too empty.
Conclusion
When hanging art above your console table, remember that measure twice, cut once applies just as well here. By measuring and calculating the ideal height, choosing the right size artwork, and adjusting placement based on your console decor and room layout, you’ll create a balanced and inviting space.
Taking these simple steps guarantees your art complements rather than competes. This makes your console table a true focal point in the room. So, whether you’re going for a modern vibe or something more classic, paying attention to how high you hang your art is key to pulling the whole look together beautifully.