3 Tips for Displaying Diamond Art Perfectly
To display diamond art perfectly, start by choosing a frame that’s slightly larger than your piece. A custom mat in matte black or white can really boost the sparkle and help hide any edges. This simple step makes a big difference in how your artwork stands out.
Next, make sure your artwork is secure. Clean the surface thoroughly, press the drills firmly in place, and apply a clear sealant. This will protect your diamond art and keep it looking fresh for a long time.
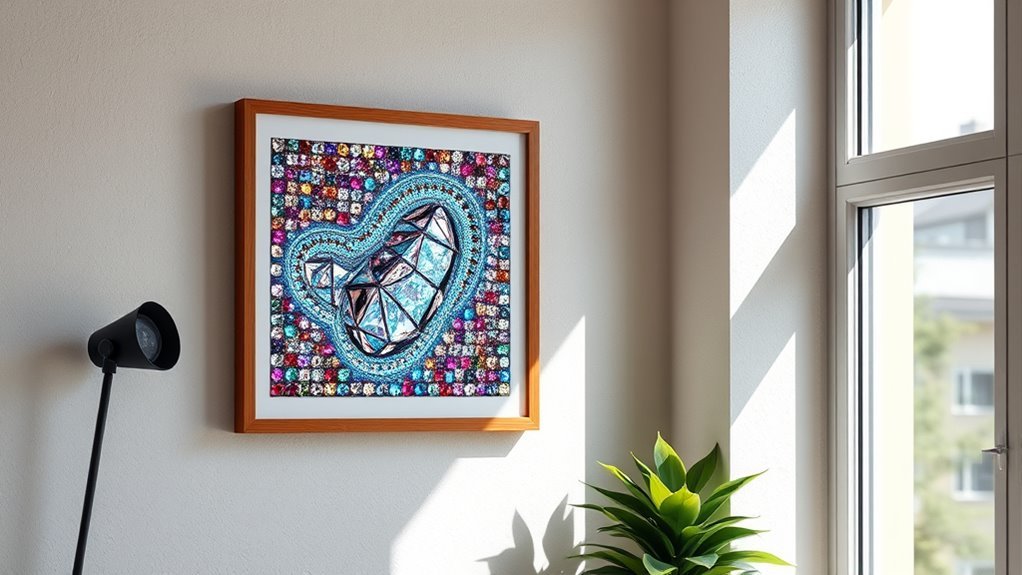
Finally, think about lighting. Adjustable LEDs or spotlights work great to highlight every shimmering detail. Just avoid direct sunlight, and hang your piece at eye level for the best effect. Keep exploring different ways to make your diamond art truly shine!
Key Takeaways
- Choose a frame slightly larger than the diamond art and use a custom-cut matte to enhance sparkle and hide edges. This little trick really helps your piece stand out.
- Use UV-protective glass or acrylic to prevent fading and maintain vibrancy. It keeps your diamond art looking fresh for years.
- Position artwork in well-lit areas with natural or adjustable LED lighting to highlight shimmering details. But remember, avoid direct sunlight to protect colors and prevent dulling of the diamond facets.
- Securely mount and hang the artwork at eye level for maximum visibility and impact. This way, everyone gets the full effect of your stunning creation!
Choose the Right Frame and Mat for Your Diamond Art
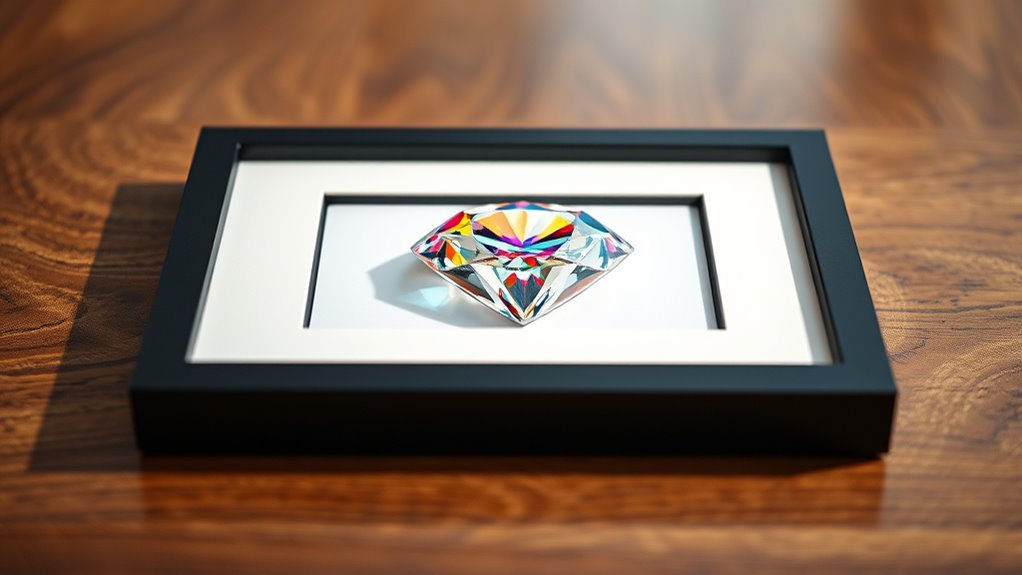
When you choose the right frame and mat for your diamond art, you enhance both its appearance and longevity. Start by measuring your artwork precisely to ensure a perfect fit and avoid gaps or overlaps.
Select a frame slightly larger than your art to accommodate a custom-cut mat. This mat covers the edges and boosts visual appeal by hiding imperfections. Opt for a matte color like black or white to make the diamonds sparkle even more.
Also, consider frames with UV-protective glass or acrylic. This helps prevent fading and preserves the brightness over time. By carefully selecting a frame and mat that fit perfectly and complement your diamond art, you’ll not only protect it but also create a stunning display that draws the eye and highlights every shimmering detail.
Secure and Protect Your Artwork Before Display
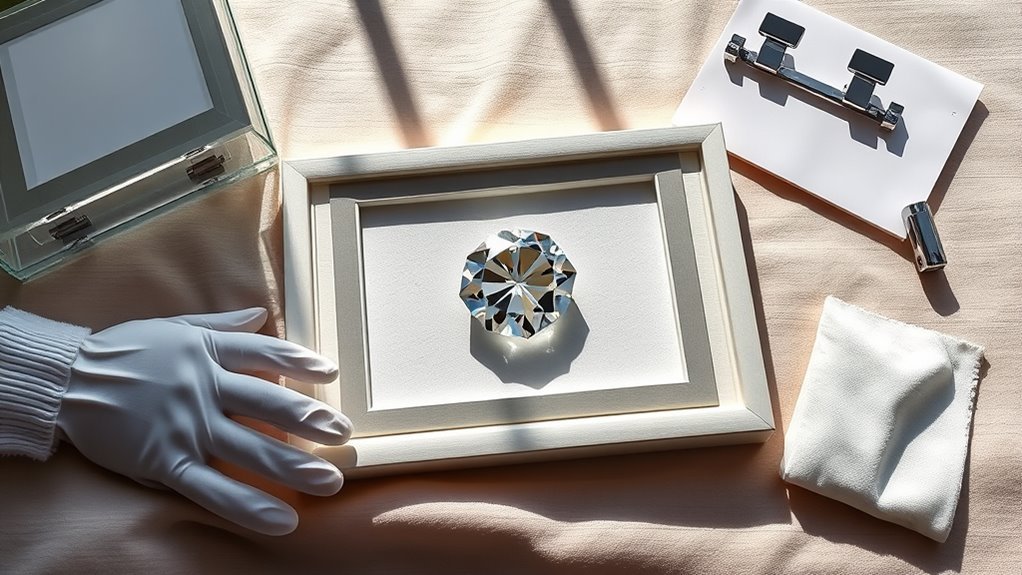
Before you display your diamond art, you should secure and safeguard it to preserve its beauty and longevity. Proper sealing and care ensure your artwork stays vibrant and intact.
Protect your diamond art with proper sealing to keep its beauty vibrant and lasting over time.
Follow these steps to protect your diamond art effectively:
- Clean the surface thoroughly and press all drills firmly to improve adhesion.
- Apply a clear sealant in thin, even coats, using either spray or brush-on types.
- Allow at least 24 hours for full drying and curing without handling the artwork.
- Store or display your sealed piece in a dry, low-humidity environment to maintain protection.
- Avoid touching the sealed surface during drying to prevent smudges or uneven sealant layers.
Optimize Lighting and Placement to Highlight Sparkle
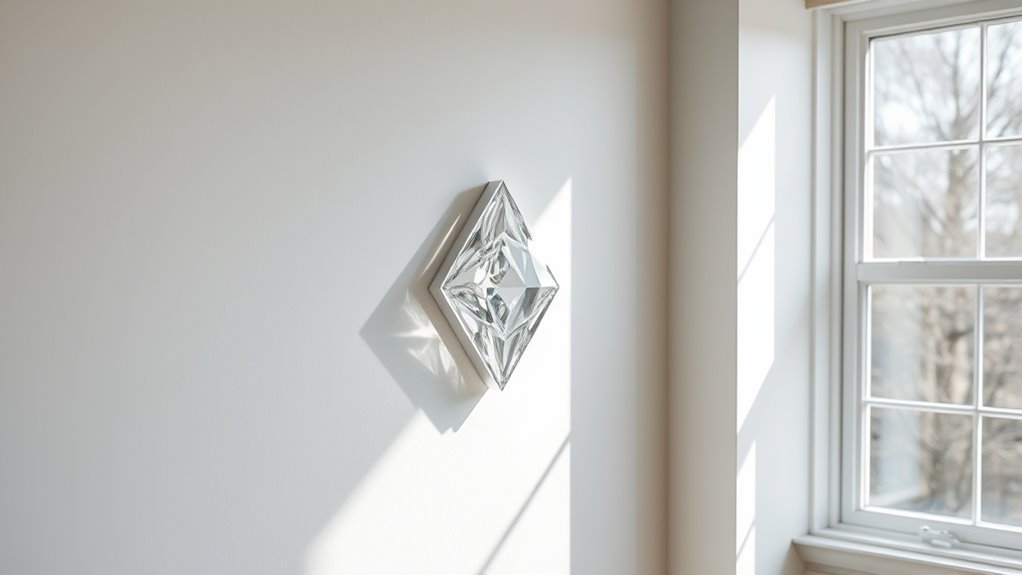
Once your diamond art is properly sealed and protected, focus on lighting and placement to make it truly shine. Position your artwork in a well-lit area with natural or LED lighting to enhance its sparkle and shimmer.
Use adjustable spotlights or picture lights for focused illumination that highlights the facets without creating harsh glare. Just be sure to avoid direct sunlight—it can cause fading and dulling of the resin drills.
Hang your piece at eye level in a prominent spot to maximize visibility and reflection. You might also consider framing it with glass or acrylic that has a slight reflective finish—this really amps up the light reflection and boosts the artwork’s shimmer.
Thoughtful positioning and lighting work hand-in-hand to highlight your diamond art’s brilliance. This way, every detail shimmers with stunning clarity.
Frequently Asked Questions
What Is the Best Way to Display Diamond Paintings?
You should mount your diamond painting on a stretched canvas to preserve its shine, then use proper LED lighting to enhance brilliance.
Consider a shadow box frame for depth or magnetic frames for easy swapping and protection.
What Are Common Diamond Art Mistakes?
Imagine sparkling gems slipping away—common mistakes include not securing diamonds before sealing,
using the wrong sealant that dulls shine, uneven trimming, and careless adhesive application causing bubbles or wrinkles on your vibrant artwork.
It’s easy to overlook these details, but they really make a difference.
Taking your time with each step helps keep your diamond art looking its best!
What Are 7 Things I Wish I Knew Before Starting Diamond Painting?
You wish you knew to prep your workspace, organize drills by color, and use proper lighting.
Sealing your finished art and trimming edges carefully are also super important.
Plus, choosing the right adhesive makes a big difference.
And honestly, being patient is key—rushing only leads to mistakes and frustration.
How to Make Diamond Art Look Better?
You can make your diamond art look better by framing it slightly larger and using a clear sealant for shine. Mounting it on a sturdy surface also helps keep everything in place.
Adding a contrasting mat really makes the colors pop. And when it comes to protecting your art, avoid glass if you can, or choose UV-protective options to preserve that sparkle.
Conclusion
By choosing the right frame and mat, you’ll give your diamond art the perfect stage to shine. Secure and protect it like a precious gem, ensuring it stays flawless over time.
Finally, place it where light dances across every sparkle, turning your display into a dazzling spotlight. With these tips, your diamond art won’t just hang on the wall—it’ll glow like a beacon, catching every eye that passes by.
Remember, the key to displaying diamond art perfectly lies in thoughtful framing, protection, and lighting. When you combine these elements, your artwork becomes more than decoration—it becomes a radiant centerpiece that brightens any room. So go ahead, let your diamond art sparkle brilliantly and make a lasting impression wherever it’s displayed!