How to Make Sand Art Bottles in 5 Easy Steps
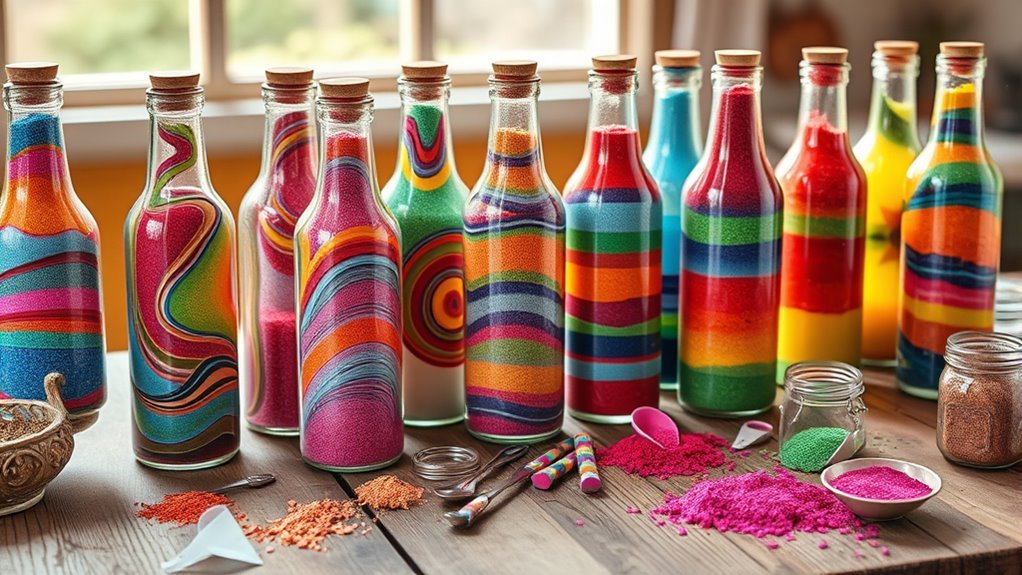
To make sand art bottles in five easy steps, first gather clean, colorful sand and empty bottles. These bottles will be your canvas to create beautiful layers of vibrant sand. Then, dye the sand with food coloring and let it dry completely before moving on to the next step.
Next, carefully layer the colored sand into bottles using a funnel. Tap gently to help each layer settle nicely and avoid mixing colors.
After that, shape the layers by tilting the bottle or using simple tools to create fun designs inside.
Finally, seal the bottle tightly to keep your sand art intact. You can even decorate the lid to add a personal touch and finish your design.
Keep going to discover handy tips for perfect layers and vibrant colors that make your sand art bottles truly stand out!
Key Takeaways
- Gather clean, dry sand in various colors and prepare empty bottles with narrow openings and pouring tools.
- Dye sand using food coloring mixed with water, then dry it thoroughly while stirring to prevent clumps.
- Carefully layer different colored sands in bottles using a funnel, alternating colors and gently tapping to settle.
- Compact layers by pouring small amounts, tapping the bottle, and using skewers to shape or adjust patterns.
- Seal the bottle tightly, optionally apply a clear sealant inside, and decorate the lid for a finished look.
Gather Your Supplies
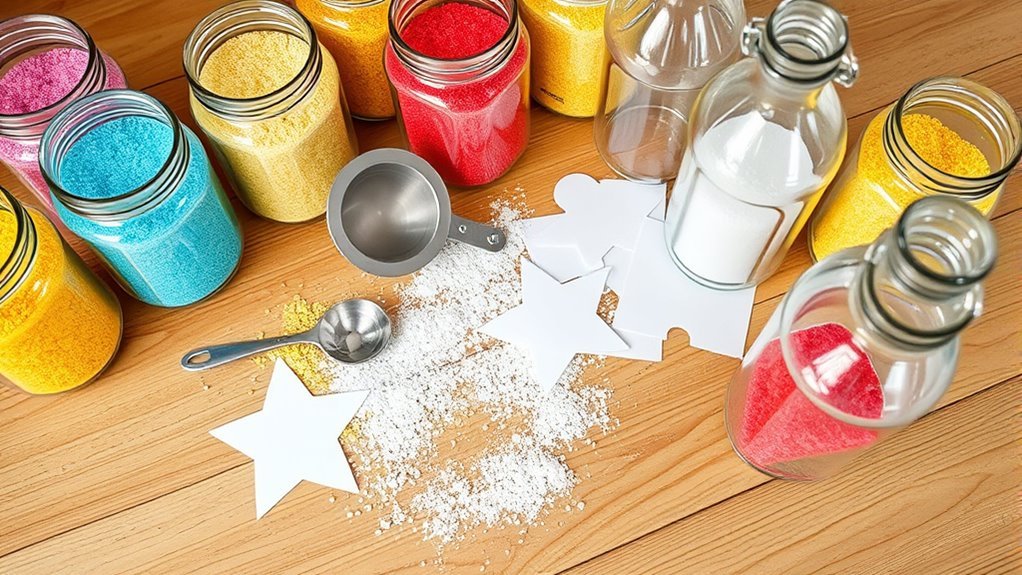
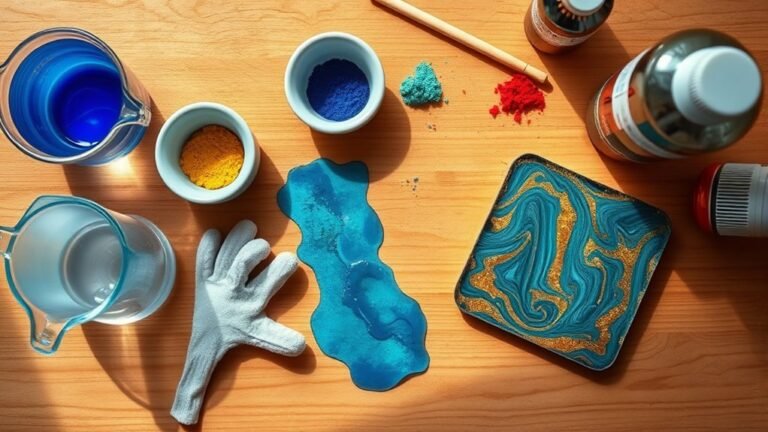
Before you begin, gather all the supplies you’ll need to create your sand art bottles. Start with fine, clean sand—either collected from beaches or bought from craft stores—and make sure it’s completely dry.
You’ll want various colors of sand ready for layering, so prepare colored sand in advance. Grab empty bottles or jars with narrow openings; these work best for filling with sand layers neatly.
Don’t forget a funnel or paper cones to help pour the sand into your bottle without spilling. Since this is a fun DIY craft, also have some tools like skewers, spoons, or small brushes nearby to create patterns and adjust the sand layers perfectly.
These arts and crafts essentials will set you up for a smooth, enjoyable project.
Dye the Sand With Food Coloring
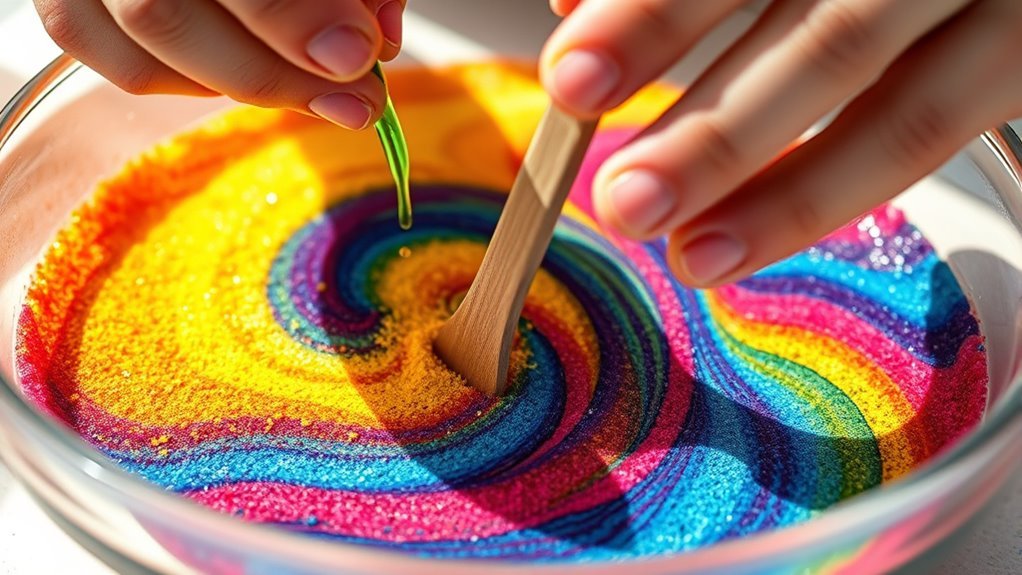
With your supplies ready, you can start adding color to your sand. To dye the sand, mix food coloring with a small amount of water and pour it into a plastic bag filled with sand.
Seal the bag and knead or shake it well to guarantee the color spreads evenly. If you want more vibrant colored sand, just add drops of food coloring and mix again until you reach the shade you like.
Once the sand is fully dyed, spread it out on a tray and let it dry completely in the sun. Stir the sand occasionally to speed up the drying process and keep it from clumping.
After it’s dry, your colored sand is all set to be used for your sand art bottles. Easy, right?
Layer the Colored Sand in Bottles
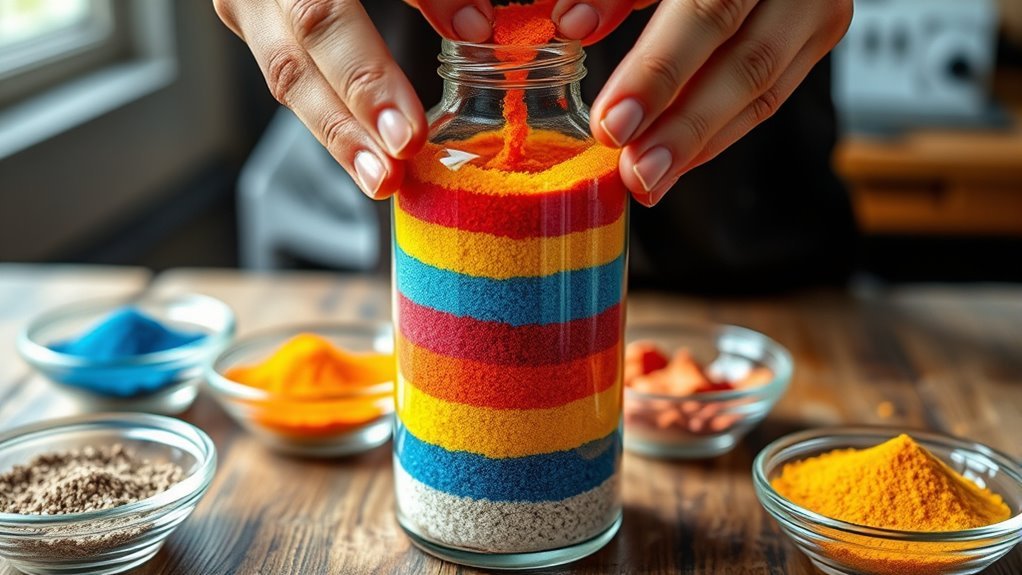
As you layer the colored sand into your bottles, use a funnel or paper cone to pour each color carefully and avoid spills. Pour the sand slowly and steadily, alternating the colors of sand to create striking patterns or gradients.
To add texture, tip the bottle at different angles while pouring, forming uneven or zigzag layers. After each pour, gently tap the bottle to help the sand settle evenly and prevent air gaps.
Keep an eye on the bottle’s fill level to avoid overfilling or spilling. If needed, use a skewer to adjust or shape the layers for a polished look.
Taking your time as you layer the colored sand in bottles guarantees a neat, vibrant design that’s ready for the next step. Just go slow and enjoy the process!
Compact and Shape the Sand Layers
Although you’ve poured the sand carefully, you’ll want to tap the bottle gently after each addition. This helps settle the layers and keeps their shapes sharp.
This step is really important for compacting the layers and prevents shifting once you fill the bottle.
To shape sand effectively, pour sand in small portions. This avoids air gaps and helps the sand settle evenly.
Try tilting the bottle while you pour to create unique curved or diagonal layers. It adds a cool design touch!
After each layer, gently tap the bottle to compact the sand firmly. Using a skewer is great for shaping sand precisely without disturbing everything.
And don’t forget to pause between colors. Let the sand settle so your layers stay crisp and distinct.
Following these tips ensures your sand art bottle stays visually striking and well-structured. It’s all about those neat, sharp layers!
Seal and Decorate Your Sand Art Bottles
Once you finish layering your sand, make sure to securely seal the bottle with its lid to keep the design intact and prevent any spills or shifting.
To further protect your creation, apply a thin layer of clear sealant or glue around the sand layers inside the bottle.
Next, decorate the lid to add a personal touch. Use hot glue to firmly attach shells, small charms, or other embellishments to the lid.
You can also enhance its look by spray painting the lid or adding colorful stickers. These simple decorations make your sand art bottle stand out and give it a polished finish.
Finally, display your bottle in a safe spot where it won’t get disturbed, so your beautiful design stays perfect over time.
Frequently Asked Questions
How to Make Sand Art in a Bottle for Beginners?
You start by dyeing sand in different colors, then layer it carefully into a clean bottle using a funnel. Tap gently to settle each layer.
Create patterns with a toothpick, and seal the bottle tightly. It’s a simple process, but the results are really cool! Just take your time to make each layer neat.
What Are the Steps to Make DIY Sand Art?
You’ll be creating a masterpiece that could rival the Grand Canyon! First, dye your sand colors.
Then, layer them carefully in a bottle using a funnel. Tap gently to settle the sand.
After that, seal the bottle and let it dry completely. It’s super fun and looks amazing when you’re done!
What Are Some Creative Sand Art Ideas for Bottles?
Try layering uneven spirals or concentric circles, mixing colored sugar with sand for texture, and using skewers to draw squiggly lines.
Add mini shells or pebbles to give your bottles a unique, beachy vibe.
These little touches really make your sand art stand out. Plus, they add a fun, natural element that’s super charming!
What Liquid Goes in Sand Art?
You’ll want to use just a tiny splash of colored water—like a magical potion—to dye the sand.
Don’t drown it! Too much liquid, and your masterpiece will turn into a messy, shifting disaster!
Conclusion
Now that you’ve created your vibrant sand art bottles, remember: each layer tells a story, just like your creativity. Don’t rush the process—patience shapes perfection.
With every colorful grain you add, you’re not just crafting art; you’re capturing moments of joy and imagination. So, keep experimenting and let your bottles shine as bright as your inspiration.
After all, isn’t life itself just a beautiful, layered masterpiece waiting to be sealed? Making sand art bottles is more than a fun craft—it’s a way to express yourself and create lasting memories. Enjoy the process, and watch your creativity come to life in every colorful layer!