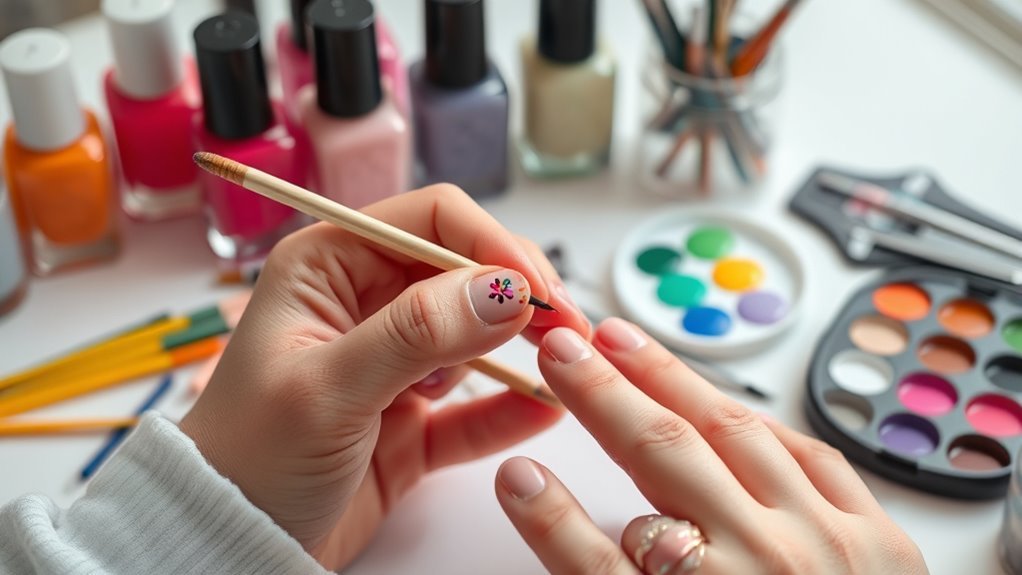
How to Do Nail Art Step by Step for Beginners
To start nail art, first gather essential tools like dotting tools, brushes, and striping tape. These basics will help you create beautiful designs with ease.
Prep your nails by removing old polish, shaping them, and applying a base coat to protect your natural nails.
Work with thin polish layers, letting each dry fully before adding details with your tools. This helps avoid smudging and keeps your design neat.
Finish with a top coat to protect your design and add shine.
Keep practicing for steady hands and precision. The more you do it, the better you’ll get!
If you want to create more intricate styles, there’s plenty more techniques you can try next. Nail art is all about having fun and expressing yourself.
Key Takeaways
– Start by prepping nails: remove old polish, shape nails, buff surfaces, push back cuticles, and apply a base coat.
This sets a clean canvas for your nail art and helps it last longer.
– Use simple tools like dotting tools, striping tape, and small brushes for precise, clean designs.
You don’t need fancy stuff to get great results!
– Apply thin polish layers, letting each dry fully before adding details or new colors.
Patience is key here to avoid smudges.
– Create designs step-by-step, starting with base colors and adding patterns or accents gradually.
Build your look little by little for best effect.
– Seal your work with a top coat and allow sufficient drying time to prevent smudging and chipping.
This final step keeps your nail art looking fresh and fabulous.
Essential Tools and Nail Preparation
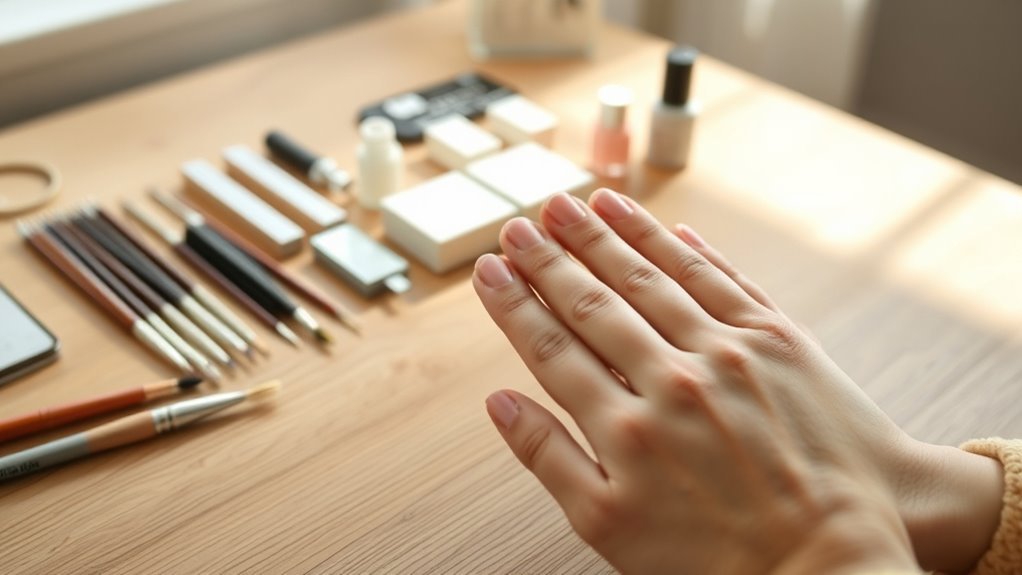
Before you start your nail art, make sure you’ve gathered all essential tools like dotting tools, striping tape, brushes, stamping plates, rhinestones, and studs to have everything at hand. Your nail art kit should have these nail tools ready to streamline your process.
Start your nail prep by removing old nail polish with an acetone-free remover to protect nail health. Shape your nails into your favorite nail shapes—oval, square, almond, or coffin—using a fine-grit file for a uniform look.
Lightly buff the nail surface to smooth ridges, ensuring polish and decorations adhere well. Gently push back cuticles and apply cuticle oil to hydrate and maintain healthy nails.
Don’t forget to apply a base coat before polish to protect nails and enhance design longevity. It really makes a difference in how long your nail art lasts!
Basic Nail Art Techniques and Finishing Touches
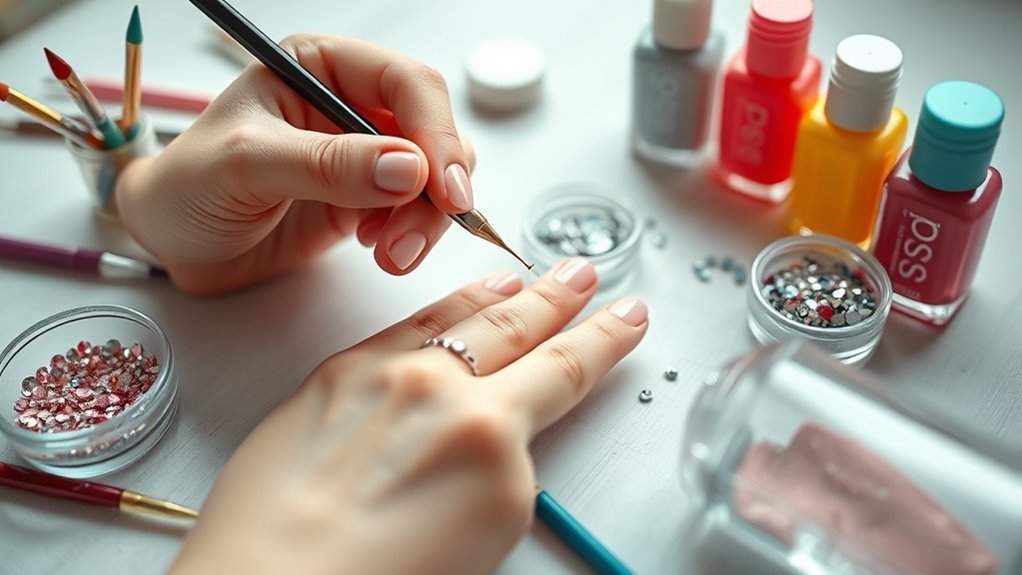
Once you’ve prepped your nails and applied a base coat, you can start experimenting with basic nail art techniques using simple tools like dotting tools, striping tape, or brushes.
Begin by applying thin layers of polish or gel on the nail plate, allowing each to dry fully for smooth application. Use a dotting tool to create precise dots or a small brush for fine details in your nail designs.
Striping tape helps form clean lines effortlessly. Keep your nails clean throughout, wiping excess polish with a small brush dipped in acetone for a polished look.
Finally, apply a top coat to seal your design, enhance shine, and protect against chipping. With practice and patience, you’ll master these foundational techniques and create stunning nail art every time.
Frequently Asked Questions
How to Do Simple Nail Art at Home for Beginners?
Start by cleaning and shaping your nails, then apply a base coat. Use simple designs like polka dots or stripes with dotting tools.
Let the polish dry between layers, and finish with a top coat for shine and durability.
It’s easier than it sounds, and you can totally customize your look. Just have fun with it!
How to Learn Nail Art at Home Step by Step?
You don’t need a magic wand to learn nail art at home—just plunge in!
Watch tutorials, gather basic tools, and practice simple designs step by step.
Before you know it, you’ll create stunning nails without breaking a sweat or hiring a pro.
What Are the Basic Steps for Nail Painting?
You start by cleaning and shaping your nails, then apply a base coat.
Next, paint two thin layers of polish, let them dry, and finish with a top coat to seal and protect your nail art.
How to Begin Nail Art?
You begin nail art by cleaning your nails thoroughly, contrasting a blank canvas with vibrant designs. Don’t rush—start simple, gather your tools, and practice on a nail wheel before confidently creating your own unique masterpieces.
It’s all about getting comfortable first. Take your time and enjoy the process!
Conclusion
Now that you’ve got the basics down, your nails can shine brighter than a thousand stars! With just a few essential tools and simple techniques, you’re ready to create stunning nail art that turns heads everywhere you go.
Remember, practice makes perfect, so don’t be afraid to experiment and have fun. Nail art step by step for beginners is all about exploring your creativity and gaining confidence with each design.
Soon, you’ll be crafting designs that look like they belong in a magazine. Keep going—you’ve got this! With patience and a little practice, your nail art skills will improve quickly, making your nails a true masterpiece.