How to Seal Diamond Art Coasters in 5 Easy Steps
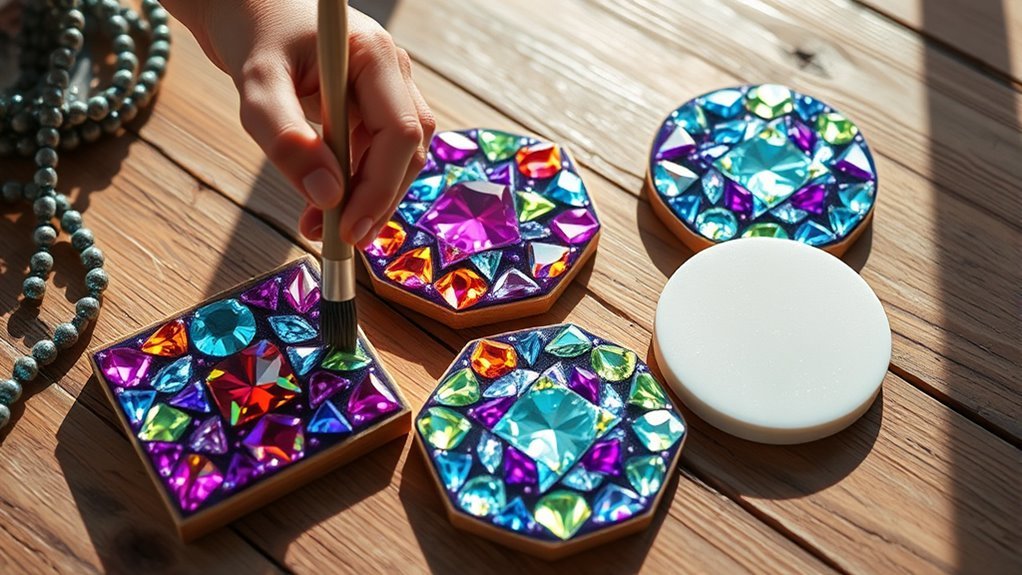
To seal your diamond art coasters, start by gathering your sealant, brush, and a clean workspace. Having everything ready makes the process smooth and hassle-free. Press the drills firmly into the adhesive to prevent bubbles, which can ruin the finished look.
Next, apply a thin, even coat of sealant over the entire surface, including the edges. This step is important to protect your beautiful diamond art and keep it looking vibrant for a long time. Let the coasters dry fully on a flat, dust-free area. It might take a few hours, so patience is key here.
Finally, inspect your coasters for any rough spots or gaps. Touch up those areas as needed to get a perfectly smooth finish. Keep practicing, and you’ll discover even better ways to protect your diamond art coasters and make them last!
Key Takeaways
- Prepare your workspace and gather your sealants, like Mod Podge or spray sealants. Don’t forget to have clean brushes or applicators ready.
- Press the drills firmly into the adhesive using a soft roller. This helps avoid air bubbles and makes sure the drills are fully embedded.
- Apply thin, even coats of sealant with a foam brush. Cover all surfaces and edges, working from the center outward.
- Let each sealant layer dry completely on a flat, dust-free surface. Only handle or add more coats once it’s fully dry.
- Check for any imperfections. Touch up uneven spots or edges with a small brush to get a smooth, glossy finish.
Gather Your Materials and Prepare the Coaster
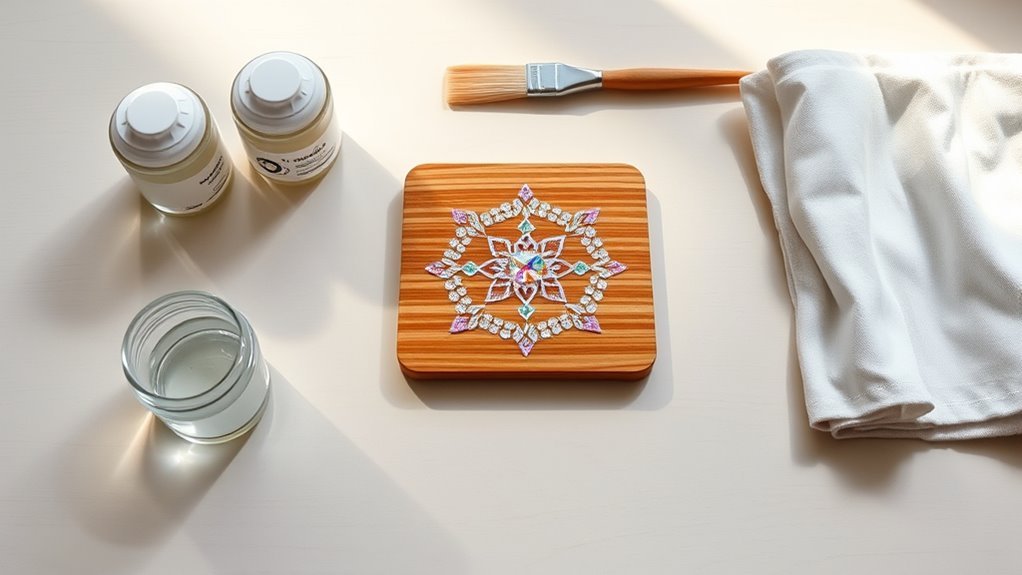
Before you begin sealing your diamond art coaster, gather all the essential materials, including a clear sealant like Mod Podge, Polycrylic, or a spray-on variety, along with a clean brush or sponge applicator. Make sure your diamond art coaster is completely dry and free from dust or debris to make certain proper sealing.
Set up a well-ventilated work surface covered with newspaper or plastic to protect against spills and drips. This preparation helps you maintain a clean area while you work.
Have any additional tools handy, such as tweezers or small brushes, for detailed edge coverage or decorative touches. Taking these steps before you seal your coaster guarantees a smooth application and a professional finish for your diamond art project.
Press Drills Securely Into the Adhesive
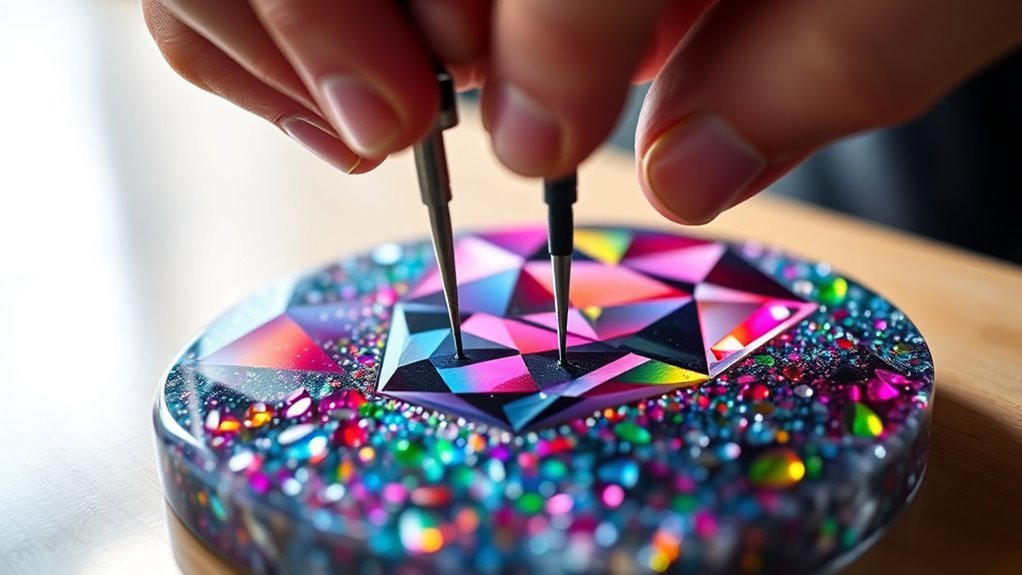
How can you guarantee your diamond drills stay perfectly in place? Start by pressing them firmly into the adhesive using a clean, soft roller or rolling pin. This pressing action ensures proper embedding of each drill, eliminating air bubbles trapped underneath that can cause lifting later.
Roll evenly across the entire coaster surface, including edges, to create a uniform seal between drills and adhesive. Applying gentle but consistent pressure helps the drills sit flush, reducing the chance they’ll fall off during handling.
After pressing, allow the adhesive to fully cure before moving on. This step is essential because it locks the drills securely in place, giving you a solid base to work with for the next stages of sealing your beautiful diamond art coaster.
Apply an Even Layer of Sealant Over the Surface
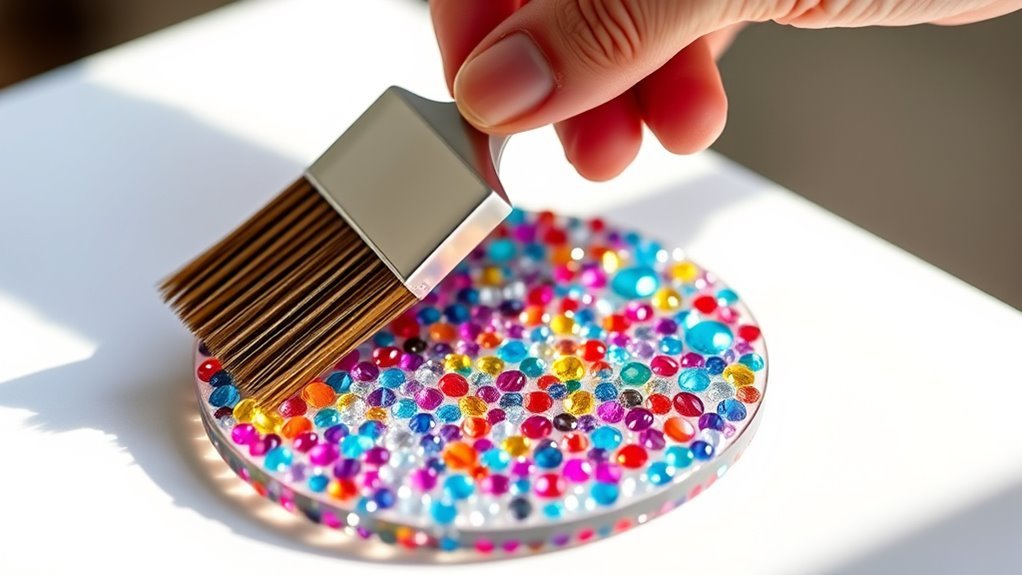
Once your drills are firmly set and the adhesive has cured, you can start applying the sealant to protect your diamond art coaster. Place your coaster on a clean, flat surface to keep it stable.
Use a foam brush or sponge to apply the sealant in a thin, even layer, working from the center outward to avoid bubbles and drips. Make sure you cover all areas, including edges and corners, to ensure complete coverage.
Apply multiple thin coats rather than one thick layer; this helps the sealant dry evenly and prevents uneven spots. Remember to let each coat dry fully before applying the next.
Allow the Sealant to Dry Completely
Although it can be tempting to handle your diamond art coaster right after sealing, you’ll need to let the sealant dry completely to guarantee lasting protection. Depending on the type of sealant, drying time varies—Mod Podge or spray sealants typically need 15-20 minutes, while epoxy resin can take 24-48 hours to fully dry.
Place your coaster on a flat, dust-free surface during this period to ensure even curing. Don’t touch or handle the sealed surface until the sealant is completely clear and no tackiness remains; premature contact can cause smudges or fingerprints, compromising the finish.
Always check the manufacturer’s instructions for specific drying guidelines to maximize your coaster’s protection and durability. It’s worth the wait to keep your diamond art looking perfect!
Inspect and Touch Up for a Smooth Finish
After the sealant dries, carefully inspect your coaster for any uneven spots or drips that might need touch-ups. Use a small brush or toothpick during your inspection to smooth out bubbles or excess sealant, ensuring every part of the surface shows a smooth finish.
Pay close attention to the edges—make sure they’re fully sealed with no gaps to prevent dirt or moisture from getting in. Once you’ve checked thoroughly, gently run your finger across the surface to feel for any rough areas.
If you find dull or uneven spots, apply an additional thin layer of sealant as a touch-up. This extra step guarantees a flawless, glossy finish that protects your diamond art coaster beautifully.
Frequently Asked Questions
What Is the Best Way to Seal Diamond Art Coasters?
The best way to seal diamond art coasters is by applying multiple thin coats of a clear, waterproof sealant like Mod Podge or resin.
Use a foam brush, let each layer dry, and test on a small area first.
This way, you’ll make sure the sealant doesn’t damage your design and that it holds up well over time.
What Should I Seal My Coasters With?
You should seal your coasters with a clear, waterproof sealant like Mod Podge Dishwasher Safe or Dura Clear. Apply thin, even coats and let each dry fully to protect your diamond art without dulling its sparkle.
It’s super important to go easy with the layers—too thick can get messy. Letting each coat dry properly makes all the difference in keeping your coasters looking great and water-resistant.
Can You Use Hairspray to Seal Diamond Art?
You might think hairspray’s a quick fix, but it won’t protect your diamond art like a knight’s armor.
Instead, choose proper sealants like Mod Podge or resin to keep your masterpiece shining and safe for years.
What Can I Put on Diamond Art to Seal It?
You can put clear acrylic sealants like Mod Podge, spray sealants such as Krylon, or epoxy resin on your diamond art. These protect the surface, keep diamonds secure, and preserve your artwork’s vibrant look.
It’s a good idea to choose a sealant that won’t yellow over time. Plus, make sure it’s compatible with the glue and materials you’ve used. This way, your diamond art stays looking fresh and sparkling for years!
Conclusion
Now that you’ve sealed your diamond art coaster, isn’t it satisfying to see your work protected and shining?
By gathering your materials, pressing drills firmly, applying sealant evenly, and letting it dry completely, you’ve guaranteed lasting beauty. Don’t forget to inspect and touch up any spots for that perfect finish.
With these simple steps, your coaster is ready to impress and endure. So, why wait? Start sealing your diamond art coaster today and enjoy your masterpiece for years to come!