How to Add Art to Frame TV in 3 Easy Steps
To add art to your Samsung Frame TV in three easy steps, start by connecting your TV to Wi-Fi.
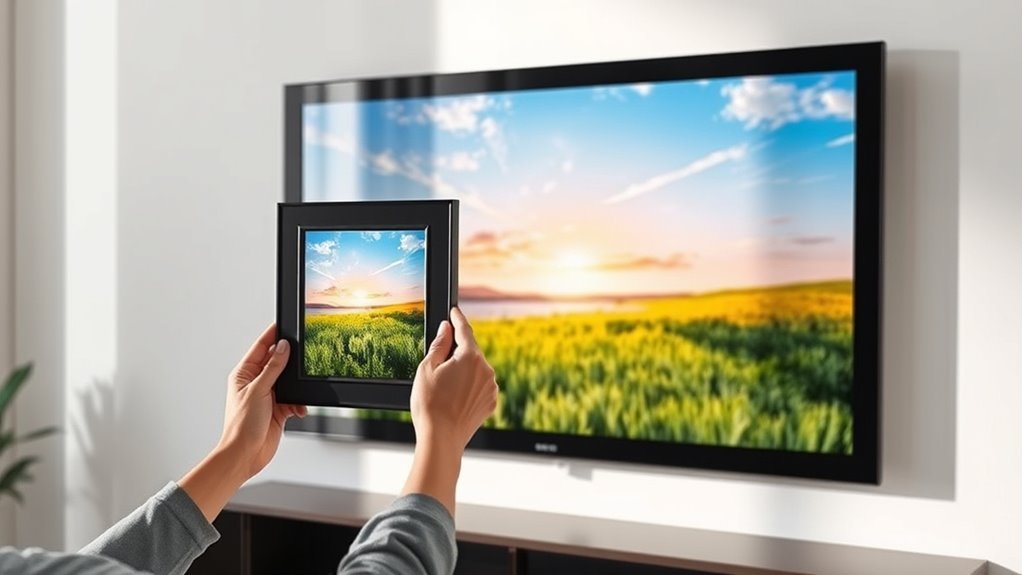
Then, get your high-resolution images ready—they should be sized to 3840 x 2160 pixels for the best display quality. Having the right image size ensures your artwork looks crisp and vibrant on your TV screen.
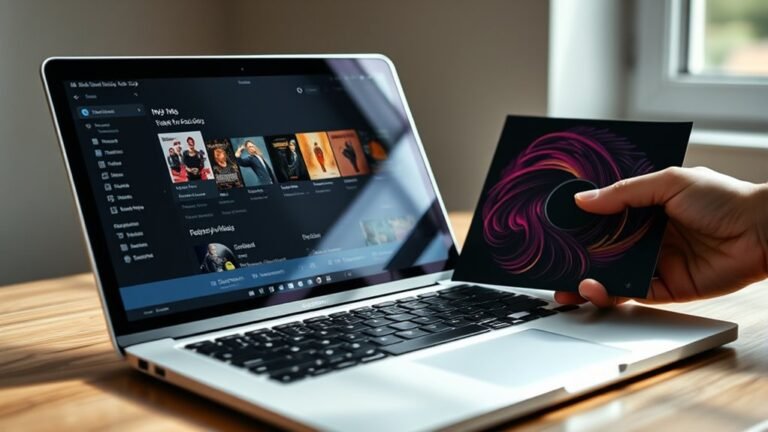
Next, upload your artwork. You can do this easily using the SmartThings app on your phone, or by connecting a USB drive to the TV’s One Connect Box. Both methods are straightforward, so just pick whichever works best for you.
Finally, customize your display by selecting your images in Art Mode. From there, you can adjust brightness, choose mats, or even set up slideshows to create a perfect gallery atmosphere. Keep exploring these features to find creative ways to showcase your favorite art pieces!
Key Takeaways
- Connect your Samsung Frame TV to Wi-Fi and open the SmartThings app on your mobile device.
- Resize your artwork to 3840 x 2160 pixels for optimal Art Mode display.
- Upload artwork wirelessly via SmartThings app or using a USB storage device connected to the TV.
- Access “My Collection” on the TV to view and save uploaded images to Art Mode.
- Customize display settings like mats, brightness, and slideshows using the SmartThings app.
It’s pretty straightforward once you get started! Just follow these steps, and you’ll have your favorite art displayed beautifully in no time.
Connect Your Frame TV and Prepare Your Artwork
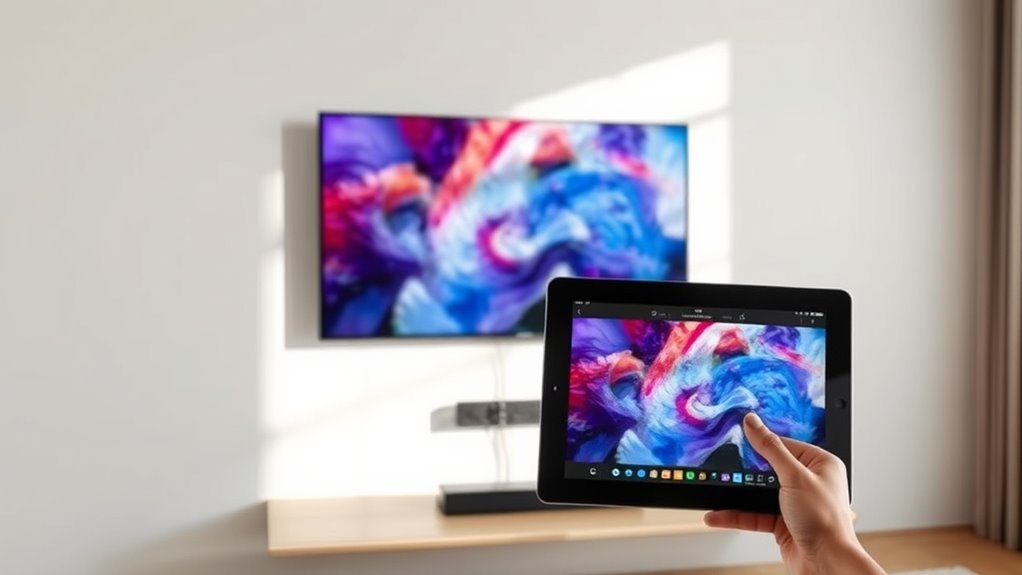
Before you can showcase your favorite pieces, connect your Samsung Frame TV to a stable Wi-Fi network and power it on. First, make sure your TV model supports the Samsung SmartThings app—typically, models from 2018 or newer are compatible.
Download the SmartThings app on your mobile device, open it, and add your Frame TV to establish a solid app connection. Next, prepare your artwork by resizing images to 3840 x 2160 pixels using tools like Canva or Photoshop. This ensures your digital art fits perfectly in Art Mode without distortion.
Once ready, you’ll be set to upload artwork seamlessly. Whether you choose pieces from your personal collection or the curated gallery, your Frame TV will beautifully display your favorite art with crisp clarity and vibrant colors.
Upload Artwork Using SmartThings or USB
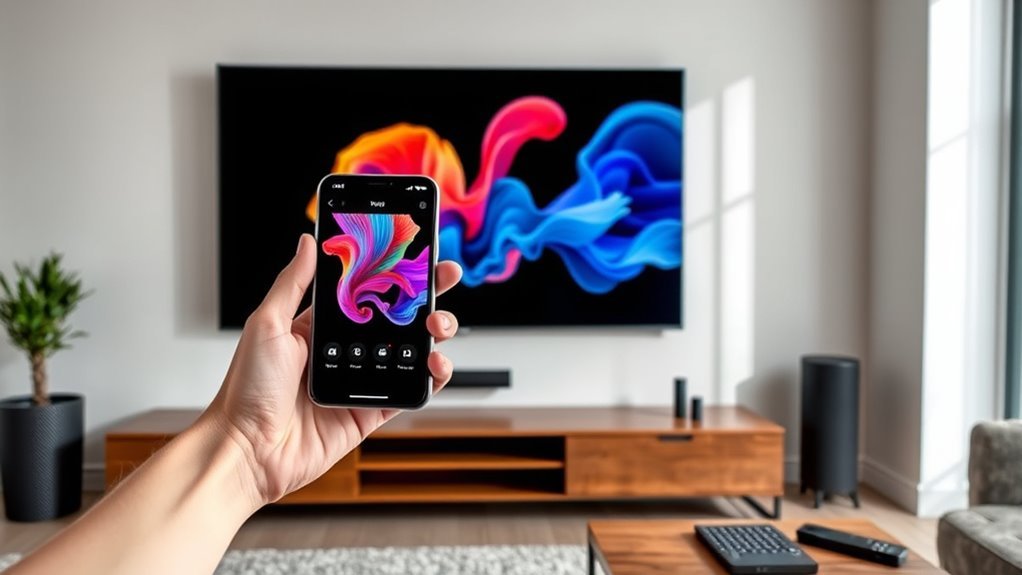
When you’re ready to add your artwork, you can upload images directly using the SmartThings app or a USB storage device connected to your Frame TV’s One Connect Box.
If you choose USB, connect your storage device to the One Connect, then switch your Frame TV to Art Mode. Navigate to “My Collection” and tap “USB” at the top to import photos.
Highlight the images you want to upload and select “Save” to add them to your collection. For the best display quality, make sure your artwork is resized to 3840 x 2160 pixels before uploading.
To view your uploaded images anytime, go to “My Collection” and then “My Photos” on your Frame TV. Using SmartThings, you can also upload artwork wirelessly for added convenience.
Customize and Display Your Art on the Frame TV
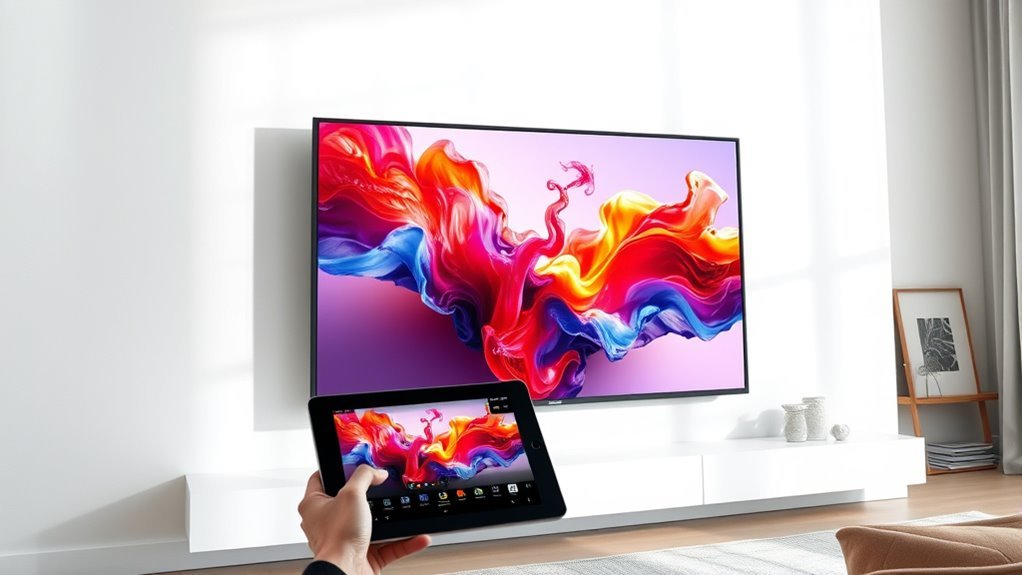
Although uploading your artwork is essential, customizing how it appears on your Frame TV truly brings it to life.
Access the Art Mode menu on your Samsung Frame TV to select and customize your artwork. Use the SmartThings app to upload photos, add mats, artistic effects, or create slideshows.
You can also adjust brightness and color warmth to match your room’s ambiance and enhance realism.
| Feature | How to Use It |
|---|---|
| Upload Artwork | Via SmartThings app or USB drive |
| Customize Display | Add mats, effects, or slideshows |
| Adjust Settings | Brightness and color warmth |
With these tools, you can perfectly display your art and photos, turning your Frame TV into a personalized gallery.
Frequently Asked Questions
How Do I Add Artwork to My Samsung Frame TV?
You add artwork by accessing Art Mode with your remote or SmartThings app. Upload photos from your phone, connect a USB with images, or buy art from the Art Store.
Then customize display settings to your liking. It’s pretty straightforward and lets you personalize your TV’s look easily.
How Do I Display Art on My Samsung Frame TV?
You display art on your Samsung Frame TV by activating Art Mode with your remote or SmartThings app. Then, you can select artwork from the Art Store or upload your own photos.
It’s pretty simple to adjust the settings, too, so you get the perfect look for your space. Just play around with the options until it feels right!
How Do You Put Pictures Onto Your Samsung Frame TV?
You might think transferring pictures is tricky, but it’s simple. Just use the SmartThings app to connect your phone, then upload photos directly.
Or, you can add them via USB through the My Collection menu on your Frame TV. It’s pretty straightforward once you get the hang of it!
How to Get to Art Mode on Frame TV?
You get to Art Mode on your Frame TV by pressing the Home button. Then, just select the Art Mode icon to dive right in.
Alternatively, you can press the Power button and choose Art Mode from there.
If you prefer using your phone, the SmartThings app lets you access Art Mode easily too. It’s super convenient!
Conclusion
Now that you’ve connected your Frame TV and uploaded your favorite artwork, you’re ready to transform your space. Like hanging a prized painting in a grand gallery, your TV becomes the centerpiece of your room.
With just a few taps, you can customize and showcase stunning art that suits your mood or style. It’s easy to switch between different pieces, giving your living room a fresh look whenever you want.
So go ahead, give your living room that timeless touch—your very own digital renaissance awaits! Adding art to your Frame TV is a simple way to elevate your home décor and enjoy a gallery-quality experience right in your own space.