7 Tips for How High to Hang Art Above Couch
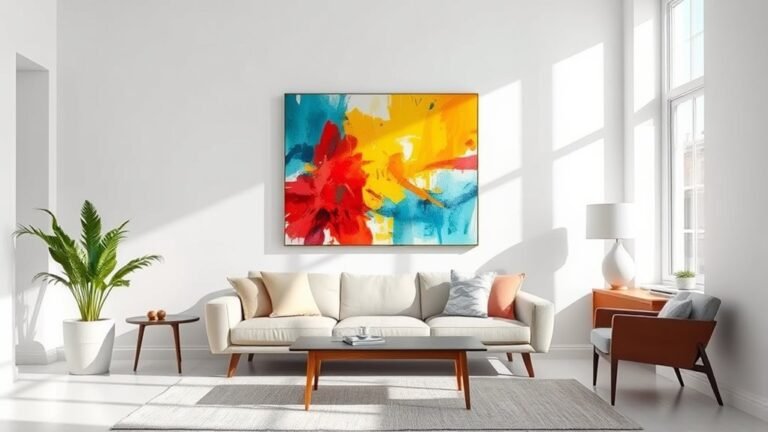
You should hang art about 6 to 8 inches above your couch for the best visual balance. This height creates a cozy, connected feel between the furniture and the artwork. It’s a simple trick that can totally transform your living space’s vibe.
Start by measuring your couch’s width and apply the two-thirds rule to choose the right artwork size. Basically, your art should span about two-thirds the width of the couch.
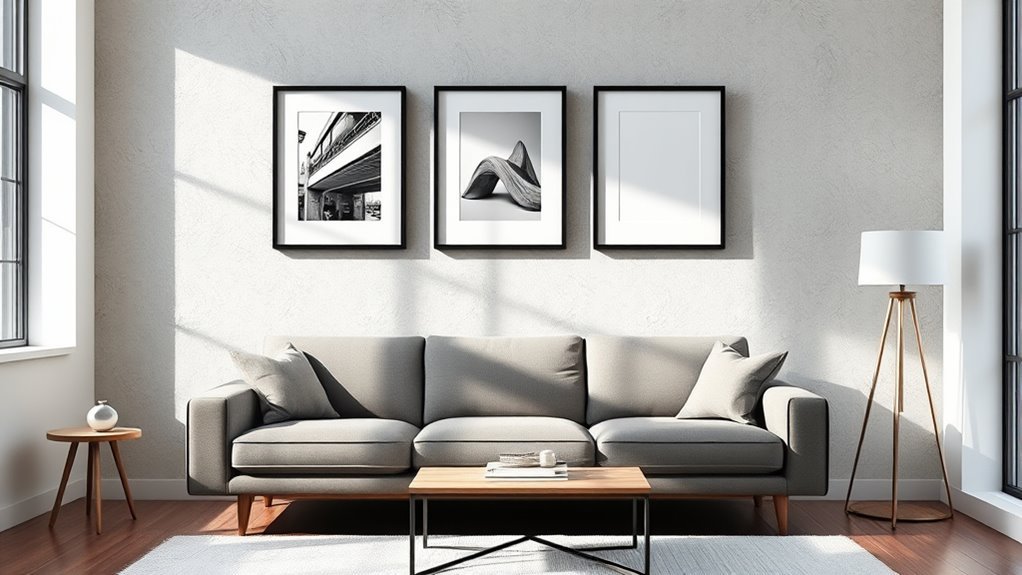
If you’re using multiple pieces, group them tightly to cover that same space for a cohesive look.
Adjust the height based on your ceiling height and room proportions. Painter’s tape is a great tool to mark where your art will go before you nail anything in.
Just make sure everything is centered and level for a polished, intentional finish.
There’s definitely more to think about if you want a truly stylish arrangement, like frame styles and lighting. But getting the height right is a fantastic place to start!
Key Takeaways
- Hang artwork 6 to 8 inches above the couch back for balanced proportions and visual harmony. This spacing helps keep the art connected to the furniture without feeling cramped.
- Measure from the floor to the top of the sofa to determine the vertical placement baseline. That way, you have a starting point to work from when deciding exactly where to hang your piece.
- Adjust height to 8-10 inches for 8-foot ceilings, and 10-12 inches for ceilings over 9 feet. Taller ceilings usually call for a bit more space to keep things feeling balanced.
- Use painter’s tape to mark the desired height and position before hanging for accuracy. It’s a simple trick that really helps you avoid guesswork.
- Ensure artwork is level and centered above the couch using a level and midpoint marks. Nothing looks worse than a crooked frame right over your sofa!
Measure the Distance Between Couch and Artwork
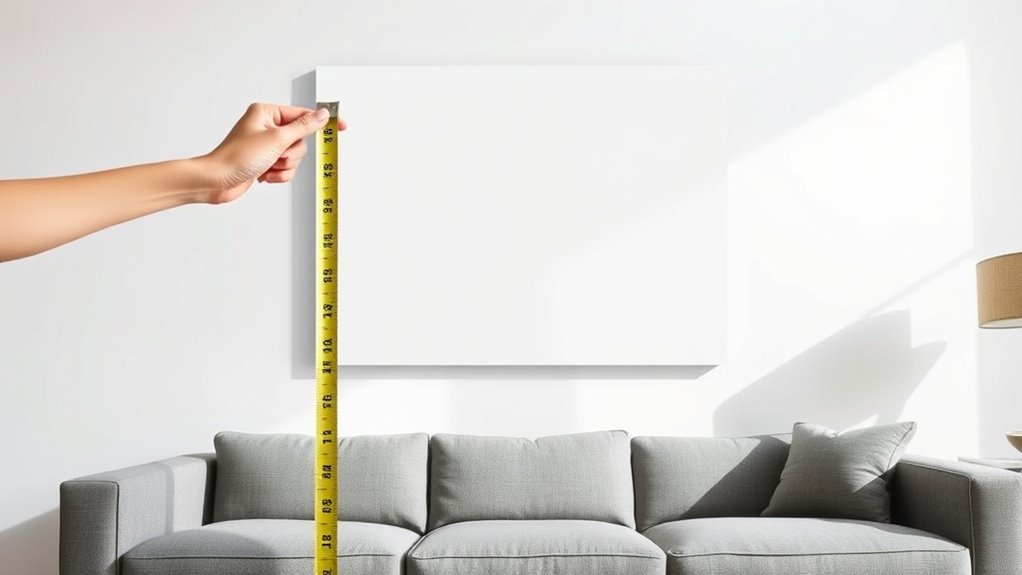
When you measure the distance between your couch and artwork, aim for a 6 to 8-inch gap to create balanced proportions. Start by measuring the height of your couch’s backrest, then subtract 6 to 8 inches to find the ideal spot for hanging artwork.
This guarantees the art doesn’t feel too cramped or too detached from your seating area. If your couch has a taller back, lower the artwork slightly to maintain visual harmony.
Use painter’s tape to mark this height on your wall space before hanging, so you get the spacing just right. While personal style plays a role, keeping consistent measuring distance throughout your room helps create a cohesive, well-thought-out look when displaying your art above the couch.
Apply the Two-Thirds Rule for Art Size
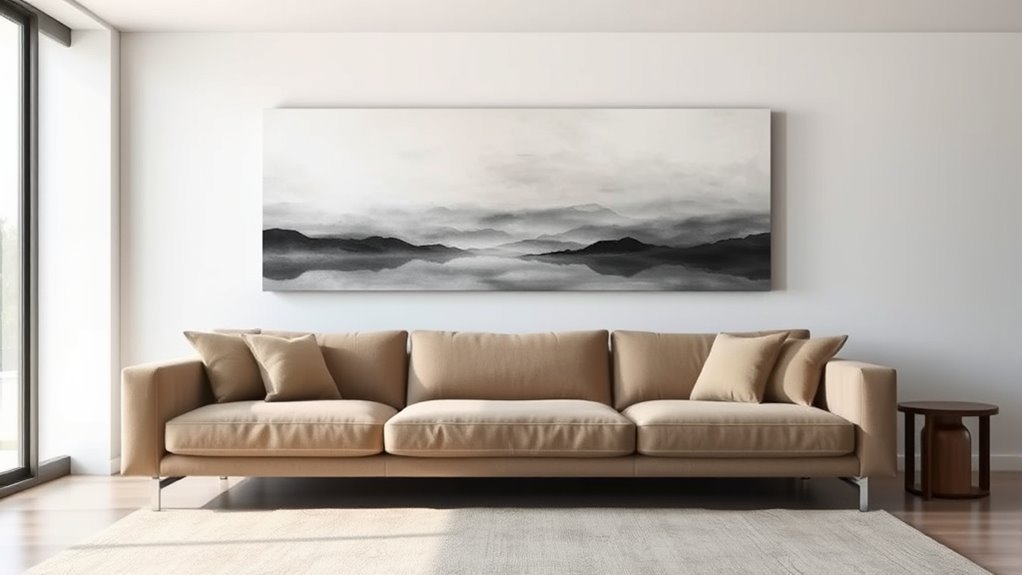
To create balance between your couch and artwork, use the two-thirds rule by sizing the art to about two-thirds the width of your sofa.
First, measure your couch, then multiply that length by two-thirds to find the ideal art width.
This simple guide helps make certain your art complements the furniture without overpowering it.
It’s an easy way to keep things looking just right!
Two-Thirds Size Guide
Applying the two-thirds rule makes it easy to choose the right size artwork for your couch. This rule of thumb guarantees your hanging pictures aren’t too small or overwhelming.
Simply measure your couch’s width and multiply by two-thirds to find the ideal art size. For example, with a 90-inch couch, aim for artwork about 60 inches wide.
This balance keeps your space visually appealing without clutter.
| Couch Width (inches) | Art Width (inches) |
|---|---|
| 60 | 40 |
| 72 | 48 |
| 84 | 56 |
| 90 | 60 |
| 96 | 64 |
Use this guide as a quick reference when deciding on art size to complement your furniture perfectly.
Balancing Art and Furniture
Although choosing art for above your couch might seem straightforward, balancing its size with your furniture is key to creating a harmonious look. Apply the two-thirds rule: your artwork should be about two-thirds the width of your sofa.
For instance, if your couch is 90 inches wide, aim for art roughly 60 inches wide. This size and scale prevent the piece from overpowering or getting lost against the furniture.
When using multiple pieces, their combined width should also follow this guideline. Proper art placement at the right hanging height complements this balance, ensuring the artwork feels connected to the couch.
Sticking to these proportions helps you create a cohesive, visually pleasing setup without any awkward gaps or overcrowding. It’s all about making the space feel balanced and comfortable.
Hang Artwork 8 to 10 Inches Above the Couch
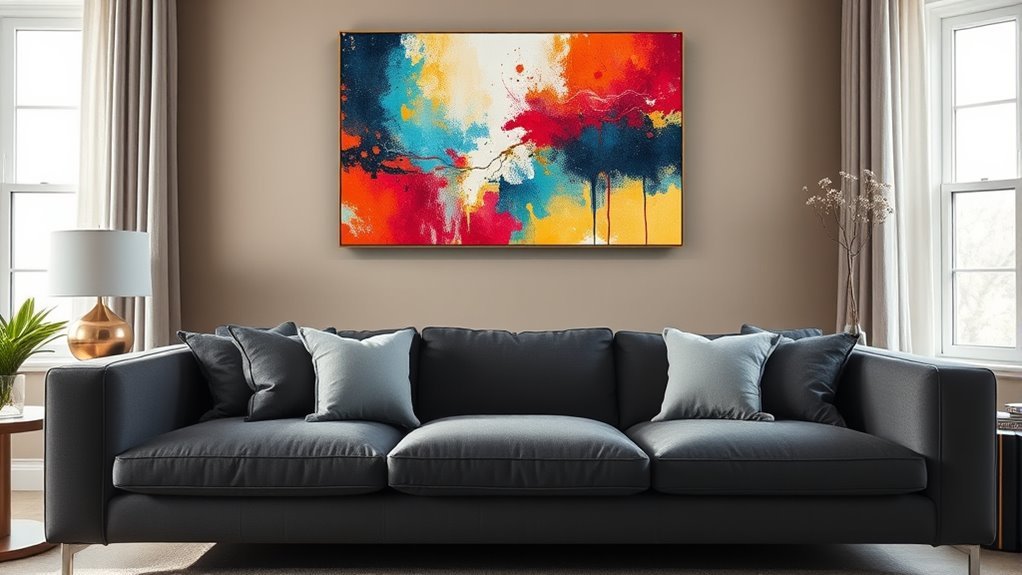
When you hang artwork 8 to 10 inches above the couch, you create a balanced visual connection between the furniture and the wall. To achieve the right visual proportion, measure from the back of your couch to the bottom of the wall art before hanging.
This ensures consistent spacing that complements rather than overwhelms your space. Use painter’s tape to mark the desired height on the wall; this simple step helps you visualize placement before committing to nails or hooks.
Adjust the height slightly depending on your couch’s height and the artwork’s size, but keep within the 8 to 10-inch range for best results. By following these tips, you’ll hang artwork that enhances your room’s harmony and style seamlessly.
Consider Groupings for Multiple Art Pieces
When you’re working with multiple art pieces above your couch, arrange them so the entire grouping spans about two-thirds of the sofa’s width. Keep the spacing between each piece tight, around 2 to 3 inches, to create a unified look.
Treat the collection as one visual unit to maintain balance and harmony in your space. It really helps to think of the group as a single piece rather than many separate ones. This way, your wall feels more intentional and put together.
Arranging Art Collectively
If you’re planning to display multiple art pieces above your couch, grouping them thoughtfully can create a striking focal point. When arranging artwork collectively, keep the overall balance and harmony in mind.
Here’s how to nail the hanging process while maximizing your wall space:
- Aim for the combined width of the artwork to be about two-thirds the width of your couch for visual balance.
- Hang the pieces close together to form one cohesive unit.
- Use painter’s tape on the wall to outline the grouping before hanging.
- Vary frame sizes to add interest but keep the arrangement unified.
- Maintain consistent spacing between pieces to let each artwork stand out yet feel connected.
This approach ensures your grouped artwork complements your space perfectly.
Spacing Between Pieces
Arranging multiple art pieces above your couch sets the stage, but the spacing between each piece truly defines the overall look. When you group artwork, aim for about 2-3 inches of spacing between each to create a cohesive arrangement.
Keeping consistent spacing of 3-4 inches between the artwork and your couch balances the visual weight nicely. If you’re creating a gallery wall, spacing frames 4-6 inches apart helps the collection feel unified without crowding the space.
You can vary spacing slightly to add visual interest, but make sure the overall arrangement remains harmonious to avoid clutter. Proper spacing enhances balance and guarantees your artwork complements the room without overwhelming it or getting lost in the decor.
Adjust Height Based on Ceiling and Room Size
Although ceiling height and room size vary, you can create a balanced look by adjusting the art’s height above your sofa accordingly. The key is to maintain proper proportion between the art and your space.
Here’s what to contemplate when determining the right height:
- For 8-foot ceilings, hang art 8-10 inches above the sofa for ideal proportion.
- If your ceiling is over 9 feet, raise the art 10-12 inches above the sofa to complement the height.
- In rooms with lower ceilings (around 8 feet), keep art closer, about 6-8 inches above.
- Measure from the floor to the sofa top to find a baseline height.
- Adjust placement based on room size to ensure the art doesn’t feel lost or cramped.
This approach balances the ceiling height and room size with your artwork’s placement. It really helps the space feel just right.
Use Painter’s Tape to Visualize Placement
When you want to see how your artwork will fit above the couch, use painter’s tape to outline its size and position on the wall. This creates a clear visual guide, letting you simulate the art piece’s dimensions and test different placements without making any permanent marks.
Leave the painter’s tape up for a couple of days to get a real feel for how the size and placement work with the room’s layout and furniture. If something feels off, simply adjust the tape until the balance looks right.
Using painter’s tape this way helps you avoid mistakes and ensures your art’s placement complements your space perfectly before you commit to hanging it. It’s a simple trick that really makes a difference!
Ensure Artwork Is Centered and Level
Once you’ve mapped out your artwork’s size and position with painter’s tape, the next step is to make sure it’s perfectly centered and level. Proper measuring is key to achieving balanced placement above your couch.
Aim to position the artwork’s center about 57 inches from the floor for ideal eye-level viewing. Follow these steps to get it right:
- Measure from the floor to the midpoint of the artwork to ensure it’s centered.
- Mark the wall at this midpoint as a guide for hanging.
- Use a level tool to check that the artwork is perfectly horizontal.
- Adjust so the bottom edge sits roughly 8-10 inches above the couch’s top.
- Double-check measurements before securing the piece to maintain a level display.
This approach guarantees your art looks intentional and well-placed. It really makes a difference when everything’s just right!
Frequently Asked Questions
How High Should Wall Art Be Hanging Above the Sofa?
You should hang wall art about 8 to 10 inches above your sofa’s back. This height keeps the art visually connected to the furniture and maintains balanced proportions in your room’s design.
It’s all about creating a cozy, cohesive look. When the art sits too high, it feels disconnected from the sofa. Too low, and it can crowd the space. So, that 8 to 10 inch range is kind of the sweet spot!
What Are the Rules for Hanging Art Above My Sofa?
Picture your sofa as a stage—hang your art 8-10 inches above it, centered and sized around two-thirds its width.
You’ll create a balanced, harmonious focal point that draws eyes naturally, no guesswork needed.
What Is the 2/3 Rule for Wall Art?
The 2/3 rule means your wall art should be about two-thirds the width of the furniture below it.
This keeps your space balanced and guarantees the art complements rather than overwhelms your room’s look.
It’s a simple trick to make everything feel just right without too much fuss.
How to Hang Artwork Above a Couch?
You’ll want to hang artwork about 8 to 10 inches above your couch to keep things balanced. Measure carefully, use painter’s tape to mark, and make certain the piece’s width complements roughly two-thirds of your couch length.
This way, the artwork doesn’t feel too cramped or too sparse. It really helps tie the whole room together and makes that wall pop!
Conclusion
Now that you know exactly how high to hang your art above your couch, getting it right is easier than you think!
Remember, even a tiny adjustment can transform your whole room—it’s like magic for your walls. Use these tips to measure, center, and visualize your artwork perfectly.
With just a little effort, you’ll create a stunning focal point that ties your space together beautifully. Hanging art at the right height above your couch not only enhances your living room’s style but also balances the visual flow.
Your living room will never look the same again! So go ahead, experiment with placement, and watch how the perfect art height can elevate your entire space.