How to Do Nail Art in 3 Easy Steps for Beginners
Start by prepping your nails—remove old polish, shape them, buff the surface, and apply a clear base coat. This step is essential for smooth nail art and helps the polish last longer. Clean nails give you the perfect canvas to work on.
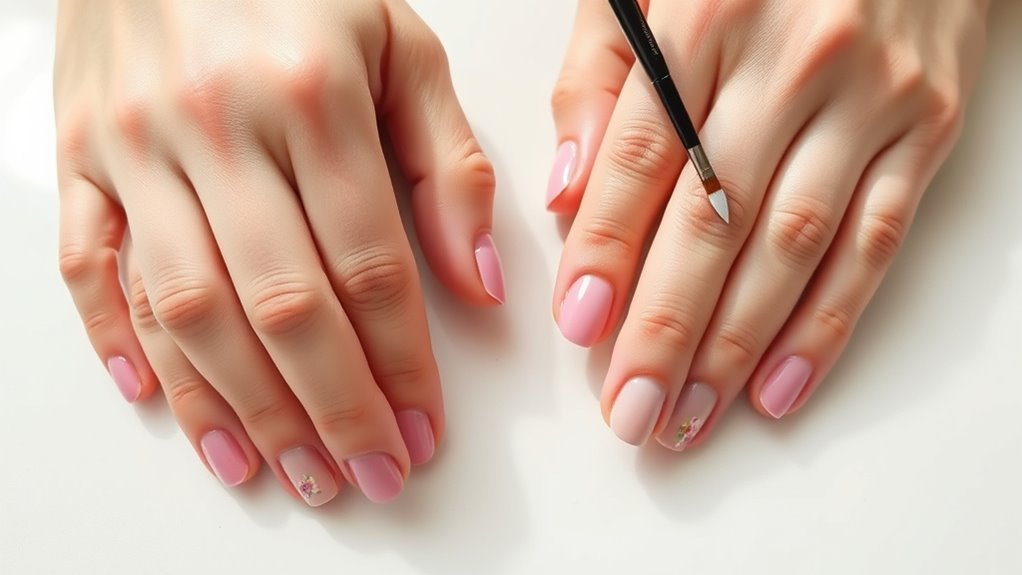
Next, pick a simple design like polka dots or stripes. Use 2-3 colors to keep it beginner-friendly, and apply your chosen nail polish carefully. Tools like dotting sticks or tape can help you achieve precision and neat lines. Don’t worry if it’s not perfect the first time; practice makes perfect!
Finally, seal your design with a top coat to protect it and extend its life. This step adds shine and prevents chipping. Keep going to discover tips for making your nail art look flawless longer. You’re well on your way to mastering easy and beautiful nail art!
Key Takeaways
- Start by prepping nails: remove old polish, shape, buff, and apply a clear base coat for smooth, clean nails.
- Choose a simple design like polka dots or stripes and pick 2-3 coordinating colors.
- Use tools such as dotting tools or striping tape to create precise, easy patterns.
- Apply a high-quality top coat to seal your design and enhance durability.
- Reapply the top coat every 2-3 days and practice regularly to improve your nail art skills.
Prepare and Prime Your Nails
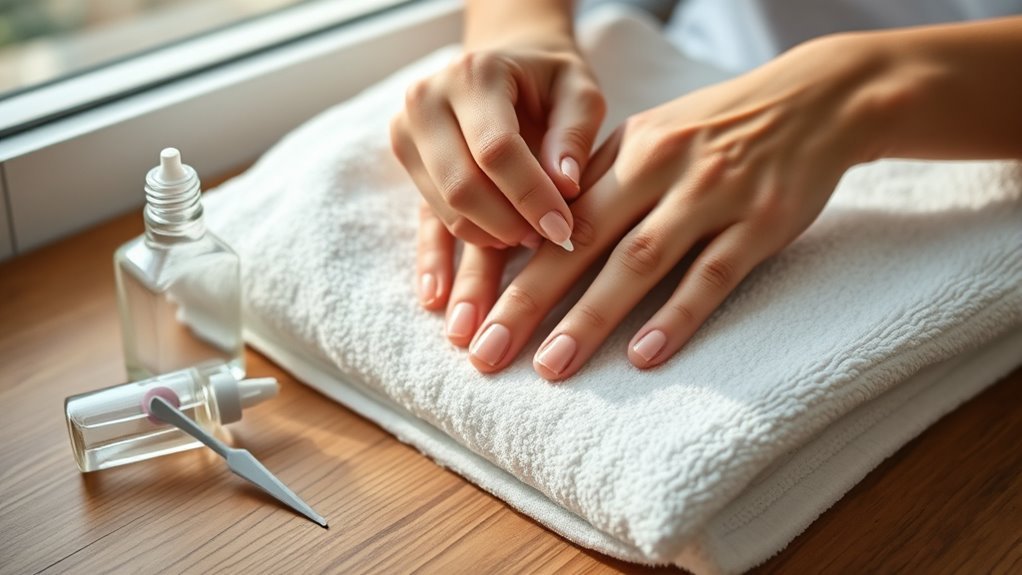
Before you begin your nail art, make sure to remove any old polish with an acetone-free remover. This helps keep your nails hydrated and clean.
Next, shape your nails using a fine-grit file. You can pick the style you prefer—oval, square, or almond.
Lightly buff the nail surface to smooth out ridges. This creates an ideal canvas for your polish.
Gently push back your cuticles with a cuticle pusher. Then, apply cuticle oil to keep them healthy and hydrated.
This nail preparation step is super important for achieving a polished look. Finally, apply a clear base coat to protect your nails from staining and help your nail polish stick better.
Proper preparation and priming really set the foundation for beautiful, long-lasting nail art.
Select and Create a Simple Design
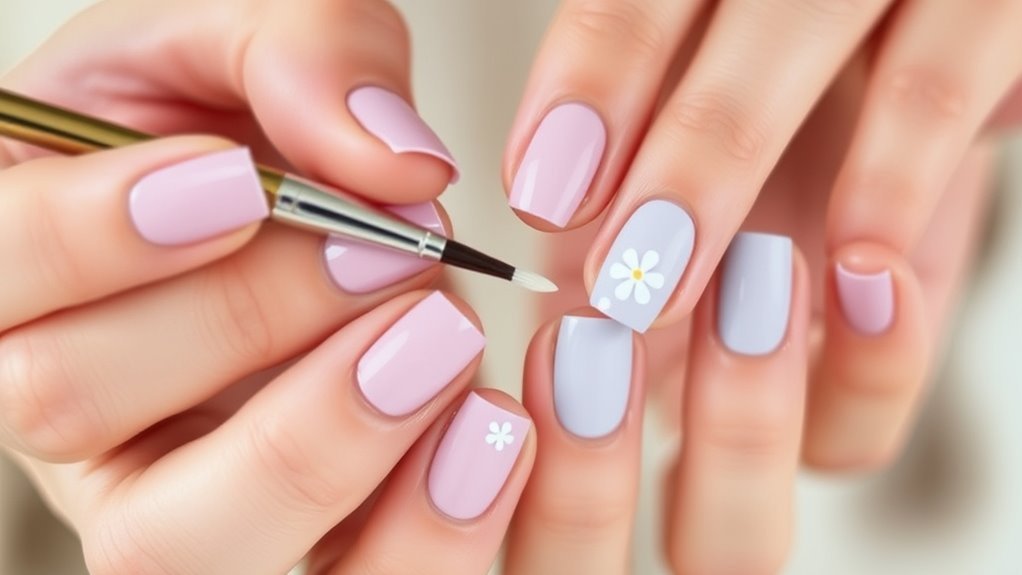
While choosing your first nail art design, pick something simple like polka dots, stripes, or a French tip to build your confidence and skills. Start by applying a base coat to protect your nails and let it dry completely.
Then, gather your materials and follow these steps:
- Select 2-3 nail polish colors that complement each other for a cohesive look.
- Use a dotting tool for polka dots or striping tape for stripes to guarantee precision.
- Practice slowly by following step-by-step tutorials to perfect your chosen design.
Seal and Protect Your Nail Art
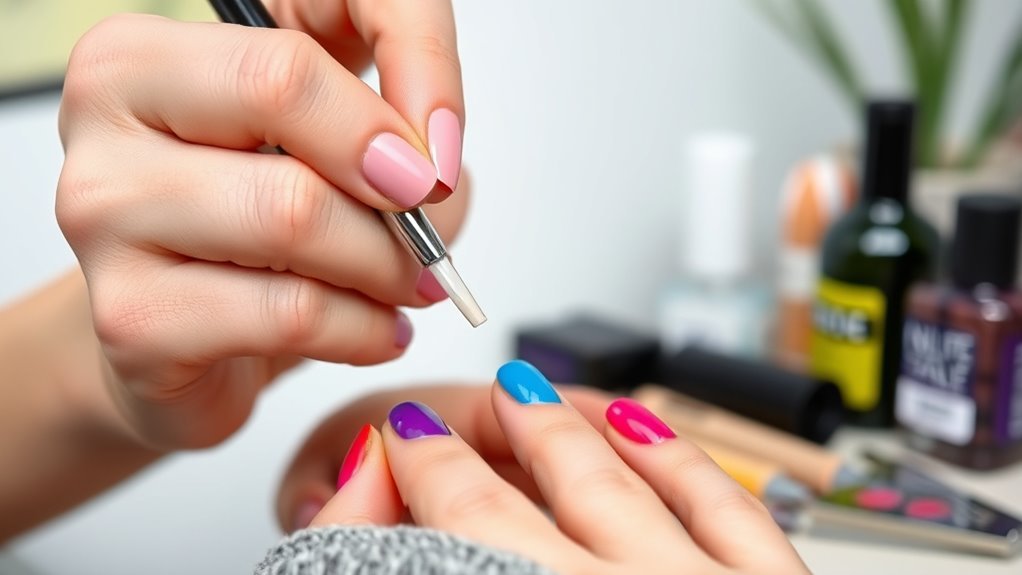
Once you’ve completed your nail art design, you’ll want to protect your work to keep it looking fresh and vibrant. Applying a high-quality top coat is key to seal your design and protect your nails from chipping and fading.
Make sure to allow each layer of top coat to dry thoroughly, usually 2-3 minutes, to ensure maximum durability. You can choose between a matte or glossy top coat to change the finish while still safeguarding your nail art.
Sealing with a top coat not only protects but also enhances the shine and overall appearance of your design. For longer-lasting results, reapply a clear top coat every 2-3 days to maintain that fresh, flawless look.
Frequently Asked Questions
How to Do Nail Art for Beginners Step by Step?
Clean and shape your nails, then apply a base coat.
Use simple designs like dots or stripes with tools for precision. Paint in thin layers, let dry, and finish with a top coat to seal and shine.
It’s easier than it sounds, and with a bit of practice, you’ll get the hang of it in no time!
What Are Some Simple Nail Art Techniques for Beginners?
Did you know 70% of beginners prefer simple polka dots or stripes? You can easily create these using dotting tools or striping tape, and add stickers for flair.
Don’t forget a clear top coat to seal your design! It really helps keep your nail art looking fresh for longer. Give it a try—it’s super fun and easy!
What Are Some Simple Nail Art Designs for Beginners?
You can try polka dots with a toothpick, stripes using striping tape, or an accent nail in a contrasting color. Stickers help create neat designs quickly.
Finish with a clear top coat to seal and shine your art. It’s super easy and makes your nails look polished in no time!
What Are Some Tips for Beginners in Nail Art?
Start with clean nails and a base coat. Use simple tools like toothpicks for dots and stripes.
Work quickly before polish dries, practice one technique at a time, and always finish with a clear top coat to seal your design.
It really helps to take your time and have fun with it! Don’t worry if it’s not perfect right away — you’ll get better with practice.
Conclusion
Now that you know the basics, you’re ready to create your own nail art masterpieces! Did you know that over 60% of people say doing their nails boosts their confidence? That means every time you paint and design, you’re not just enhancing your nails—you’re lifting your mood too.
So, keep practicing these simple steps, have fun with your creativity, and enjoy the confidence that comes with flaunting your personalized nail art! Nail art is a fantastic way to express yourself, and with a little patience, anyone can master it. Remember, the more you experiment, the better your designs will become.
Embrace the process and make nail art your new favorite hobby!