How to Seal Diamond Art in 3 Easy Steps
To seal your diamond art and keep it looking stunning, you’ll want to start by pressing all the drills firmly into place. Make sure your artwork is clean and completely dry before moving on to the next step. This helps ensure the sealer sticks properly and protects your masterpiece.
Next, pick a clear, flexible sealer like acrylic or a water-based polyurethane. Apply it in thin, even layers using a brush or spray for the best results. Don’t rush this part—taking your time will help avoid any clumps or uneven spots.
Finally, let your piece dry flat in a shaded area, away from direct sunlight. This prevents smudges or warping while it cures fully.
Follow these simple steps, and you’ll not only protect your diamond art’s shine and durability but also master the sealing process with ease.
Key Takeaways
- Press all diamonds firmly into the adhesive and make sure they are securely in place before sealing. This step is super important to keep everything in place.
- Next, clean the diamond painting surface with a microfiber cloth. This helps remove any dust and fingerprints so your art looks its best.
- Choose a clear, flexible sealer like acrylic or water-based polyurethane. These options offer the best protection without damaging your artwork.
- When applying the sealer, use thin, even layers. You can use a brush or spray, just try to avoid streaks or clumps for a smooth finish.
- Finally, let your sealed artwork dry flat in a dust-free environment. Keep it away from direct sunlight and humidity to prevent any damage.
Prepare Your Diamond Painting for Sealing
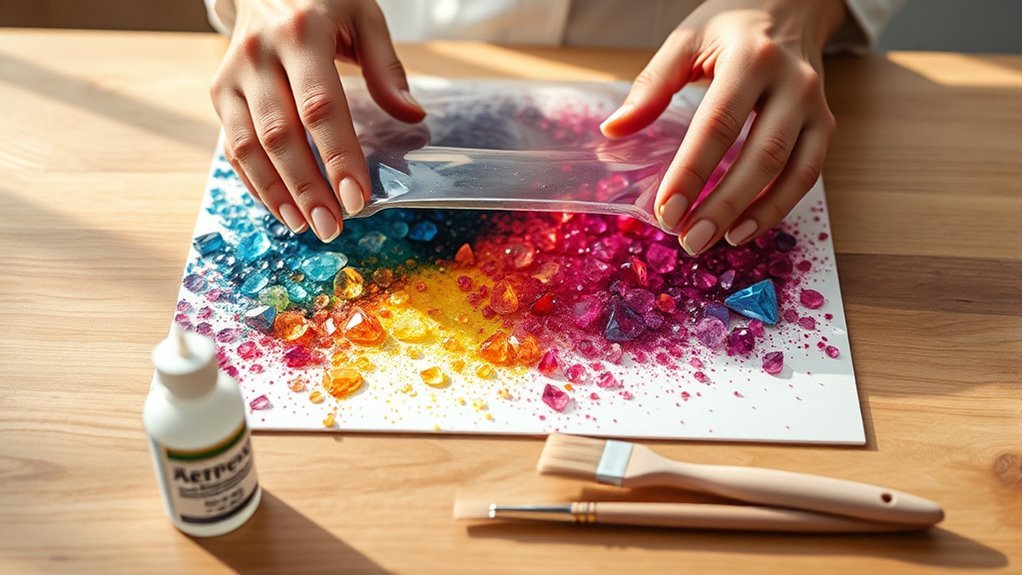
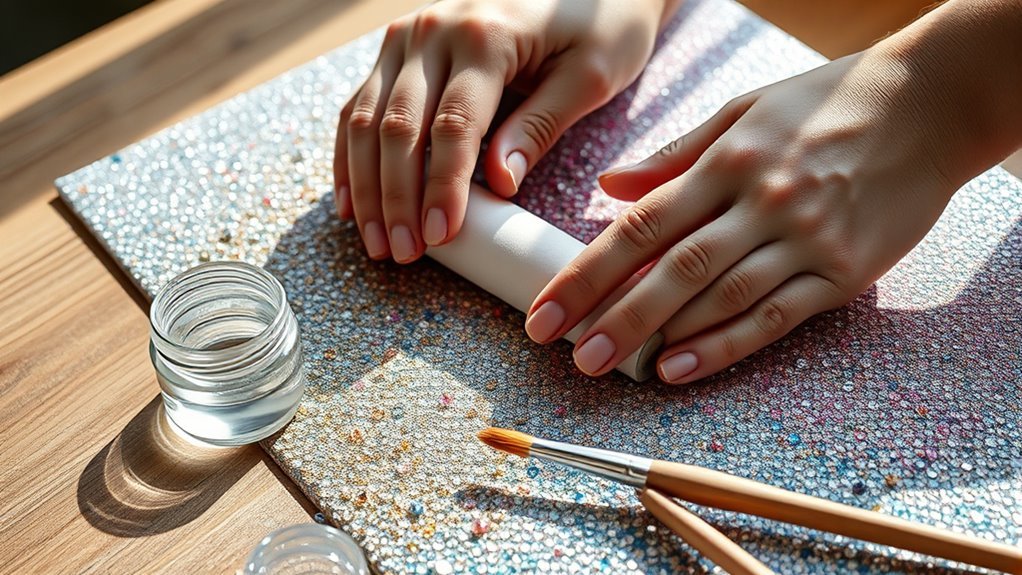
Before you seal your diamond painting, make sure all the diamonds are firmly pressed into the adhesive using a roller or rolling pin. Lay a drop cloth on a clean surface to protect your workspace and prepare your canvas for the next steps.
Perform a thorough inspection to identify any loose drills or misaligned gems. Use tweezers or a small tool to secure drills that aren’t set properly.
Position your artwork on a flat surface to keep it stable during the sealing process. Gently wipe the entire piece with a microfiber cloth for dust removal, removing fingerprints or debris.
Finally, confirm your diamond painting is completely dry and free from excess glue or moisture before moving on. Taking these steps ensures your artwork is perfectly prepared for sealing.
Choose and Apply the Right Sealer
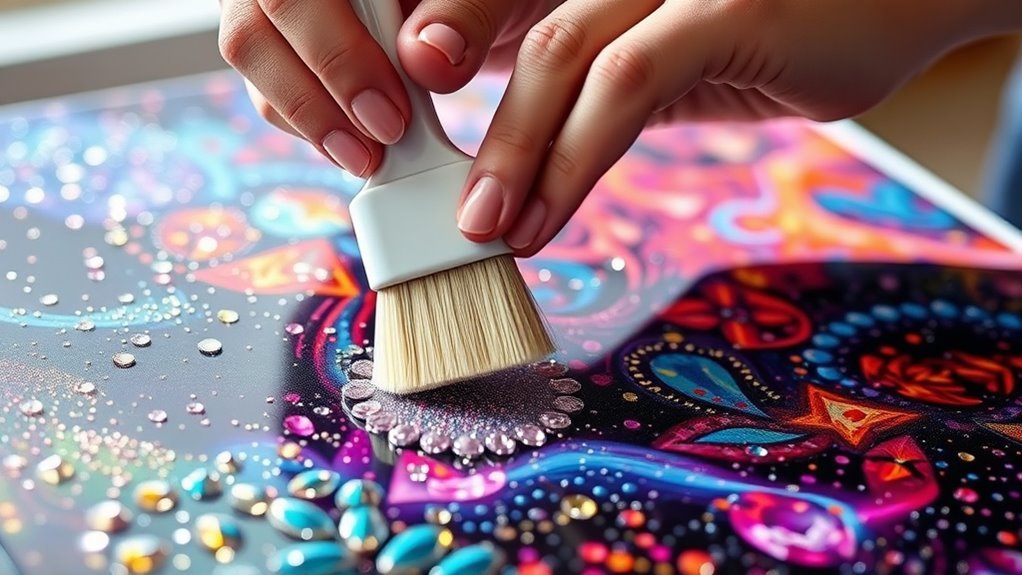
When choosing a sealer for your diamond painting, pick one that dries clear and flexible. This helps preserve the artwork’s shine without dulling the colors.
Select an acrylic or water-based polyurethane sealer designed to protect your piece effectively. Before you fully seal, test the sealer on a small, hidden spot to make sure it won’t alter the colors.
Choose an acrylic or water-based sealer and test a hidden spot to ensure colors stay true.
Apply the sealer in thin, even layers using a brush or spray—whichever you prefer for control or speed. Spread each layer carefully to avoid clumps or streaks.
Make sure your diamond painting is completely dry and the drills are secure before sealing. Following the manufacturer’s instructions will help you seal properly and keep your diamond art shining beautifully.
Allow Proper Drying and Finishing
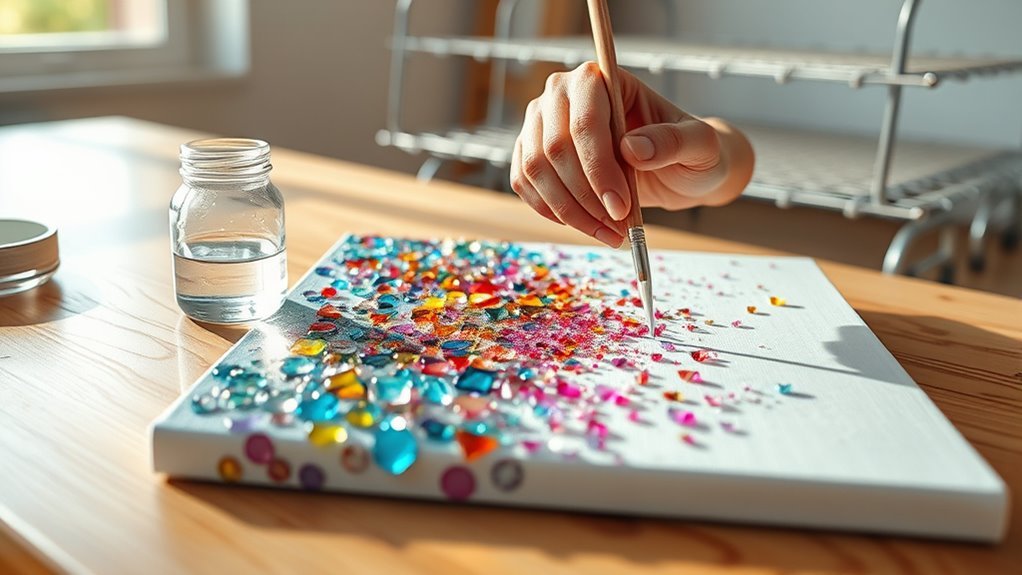
Although sealing your diamond art protects it, you’ll need to let it dry completely on a flat surface to prevent any warping or smudging. Different sealants have varying drying times, so allow it to dry fully—this could take anywhere from 15 minutes up to 24 hours for a full cure.
During the drying process, avoid handling your artwork to prevent fingerprints or smudges. Also, keep it away from direct sunlight and humidity, as these can affect curing time. Make sure the sealant is completely dry before you display or frame your piece.
Remember these tips for proper drying and finishing:
- Let it dry flat to maintain shape
- Allow sufficient curing time for durability
- Avoid handling until fully dry to preserve appearance
Frequently Asked Questions
What Is the Best Thing to Seal Diamond Art With?
You’ll want to use a clear, flexible acrylic sealer like Mod Podge or Minwax Polycrylic. They protect your diamond art without dulling the sparkle and dry quickly, keeping your masterpiece looking vibrant and secure.
These sealers are easy to apply and won’t make your diamonds lose their shine. Plus, they help keep everything in place so your artwork stays flawless for a long time.
Can You Use Hairspray to Seal Diamond Art?
You can use hairspray to seal diamond art, but it’s like using a quill in a digital age—temporary and risky. It won’t protect long-term, so you’ll want a proper craft sealant for lasting shine and security.
Think of hairspray as a quick fix, not a permanent solution. It might hold things in place for a little while, but over time, it can lose its stickiness and even cause discoloration.
Can I Seal My Diamond Art With Mod Podge?
Yes, you can seal your diamond art with Mod Podge. Just apply thin, even coats using a soft brush.
Let each layer dry completely before adding another. Choose your preferred finish to protect and enhance your artwork’s sparkle.
How to Seal a Diamond Painting Without Losing Sparkle?
Don’t put all your eggs in one basket—use a clear, non-yellowing acrylic sealer applied in thin, even coats.
Let each coat dry fully, and avoid overdoing it to keep your diamond painting sparkling bright.
This way, your artwork stays protected without losing that amazing sparkle you love.
Conclusion
Sealing your diamond art protects your hard work and keeps it sparkling for years. Remember, “a stitch in time saves nine”—taking a little extra care now prevents damage later.
By preparing your painting, choosing the right sealer, and allowing it to dry properly, you’ll guarantee your masterpiece stays vibrant and secure.
Follow these simple steps, and you’ll enjoy your dazzling creation without worry. Happy sealing!
Sealing diamond art is essential to preserve its beauty and durability. Using the right sealant ensures your diamonds stay firmly in place and your artwork remains vibrant over time. So, take your time with each step—from prepping your canvas to applying the sealer carefully. This way, your diamond art will shine brightly and stay protected for years to come. Enjoy the process and the stunning results of your sealed diamond masterpiece!