How to Do 3D Nail Art in 3 Easy Steps
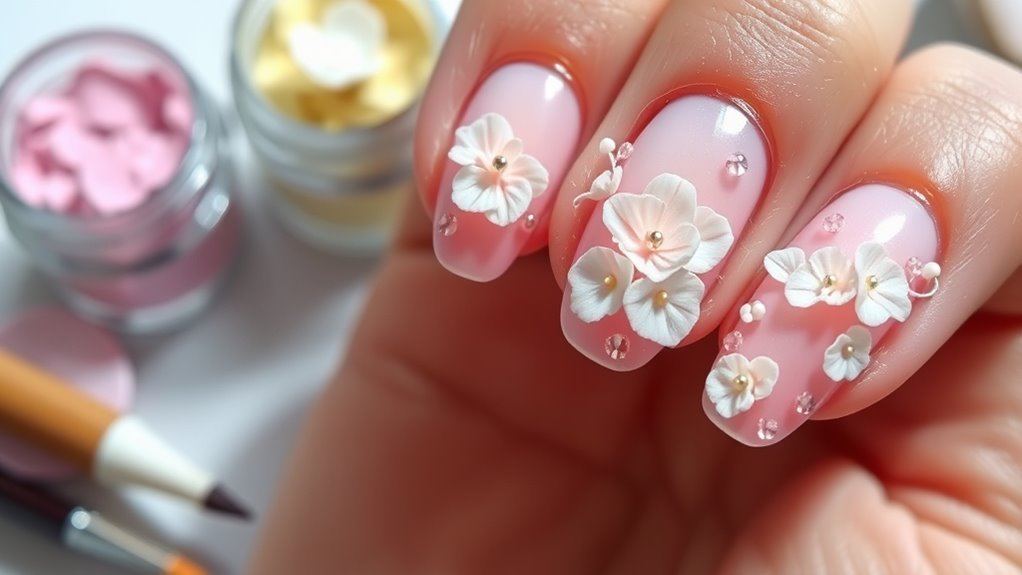
To do 3D nail art in three easy steps, start by sculpting gel shapes like petals or bows. Use a small amount of gel and a silicone tool to shape your design. Then, cure each layer under an LED or UV lamp to set it properly.
Next, add vibrant colors, details, or embellishments like rhinestones while the gel is still wet. Secure them with a bit of gel before curing again to keep everything in place. This step really brings your 3D nail art to life.
Finally, seal your design with a clear top coat and cure fully for lasting shine and durability. This helps protect your artwork and makes it last longer. There’s more to master for perfect results, but these basics will get you started!
Key Takeaways
- Apply a small amount of builder gel and sculpt shapes like petals or bows using a brush or silicone tool.
- Cure each sculpted layer fully under a UV or LED lamp to maintain structure and durability.
- Add color and details with gel polish or liner gels using fine brushes after sculpting.
- Place embellishments like rhinestones on wet gel and secure with a small gel dot before curing.
- Seal the entire design with a clear, no-wipe top coat and cure thoroughly for lasting shine.
Sculpting and Shaping Your 3D Nail Design
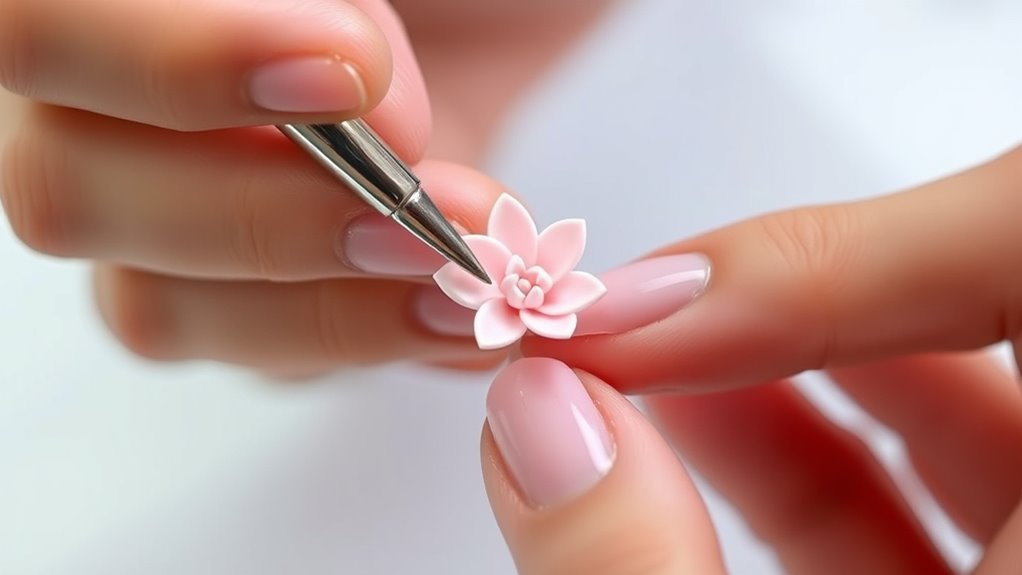
When you sculpt and shape your 3D nail design, start by applying a small amount of Magic Extender Gel or Clear Builder Gel onto the nail. Then, mold it with a brush or silicone tool.
Sculpting involves rolling tiny gel balls and flattening them into petal or flower shapes before attaching them. For shaping, use a silicone or flat-edged tool to drag and form the gel into bows, shells, or flowers. Apply steady pressure to keep edges smooth.
Build your design by layering multiple gel pieces, curing each layer fully under a UV or LED lamp—usually 60 seconds for LED or 120 seconds for UV—to solidify the structure. This method guarantees your 3D gel design maintains its shape and lasts beautifully.
Adding Color, Details, and Embellishments
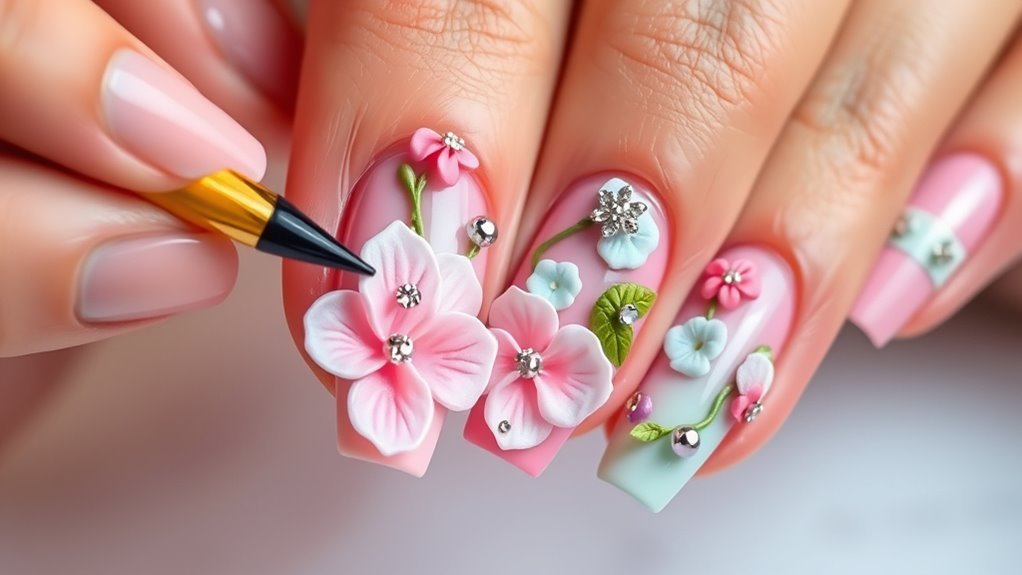
Although sculpting and shaping lay the foundation, adding color, details, and embellishments truly brings your 3D nail art to life. Use gel polish or liner gels with a thin liner brush to paint vibrant hues and fine details on your design.
Want to add some sparkle and texture? Try shaking 3D powder over wet gel, then gently tap off the excess for a shimmering effect.
Incorporate embellishments like rhinestones or pearls by placing them onto wet gel and securing them with a small dot of gel. For those intricate accents, grab your dotting tool or fine liner brush to create patterns, dots, or lines around your 3D elements.
- Apply color using gel polish and liner brush for precision.
- Add 3D powder for shimmer and texture.
- Place embellishments carefully on wet gel.
- Use a dotting tool for detailed accents.
Curing and Finishing Your 3D Nail Art
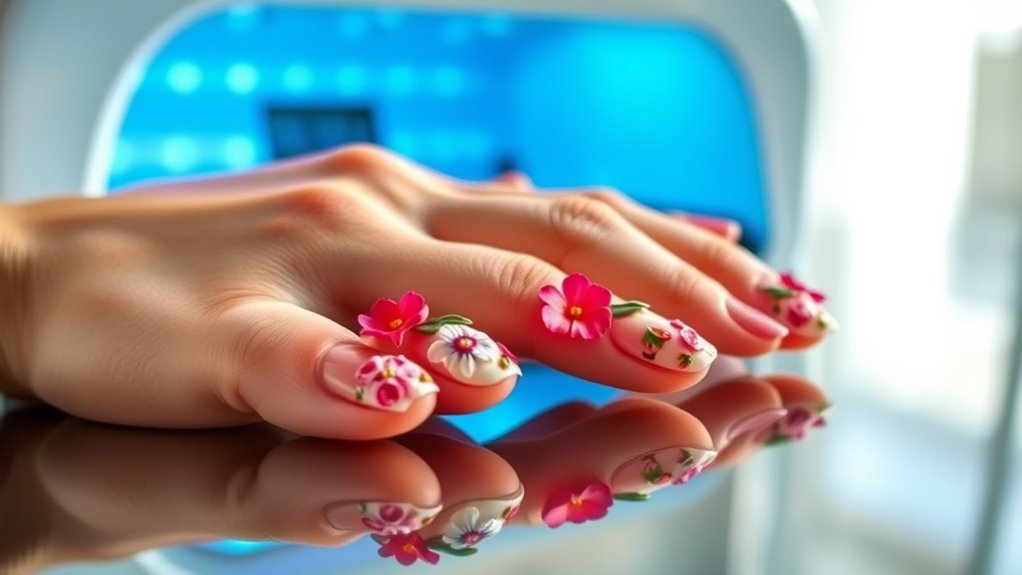
To secure your 3D nail art and guarantee it lasts, you’ll need to cure it properly under an LED or UV lamp, following the gel manufacturer’s recommended time—usually 60 seconds for LED or 120 seconds for UV. Use a quick flash cure between layers to prevent smudging.
Once cured, apply a clear, no-wipe top coat over the entire design, making sure to cover both the 3D elements and base layers. This top coat will seal your art, creating a smooth, glossy finish and enhancing durability.
After curing the top coat, gently wipe away the tacky layer with alcohol or cleanser to reveal a polished look. Proper curing and sealing help prevent lifting or chipping, ensuring your 3D nail art stays flawless for up to three weeks.
Frequently Asked Questions
How to Make 3D Nail Designs Step by Step?
Start by sculpting shapes with 3D gel on your nails. Use a fine brush to add details, sprinkle 3D powder, shape elements with tools.
Cure everything, then finish with a top coat to seal and protect your design. It’s a fun process that lets you get creative with textures and layers!
How to Do 3D Line Art on Nails?
Like painting on a tiny canvas, you’ll dip a fine brush into gel. Draw smooth lines with steady strokes.
Cure under a lamp between layers, and finish with a top coat to seal your striking 3D line art. It’s all about patience and precision!
How to Use 3D Nail Gel Step by Step?
You dip a liner brush into 3D gel, then sculpt your design right on the nail. After that, smooth out the details using a silicone tool.
Next, cure the gel under an LED or UV lamp. Finally, seal everything with a top coat to protect and finish your 3D nail art. Easy, right?
What Can I Use to Do 3D Nail Art?
Imagine turning your nails into tiny sculptures—use clear Builder Gel or Magic Extender Gel to shape designs. Add 3D powders, gems, and charms for that extra pop.
Then, rely on dotting tools and fine brushes to bring your art to life. It’s all about layering and detailing to make your nails stand out!
Conclusion
Now that you know these three easy steps, your 3D nail art skills will skyrocket to legendary status! You’ll sculpt designs so stunning, people will think you’ve revealed a secret nail wizardry.
With every color swipe and embellishment, your nails won’t just turn heads—they’ll stop traffic. So grab your tools, plunge in, and get ready to create masterpieces that make even the most skilled artists jealous.
Your nails are about to become the ultimate showstoppers! By mastering these simple techniques, you’re not just doing nail art—you’re creating 3D magic that captures attention and showcases your creativity. Ready to wow everyone with your amazing 3D nail art? Let’s get started and make those nails truly unforgettable!