How to Make Art Prints in 3 Simple Steps
To make art prints in three simple steps, start by digitizing your artwork using a high-resolution scanner or a well-lit photograph. This helps capture every detail, ensuring your print looks just like the original. Digitizing is the first crucial step in creating quality art prints.
Next, edit your image by adjusting brightness, contrast, and color. This makes sure your artwork looks its best before printing. A little tweaking can go a long way in enhancing the final result.
Finally, print your image on quality paper or canvas using a professional printer. After printing, package your prints securely for shipping to keep them safe. Keep going, and you’ll discover how to perfect each step for stunning results.
Key Takeaways
- Digitize artwork using a high-resolution scanner or photograph it in natural light. This helps capture the fine details accurately.
- Edit the digital image by adjusting brightness, contrast, and color. Make sure the resolution is at least 300 DPI to ensure quality prints.
- Choose professional-grade printers along with suitable paper or canvas. This combination produces vibrant, high-quality art prints.
- Protect the prints with acid-free backing boards and clear sleeves. Then, package them with sturdy mailers marked “DO NOT BEND” to keep them safe during shipping.
- Before sending out your prints, inspect their quality and packaging carefully. Don’t forget to include branding materials to give a professional touch to your presentation.
Digitize Your Artwork
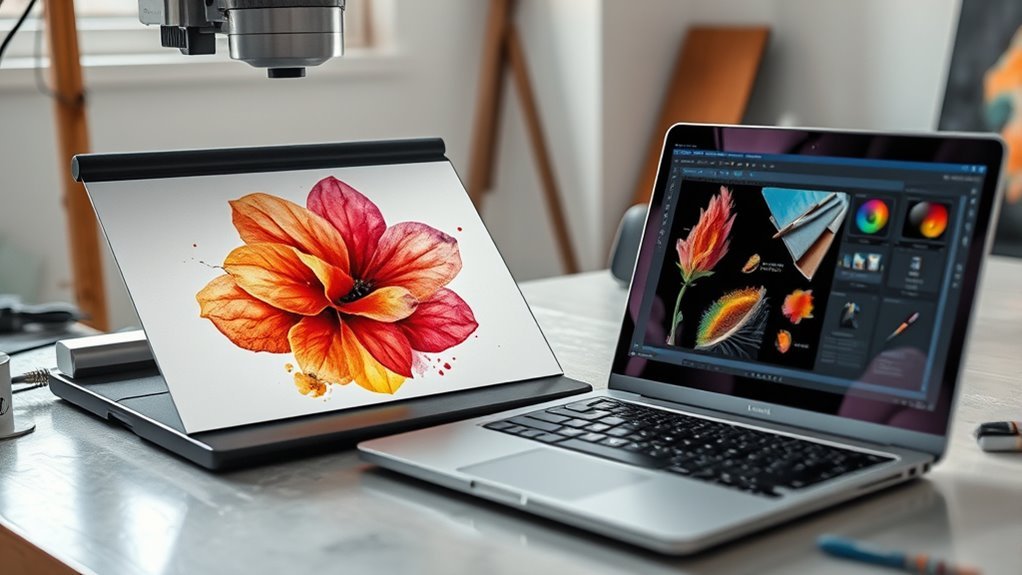
Before you begin printing, you need to digitize your artwork accurately. Use a high-resolution scanner set to at least 300 DPI to capture every detail clearly.
Digitize your artwork with a high-resolution scanner at 300 DPI to capture every detail perfectly.
If scanning isn’t an option, opt for photography in soft, natural light to guarantee accurate color and reduce shadows. Keep your artwork flat and stable to avoid distortion or blurriness during the process.
Once you have your digital file, focus on framing and composition by cropping the image to highlight your artwork’s best features. Finally, save your digital file in a lossless format like PNG or TIFF to preserve the image quality for printing.
Following these steps guarantees your artwork’s colors and details remain true to the original. It’s really worth taking the time to get this right!
Edit and Prepare Your Image
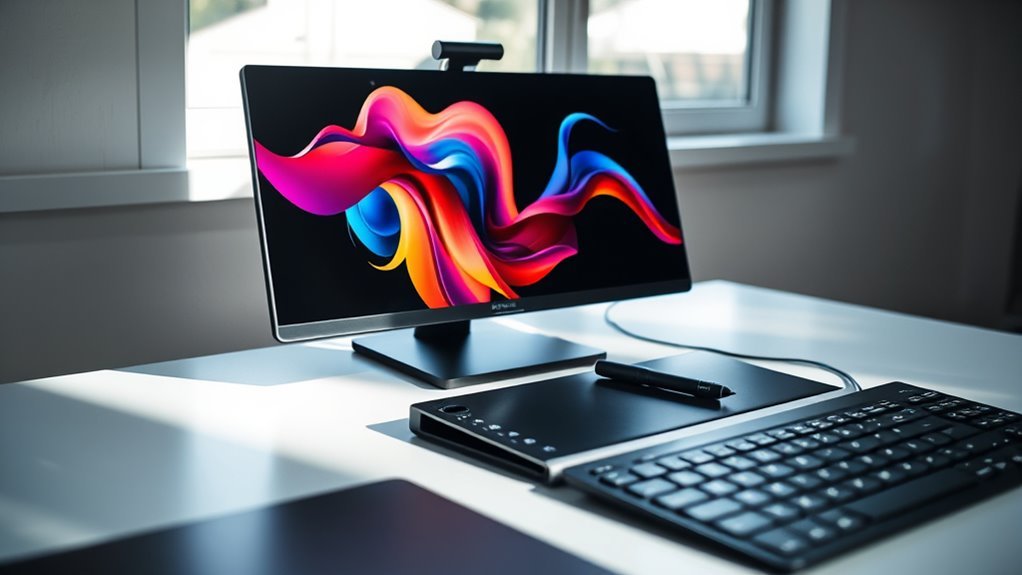
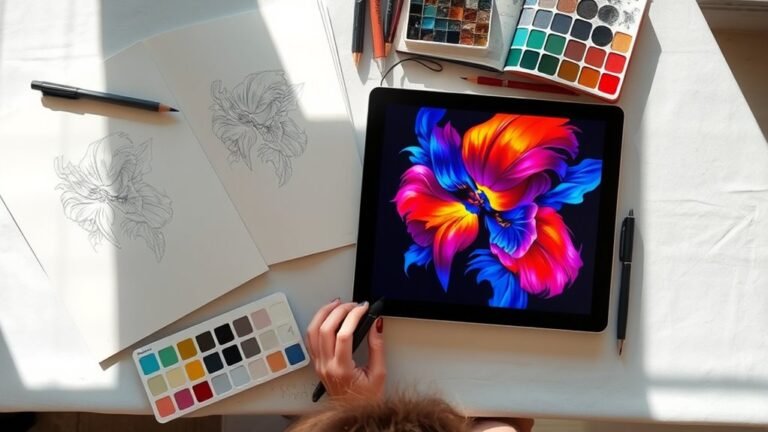
With your artwork digitized and saved in a lossless format, you can now edit and prepare the image to guarantee it prints perfectly. Begin image editing by adjusting brightness, contrast, and performing color correction to accurately reflect your original piece.
Use tools like Levels, Hue/Saturation, and Selective Color for precise tweaks. Confirm your digital file uses the correct color profile—CMYK for printing or sRGB for online display—to maintain color fidelity.
Make sure your artwork’s resolution is at least 300 DPI, which is essential for high print quality. Finally, save your prepared image in a high-quality format such as PNG or TIFF, avoiding compression that can reduce detail.
This careful image preparation sets the foundation for stunning art prints.
Print and Package Your Art Prints
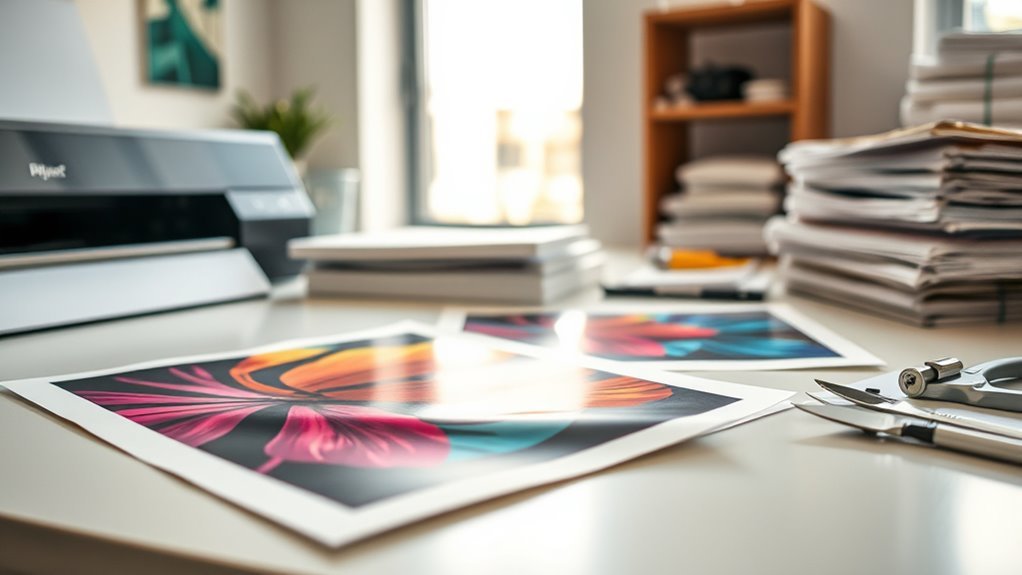
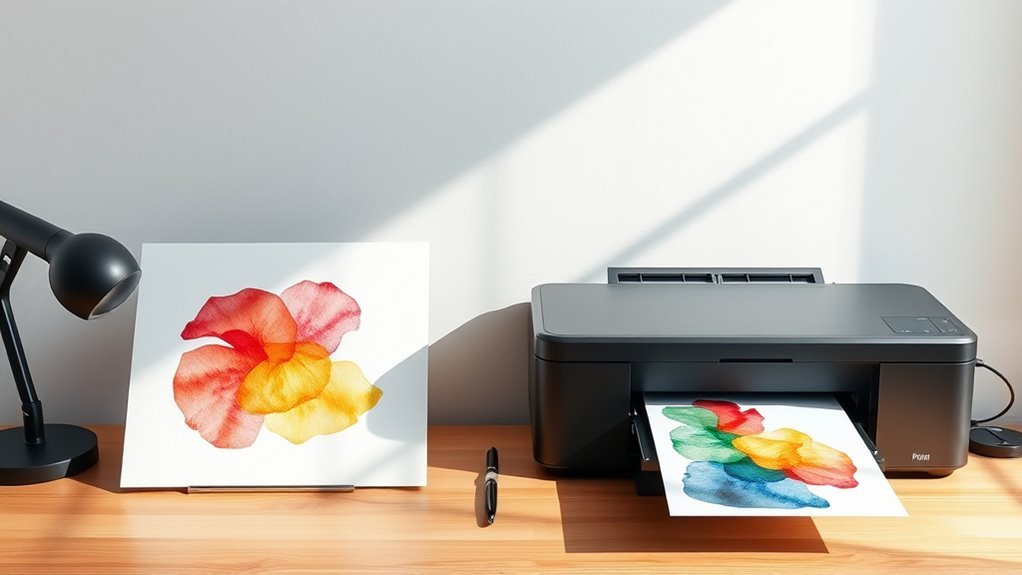
Once you finalize your image preparation, you’ll want to print your artwork using high-quality materials that showcase its details vividly. To protect your prints during shipping, use acid-free backing boards and clear sleeves to prevent damage.
Choose sturdy, rigid mailers marked with “DO NOT BEND” stickers to secure both framed and unframed prints. This packaging ensures your art arrives in pristine condition.
Don’t forget to include branding elements like business cards and branded stickers to enhance presentation and recognition. For a sustainable touch, consider eco-friendly packaging materials.
Before sealing, double-check that each print is securely wrapped and protected. Taking these steps guarantees your prints are well-protected, look professional, and reach your customers safely.
Frequently Asked Questions
What Are the Three Basic Steps of Printmaking?
You design or prepare your image, transfer it onto a printing surface, then apply ink or paint to create your print.
These three steps help you produce clear, reproducible art prints efficiently and creatively.
It’s a straightforward process that lets you experiment and have fun while making your artwork come to life.
What Is the 2/3 Rule for Art?
The 2/3 rule guides you to place your main subject about two-thirds from one edge, creating balanced, dynamic compositions.
It helps you avoid centered elements, making your artwork more visually appealing and engaging to viewers.
Think of it as a simple trick to add a bit of movement and interest to your pieces.
How Do They Make Art Prints?
You make art prints by transferring your artwork onto a surface using methods like digital printing or screen printing.
You’ll use inks and equipment to reproduce the image, ensuring color accuracy and quality throughout the process.
It’s a pretty cool way to get your art out there in different forms, whether on paper, fabric, or other materials.
The key is making sure the final print really captures the look and feel of your original piece.
How Can I Turn My Art Into Prints?
You can turn your art into prints by digitizing it at 300 DPI—like capturing 9 million pixels per image. Then, you’ll want to edit your digitized artwork to make sure it looks just right.
Next, choose quality materials to print on. You can print either at home or go through a professional service to guarantee vibrant, lasting results. This way, your prints will really stand out!
Conclusion
Now that you know the three simple steps to make art prints, you’re ready to share your creativity with the world. Did you know that 65% of artists increase their income by selling prints online?
By digitizing, editing, and packaging your work carefully, you not only preserve your art but also open new opportunities. It’s a fantastic way to reach a wider audience and make your art more accessible.
So, get started today and watch your art reach more people than ever before! Making art prints is easier than you think, and with these simple steps, you can turn your passion into profit. Don’t wait—embrace the process and see how creating art prints can transform your artistic journey.