How Do You Make Art Prints in 3 Simple Steps
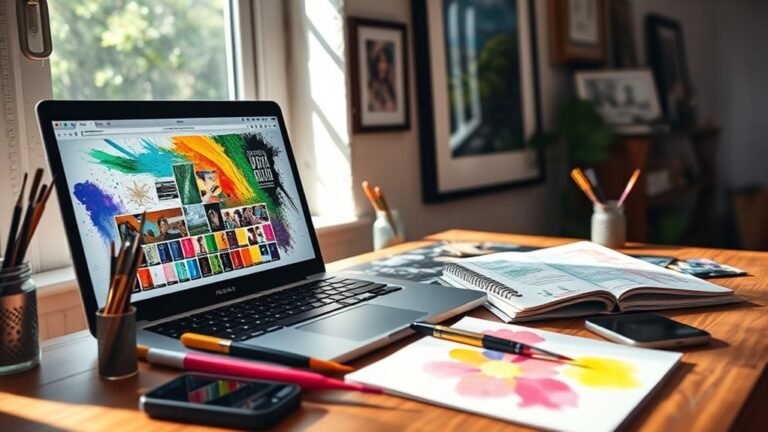
To make art prints in three simple steps, start by capturing your artwork digitally using a high-resolution scanner or camera. This guarantees detail and color accuracy, which are essential for quality prints.
Next, enhance and prepare your image by correcting colors, cropping, and retouching imperfections with editing software. This step helps your art look its best before printing.
Finally, print your artwork on quality paper, let it dry properly, and consider adding protective coatings or framing for longevity. These finishing touches will keep your prints looking great for years to come.
If you want to explore these steps in more depth, you’ll find useful tips ahead. Ready to turn your artwork into beautiful prints? Let’s dive in!
Key Takeaways
- Digitally capture artwork using a high-resolution scanner or professional photography for accurate detail and color. This step is crucial to ensure every nuance of the original is preserved.
- Edit and color-correct the digital file to match the original artwork’s hues and brightness. It might take a few tweaks to get it just right.
- Save the file in a high-quality format like TIFF or JPEG with at least 300 DPI resolution for sharp prints. This makes sure your prints come out crisp and clear.
- Print the artwork on suitable paper, allowing prints to dry flat and trimming edges for a clean finish. Taking your time here really pays off.
- Apply protective coatings and frame prints to preserve color vibrancy and enhance presentation. This helps your art look great for a long time.
Capture Your Artwork Digitally
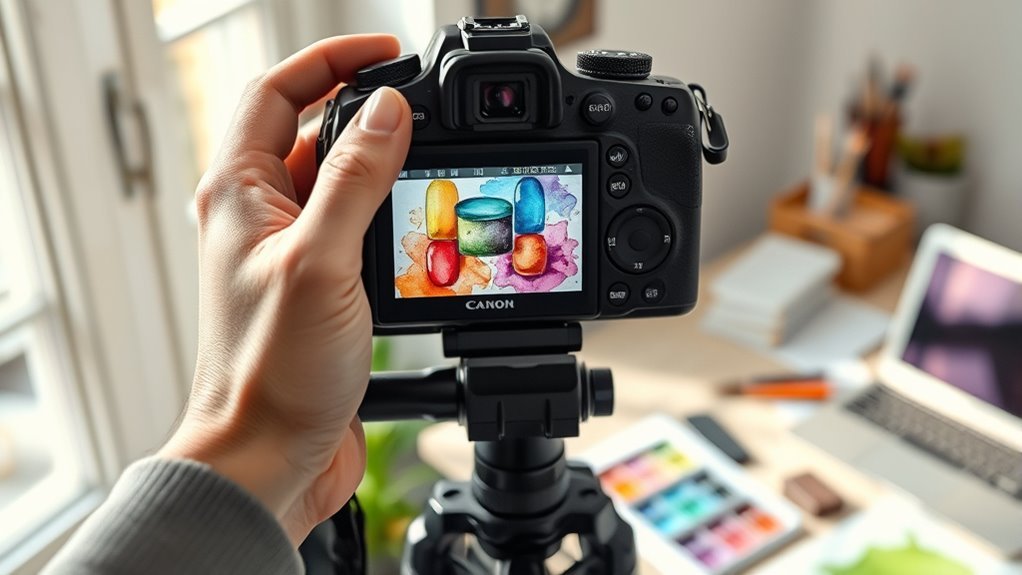
How can you guarantee your artwork’s digital version truly reflects its original quality? Start by using a high-resolution scanner—at least 300 DPI—to capture every detail clearly.
Ensure your digital artwork mirrors the original by scanning at a minimum of 300 DPI for crisp detail.
Before scanning, clean your artwork by removing dust or smudges to avoid imperfections in your digital file. Align your piece carefully on the scanner bed to prevent distortion.
For larger or textured works, professional photography might be a better option to maintain accuracy. Once scanned, perform precise color correction to ensure the digital file matches your artwork’s true hues.
Save your image in a high-quality format like TIFF or JPEG to retain clarity. By following these steps, you create a faithful digital representation that serves as a solid foundation for printing or further editing.
Enhance and Prepare Your Image
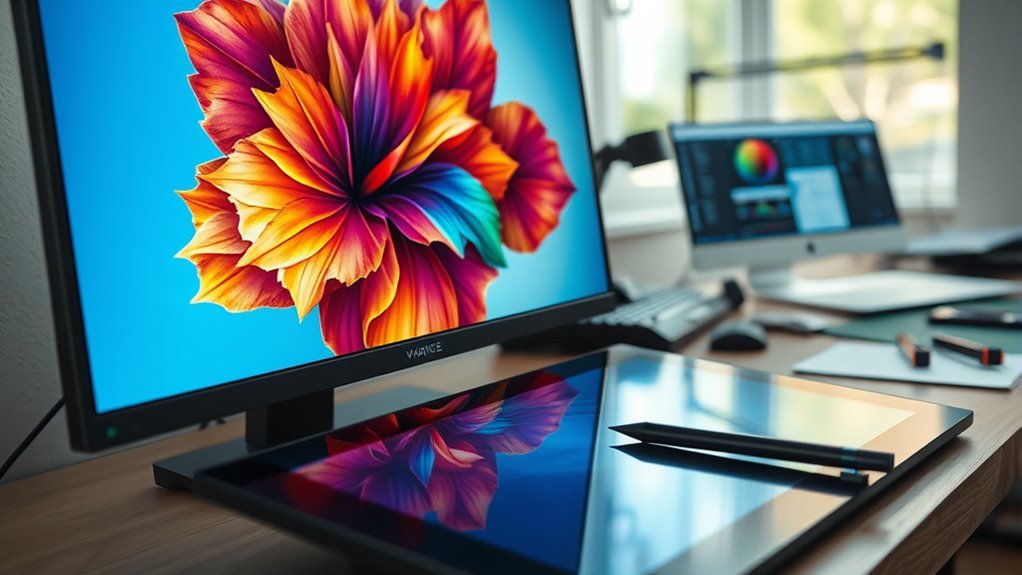
Once you’ve captured your artwork digitally, you’ll want to enhance and prepare the image to guarantee it prints beautifully. Start by using photo editing software like Photoshop to perform color correction, adjusting brightness, contrast, and hues for accurate representation.
Convert your digital file to the correct color profile, such as Adobe RGB or sRGB, to ensure consistent colors across devices and printers. Next, crop and resize your image to match your desired print size, maintaining a resolution of at least 300 DPI to preserve detail and sharpness.
Remove any dust, background distractions, or imperfections by retouching the digital file carefully. Finally, save your artwork in a high-resolution format like TIFF or JPEG, optimized for printing without losing quality.
That way, your art prints come out crisp and vibrant every time.
Print and Finish Your Art Prints
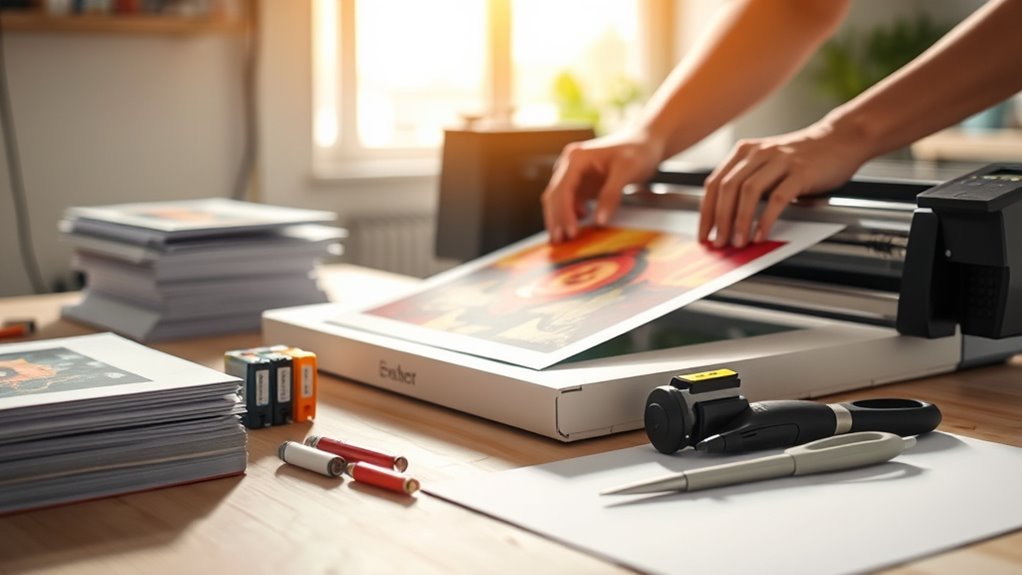
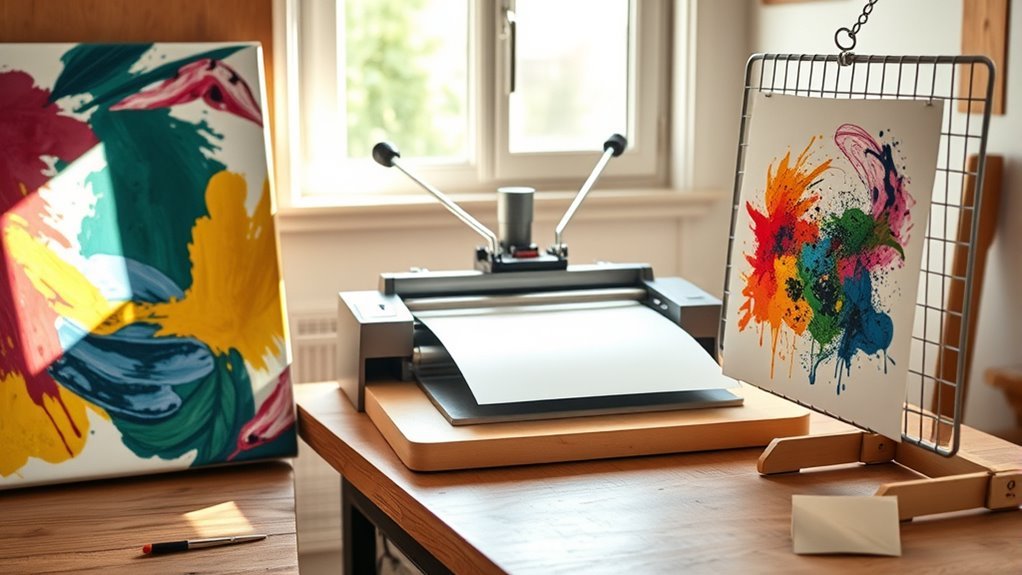
A successful print starts with carefully removing your artwork from the printer and inspecting it for color accuracy and clarity. Once you’re happy with how it looks, lay your print flat and let it dry completely for at least 24 hours. This helps avoid smudging or damage.
Remove prints carefully, inspect for color accuracy, and let dry flat for 24 hours to prevent smudging or damage.
After it’s dry, trim the edges with a paper cutter or scissors to create clean, professional borders. For finishing touches, you might want to apply a protective coating. This not only enhances durability but also helps preserve the colors.
Framing your prints can really boost their presentation and protect them from dust and wear. Finally, make sure to store or display your art prints in a controlled environment. Keep them away from direct sunlight and humidity to maintain their quality over time.
Following these steps ensures your prints look their best and last longer. It’s all about giving your artwork the care it deserves!
Frequently Asked Questions
What Are the Three Basic Steps of Printmaking?
You start by creating your design, then transfer it onto a printing surface.
Finally, you apply pressure to print the image onto paper or fabric.
Repeat these steps to make multiple prints or editions.
How Do They Make Art Prints?
You make art prints by digitizing your original work, then printing it with archival ink on acid-free paper.
Did you know limited editions can increase value by up to 30%?
Finally, sign and package your prints carefully.
How to Make Artwork Easy?
To make artwork easy, start with simple shapes and colors. Use tools you’re comfortable with, and don’t overthink details.
Practice regularly, experiment with different styles. Let your creativity flow naturally without stressing perfection.
How Can I Create My Own Print?
You can create your own print by digitizing your artwork and editing it for color and clarity. Choosing quality paper or canvas is super important to make your print stand out.
Next, print a test copy to see how it looks. If everything’s good, go ahead and finalize the print.
Don’t forget to sign your work and protect it properly! This adds a personal touch and keeps your print safe.
Conclusion
Now that you know the three simple steps—capture, enhance, and print—you hold the power to bring your art to life beyond the canvas. Like a painter mixing colors on a palette, each step blends creativity with technique, turning your vision into tangible prints.
So, why wait? Plunge in, and watch your artwork transform from a digital dream into a masterpiece ready to inspire others. Making art prints is easier than you think, and each print carries the essence of your original work.
Your art’s journey starts now! With these simple steps, you can create stunning art prints that showcase your unique style and passion. Dive into the world of art printing and share your creativity with the world!