How to Make Moss Wall Art in 3 Easy Steps
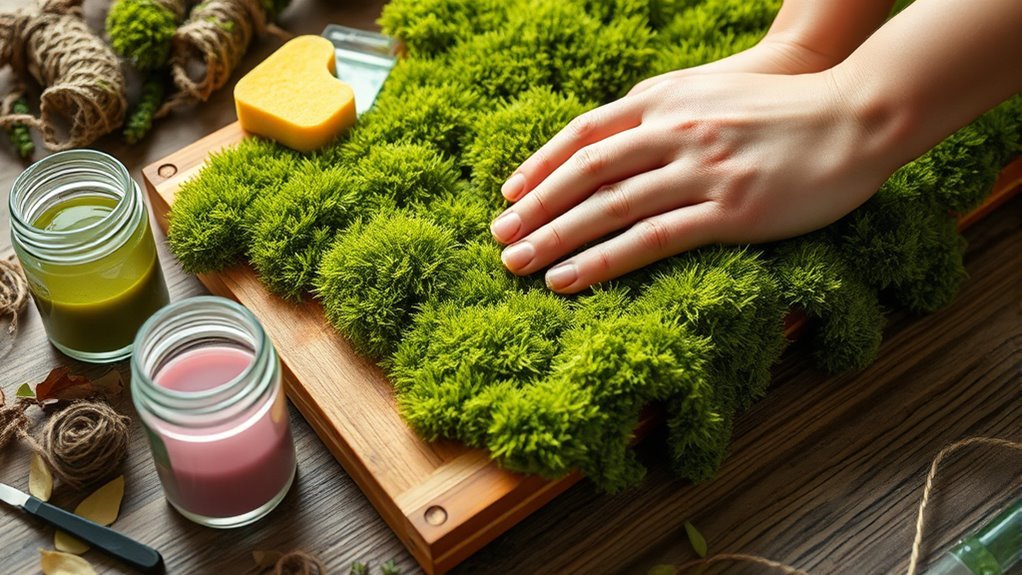
To make moss wall art in three easy steps, start by gathering materials like a 12×12 wood panel, various moss types, and a hot glue gun. These basics are all you need to create beautiful moss art that brings a touch of nature indoors.
Whether you’re a beginner or looking for a fun DIY project, this is a great way to add greenery without the hassle of watering.
Next, tear the moss into pieces and securely glue them onto the wood, filling gaps for full coverage. Take your time to arrange the moss so it looks lush and vibrant.
This step really lets your creativity shine as you build texture and depth.
Finally, display your art using lightweight frames or Command strips, avoiding direct sunlight to keep it vibrant. Keep it dust-free and check for loose spots to make sure of lasting beauty.
Want tips to perfect your moss art? Just ask!
Key Takeaways
- Start with a 12×12 wood panel as your base for the moss wall art.
- Tear moss into small pieces and arrange them on the panel for coverage.
- Secure moss to the panel using hot glue, pressing firmly until attached.
- Fill gaps with additional moss to ensure even, natural coverage.
- Hang your moss art using lightweight frames and avoid direct sunlight for durability.
It’s a simple way to bring some greenery indoors without much fuss!
Gather Your Materials
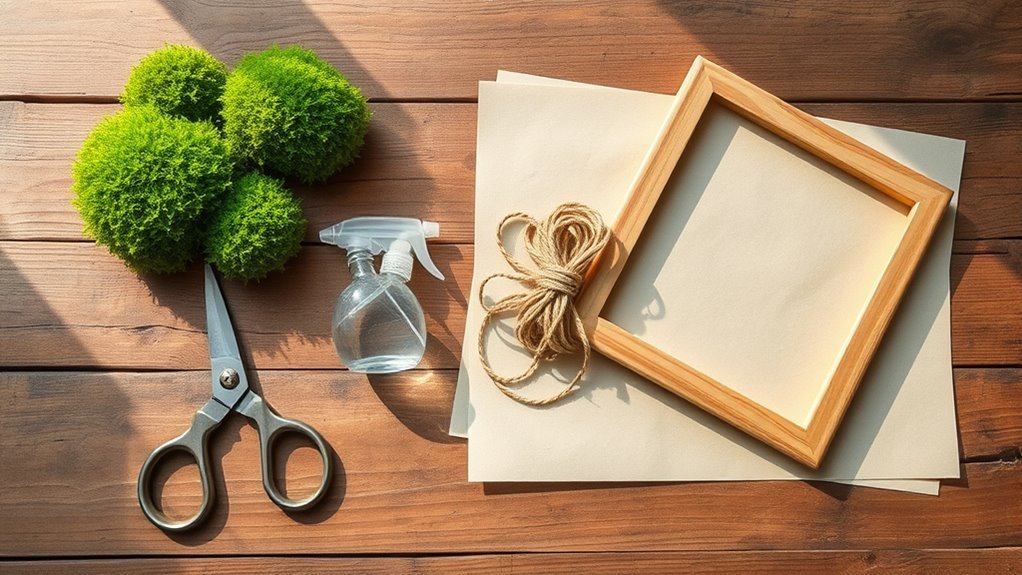
Before you start creating your moss wall art, gather all the materials you’ll need to guarantee a smooth process. Begin with 12×12 wood panels as your base; these are affordable and perfect for your DIY project.
Select a variety of moss types like natural reindeer moss, preserved sheet moss, and chartreuse moss to add texture and color. Prepare a hot glue gun with enough glue sticks for secure moss application.
Organize your craft supplies by sorting moss pieces and decorative moss on newspaper or cardboard to keep colors separated. Have tools like a small paintbrush handy for tearing moss into smaller pieces and for any staining.
Assemble and Attach the Moss
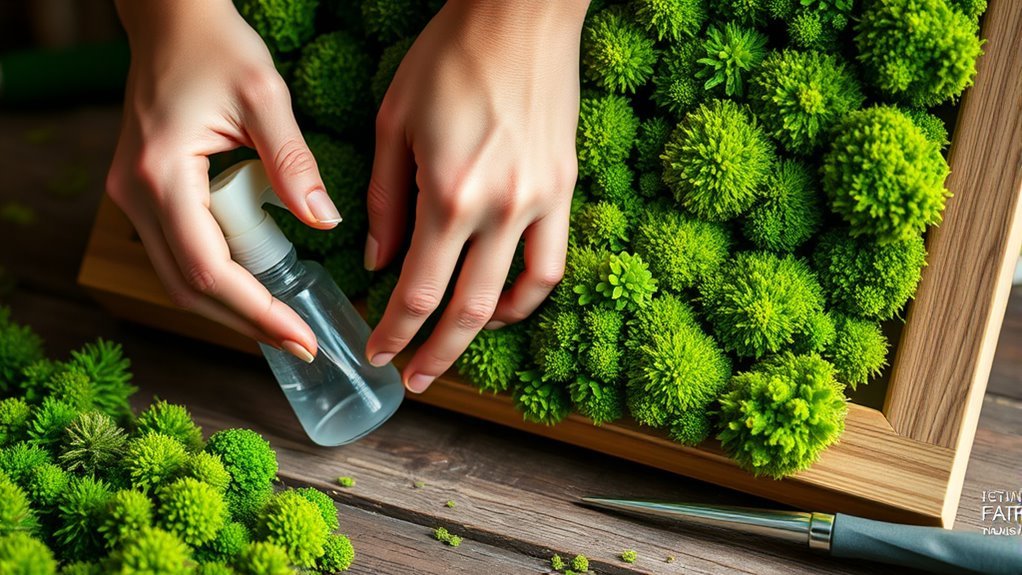
When you start assembling your moss wall art, use a hot glue gun to attach the moss securely to your wood panel. Tear or cut the preserved moss into manageable pieces to fit the backing surface and guarantee uniform coverage.
Apply small amounts of hot glue to avoid excess and mess, then press each piece of moss firmly into place, holding it until it adheres completely. Fill in any gaps with additional preserved moss, especially sheet moss, to achieve a full, even look.
As you work, check for loose areas and reinforce attachment by adding more hot glue where needed. This careful process helps your moss wall stay intact and maintain its natural beauty over time, ensuring your art piece looks vibrant and durable.
Display and Maintain Your Moss Art
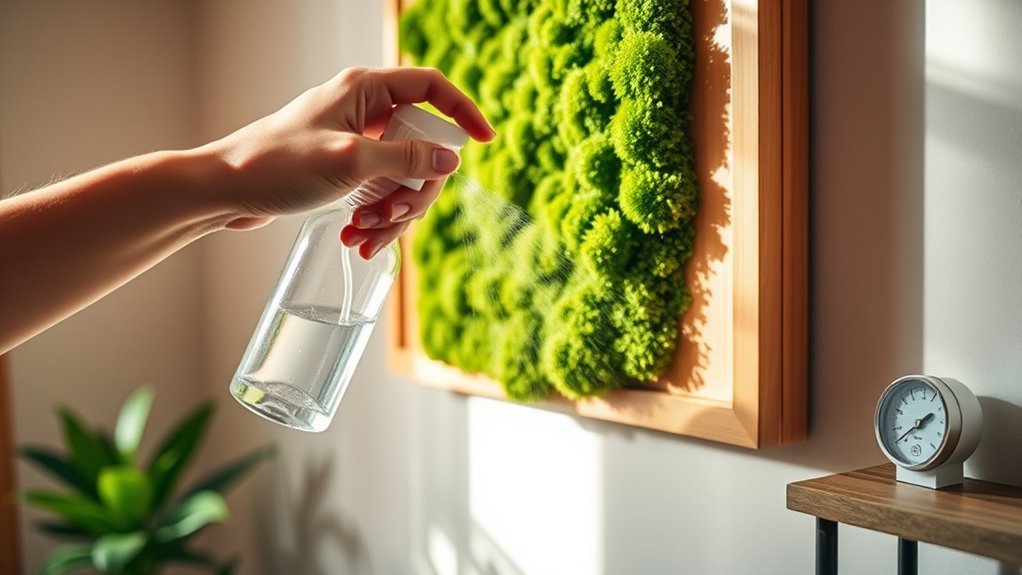
After securing your moss to the wood panel, it’s time to focus on displaying and maintaining your art. To hang moss art safely, use a lightweight frame with Command strips or nails for damage-free hanging.
Avoid direct sunlight to maintain vibrant colors and prevent fading. Keep your preserved moss in moderate humidity indoors to prevent deterioration.
Before hanging, make sure the moss is fully dry to keep its shape. Regular dusting with a gentle brush or vacuum attachment will keep your moss clean.
| Tip | Reason |
|---|---|
| Use lightweight frame | For damage-free hanging |
| Avoid direct sunlight | To maintain vibrant colors |
| Regular dusting | Keeps moss clean and fresh |
Frequently Asked Questions
How Do I Make My Own Moss Wall Art?
You start by choosing a sturdy frame, then plan your design. Tear moss into pieces and glue them onto the surface.
Layer different types for texture, add natural decorations, and let it dry before hanging. It’s a simple way to bring a bit of nature indoors!
How to Arrange Three Pieces of Wall Art?
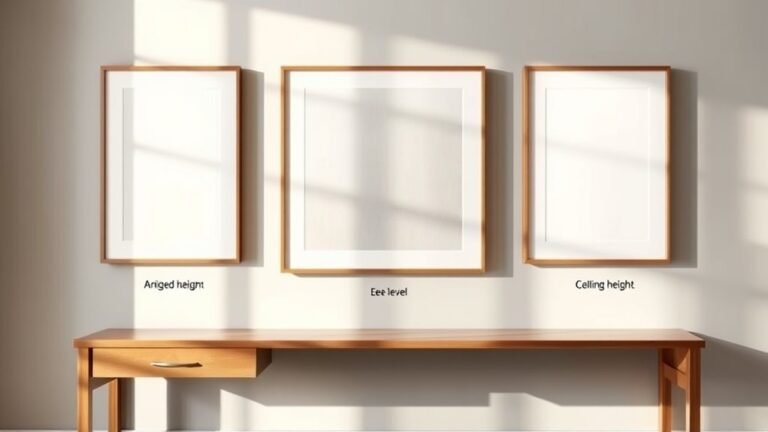
Did you know 70% of people find balanced wall art more appealing? Arrange your three pieces at varying heights with 2-4 inches between them.
Use a level for straightness, and hang at eye level for the best look. It really makes a difference!
How to Attach Moss to a Wall?
You attach moss to a wall by securing it with hot glue or plant staples on a sturdy backing like chicken wire.
Keep the moss moist during application to guarantee it sticks firmly and looks lush.
This way, your moss will stay in place and give your wall that natural, vibrant look you want.
Does Moss Wall Art Need Water?
You don’t need to water moss wall art—preserved moss retains its look without moisture.
In fact, watering can cause mold or dye runoff, damaging 100% of your artwork’s vibrancy.
Just dust it gently to maintain!
Conclusion
Now that you’ve brought your moss wall art to life, it’s like you’ve captured a tiny forest in your home—a living, breathing masterpiece. With just a few simple steps, you’ve turned ordinary walls into a lush, green escape.
Keep it vibrant by giving your moss a little love, and watch your space bloom with nature’s quiet magic. Your moss art isn’t just decoration; it’s a whisper of the wild, right at your fingertips.
Creating moss wall art is a wonderful way to bring natural beauty indoors. It adds texture, color, and a calming vibe to any room. Plus, it’s low-maintenance and eco-friendly, making it perfect for anyone who loves nature but doesn’t have a green thumb. So, enjoy your stunning moss wall art and let it inspire a fresh, peaceful atmosphere in your home every day.