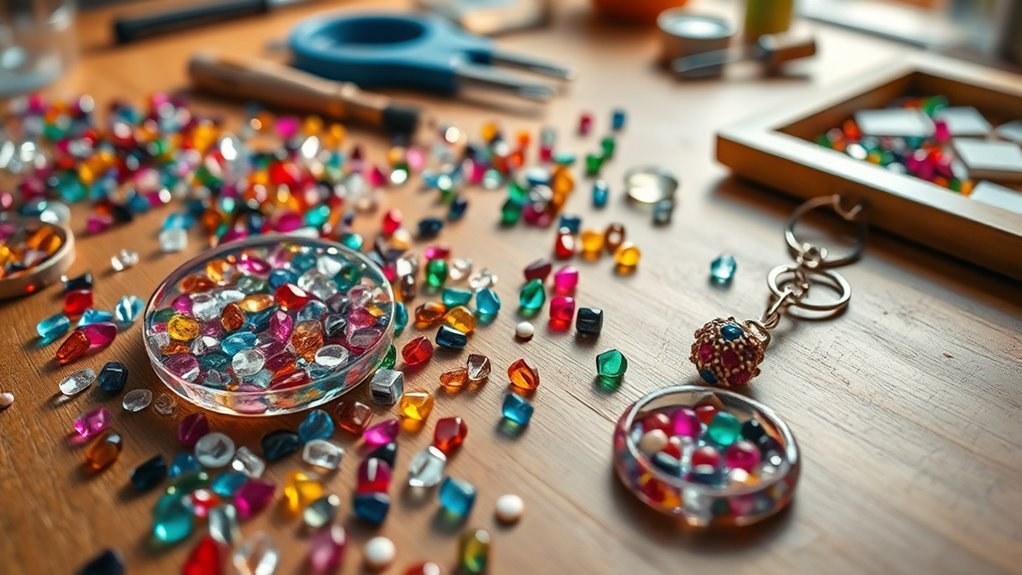
10 Creative Tips on What to Do With Leftover Diamond Art Beads
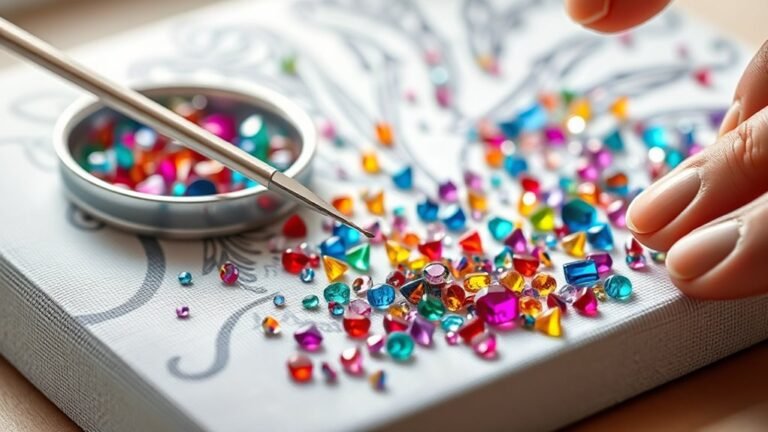
You can turn leftover diamond art beads into stunning crafts like layered bead jars or shaker cards that sparkle and move. These beads are perfect for adding a touch of shine and texture to your projects.
Try dazzling nail art or personalized celebration cards by arranging beads in fun patterns. It’s a simple way to make your designs pop and feel extra special.
Use them to decorate pen holders or fashion friendship bracelets with names and shapes. These small touches can brighten up everyday items and make thoughtful gifts.
Create festive Christmas ornaments or even unique makeup looks with skin-safe glue. The possibilities are endless when it comes to reusing diamond art beads creatively.
These creative ideas let you reuse beads artistically, and there’s plenty more ways to explore their vibrant charm. Why not experiment and see what sparkling creations you come up with?
Key Takeaways
- Create decorative layered jar crafts by filling transparent jars with colorful leftover diamond beads. These make vibrant displays and unique home decor.
- Design personalized celebration cards or shaker cards by arranging beads on card surfaces or inside clear pockets. This adds a fun, interactive sparkle effect that everyone will love.
- Use leftover beads for sparkling manicure nail art or as unique makeup decorations. Just apply skin-safe glue and seal for a long-lasting shine.
- Craft festive Christmas glass ball ornaments or embellish pen holders and friendship bracelets. Glue beads in creative patterns to make each piece special.
- Secure beads with strong clear adhesive, and be sure to clean surfaces before application. Finish by sealing your projects with clear spray for durability and longevity.
Make Jar Crafts With Layered Beads
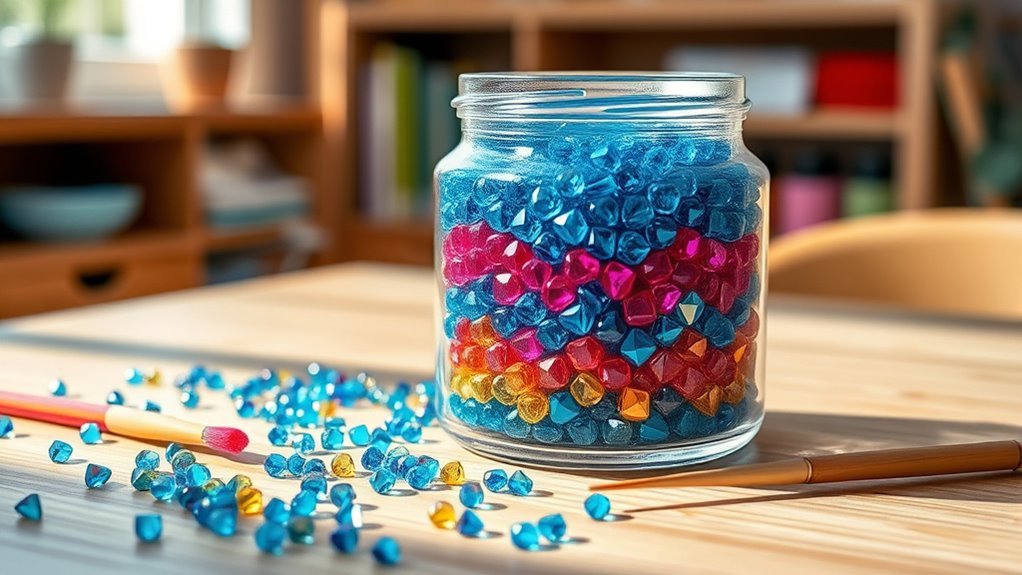
When you fill transparent jars with layers of different colored diamond beads, you create vibrant displays that brighten any space. Instead of tossing leftover beads, use them to craft these eye-catching jar decorations.
You can layer beads by color, making rainbows or ombre effects that really pop. Try adding glow-in-the-dark or metallic beads for extra flair, especially in dim lighting.
For a personal touch, glue beads inside the jar in patterns like spirals or hearts. Once you’re happy with your design, seal the jar with a lid or decorative top to keep everything intact.
This simple project turns your leftover beads into charming, colorful decor that adds personality without clutter. It’s an easy, creative way to repurpose beads and brighten your home.
Create Shaker Cards for Interactive Greetings
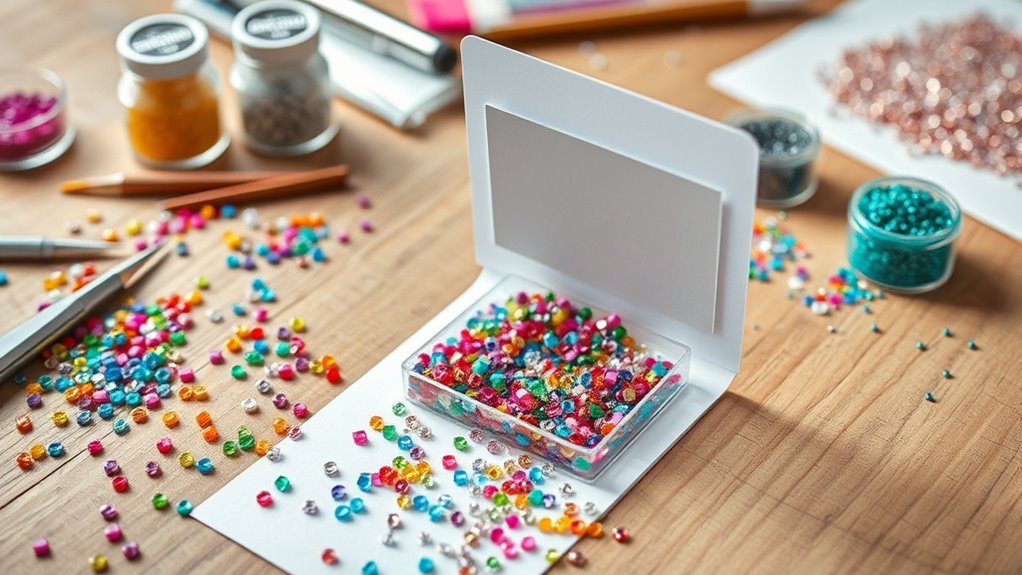
Layering leftover diamond art beads in jars creates stunning displays, but you can also add sparkle to your greetings by making shaker cards. Fill clear plastic pockets on shaker cards with your diamond beads to create an interactive, glittering effect.
Transform leftover diamond art beads into dazzling shaker cards that add sparkle and fun to your greetings.
Use double-sided tape or foam adhesive to secure the beads inside, allowing them to shake freely when the card moves. Cut a transparent window on the card’s front so the beads are visible and lively.
For easy customization, add a simple clasp or opening to swap beads in and out. Match bead colors to your card theme—gold and silver beads work great for festive occasions.
This fun, creative use of leftover diamond beads turns ordinary greetings into dazzling, memorable keepsakes. It’s a great way to make your cards stand out!
Design Sparkling Manicure Nail Art
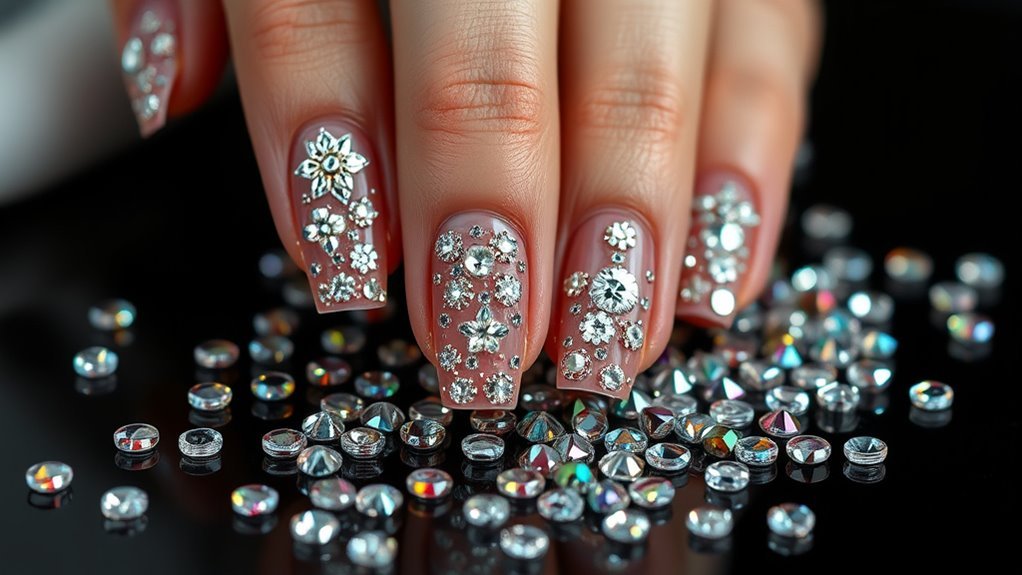
You can easily transform your nails by applying leftover diamond beads with nail glue and tweezers for a sparkling effect. Use fine brushes or eyeliners to outline your designs before placing beads, giving your manicure a polished look.
Don’t forget to seal everything with a clear top coat to keep your dazzling art secure and shiny. It really helps your sparkling manicure last longer and keeps it looking fresh!
Nail Art Techniques
Although leftover diamond beads might seem small, they pack a big punch in creating sparkling nail art. You can glue tiny amounts of leftover diamond painting beads onto your nails, crafting borders or patterns that truly shine.
Use a clear topcoat over the beads to lock them in place and boost their sparkle for a long-lasting effect. Combining diamond beads with polish or gel adds a textured, 3D look, perfect for festive or everyday designs.
Tweezers help you place beads precisely for themed patterns, like stars or holiday motifs. Mix colors and sizes to personalize your manicure and stand out.
| Technique | Benefit |
|---|---|
| Pattern application | Eye-catching, unique designs |
| Clear topcoat sealing | Durable, glossy finish |
| 3D texture with polish | Adds depth and dimension |
| Themed designs with tweezers | Precise, creative details |
Application and Tools
Creating sparkling nail art with leftover diamond beads requires the right application techniques and tools to achieve a flawless finish. Start with clean, dry nails for better adhesion.
Using a diamond painting kit, carefully pick up beads to make precise placements with tweezers. Apply small amounts of glue to avoid mess and ensure the beads stick firmly.
Choose complementary colors and patterns to design holiday-themed or intricate nail art that stands out. After arranging your beads, seal the design with a clear top coat to prevent them from falling off and to boost shine.
Always handle glue cautiously to avoid skin contact, and rely on tweezers for accuracy. With these tips, you can transform leftover diamond beads into dazzling manicure masterpieces effortlessly.
Craft Personalized Celebration Cards
You can create stunning bead patterns on your celebration cards by arranging leftover diamond beads along borders or in decorative shapes. Use a clear adhesive or dot pen to attach beads securely without damaging the paper.
To keep your design intact, finish with a light spray of clear sealer that locks the beads in place. This way, your beautiful beadwork stays put and your card looks amazing!
Bead Patterns and Designs
When you decorate homemade celebration cards with leftover diamond beads, you add sparkle and texture that make each greeting stand out. Exploring different bead patterns and designs lets you personalize cards for any occasion.
You can arrange beads along card edges or inside stenciled shapes to craft eye-catching motifs. Combining beads with glitter, stickers, or hand-drawn elements creates layered effects that bring your designs to life.
Whether you follow a stencil pattern or create freehand designs, the beads enhance visual appeal and make your cards truly unique. By experimenting with various bead placements, you transform simple cards into memorable keepsakes that celebrate holidays, birthdays, or special moments with style and creativity.
Attachment Techniques and Tools
Although leftover diamond beads add stunning detail, attaching them neatly requires the right tools and techniques. For your diamond art celebration cards, use a fine-tip glue applicator or dot pen to place beads precisely, avoiding excess glue that can damage the card.
Clear, quick-drying craft glue works best for secure adhesion. Tweezers help you position beads exactly where you want them, especially in intricate designs.
Try arranging beads as decorative borders or patterns around text to boost your card’s appeal. Once attached, protect your work by applying a light spray of clear sealer or laminating the card for durability.
These attachment techniques guarantee your personalized celebration cards look professional and maintain their sparkle over time.
Produce Custom Stickers With Diamond Beads
If you want to transform leftover diamond beads into eye-catching decorations, producing custom stickers is a fantastic option. Start with blank sticker sheets or printable sticker paper as your base.
Arrange the diamond beads into your desired patterns or images directly on the sticker surface. Use a wax pen or dotting tool to place each bead precisely.
Once your design is complete, apply a thin layer of clear craft glue or adhesive over the beads to secure them firmly. Let the glue dry thoroughly before peeling off the sticker backing.
Your unique custom stickers are now ready to personalize notebooks, phone cases, water bottles, or any smooth surface.
This simple process turns your leftover diamond beads into charming, personalized embellishments with ease.
Paint Decorative Art Pieces With Bead Accents
Adding leftover diamond dots beads to your painted canvas or paper art instantly enhances texture and depth, creating a striking three-dimensional effect. Before you start beading, apply a clear sealant over your artwork to protect it and prevent smudging.
Enhance your painted art with leftover diamond beads for stunning texture and depth—seal first to protect your masterpiece.
Use glue to attach beads along specific shapes or borders, making those design details pop. Incorporate beads as embellishments within mixed media pieces by blending them with paint and glitter for a rich, layered look.
Strategically place beads on focal points to draw attention and add visual interest. This technique transforms simple paintings into dynamic decorative art pieces, giving your work a unique tactile dimension.
With leftover diamond beads, you can easily elevate your art’s style and sophistication using creative beading accents. It’s a fun and easy way to add that extra wow factor to your creations!
Use Beads as Unique Makeup Decorations
Leftover diamond beads aren’t just for art projects—they can also make your makeup stand out with a dazzling touch. Using these beads as unique makeup decor adds sparkle and creativity to your look.
Here’s how to get started:
- Use tweezers and a small amount of skin-safe glue to carefully place leftover diamond beads around your eyes or on your face.
- Outline your eye or lip shapes with eyeliner, then attach beads along these lines for extra dimension.
- Design themed patterns like florals or festive shapes on your cheeks, forehead, or chin using beads.
- Seal your design with a clear, skin-safe setting spray to keep the beads in place all day.
Feel free to experiment with different sizes and colors to make your makeup truly one-of-a-kind!
Make Festive Christmas Glass Ball Ornaments
When you want to bring extra sparkle to your holiday decorations, glass ball ornaments filled or adorned with diamond beads offer a dazzling solution. Take your leftover diamond beads and fill clear glass Christmas ornaments to create shimmering, three-dimensional effects.
You can also draw festive designs like snowflakes or stars on the ornament’s surface with markers, then glue beads on top for texture and shine. Try inserting small clusters of beads inside opened ornaments to craft colorful, glittering patterns that catch the light beautifully.
After decorating, seal your Christmas ornaments with a clear spray sealer to protect the beads and keep them securely in place. This simple method turns leftover diamond beads into stunning, festive Christmas ornaments that brighten your tree with unique sparkle.
Enhance Pen Holders With Bead Embellishments
You can brighten up a plain pen holder by arranging your leftover diamond beads in colorful patterns or random designs. Be sure to use a strong adhesive so the beads stick firmly and don’t fall off with use.
Mixing different colors and sizes will give your pen holder a unique, eye-catching texture you’ll love. Plus, it’s a fun way to add some personality to your desk!
Design Patterns and Colors
Although pen holders might seem plain at first, adding colorful diamond beads along the rim or surface instantly transforms them into sparkling, personalized accessories. When working with diamond beads, focus on patterns and colors to make your design pop.
Try these tips:
- Use matching or contrasting colors to create eye-catching patterns that enhance the pen holder’s look.
- Mix bead sizes to add texture and depth, making your design more dynamic.
- Combine bead embellishments with paint or markers for layered, vibrant effects.
- Plan motifs that complement the pen holder’s shape and style to achieve a cohesive design.
Securing Beads Effectively
Mastering your bead patterns and color choices sets the stage, but securing those beads firmly brings your design to life. Start by cleaning your pen holder’s surface thoroughly—this guarantees the adhesive grips well.
Use a strong, clear adhesive like hot glue or craft glue to attach your beads securely. Before gluing, arrange the beads in your desired pattern to keep your embellishment neat and visually appealing.
Press each bead firmly into the adhesive, then give it plenty of drying time to prevent any beads from falling off. For extra durability, consider sealing the finished design with a clear spray sealer.
These steps guarantee your bead decorations stay vibrant and intact, turning simple pen holders into stunning, personalized accessories. It’s easier than you think to create something unique!
Craft Friendship Bracelets With Leftover Beads
When crafting friendship bracelets with leftover diamond art beads, start by choosing wide leather or silicone rings as your base. Then, glue the diamond beads onto the surface to create colorful patterns or personalized designs.
To make your friendship bracelets truly unique, follow these steps:
- Arrange beads in rows or shapes to spell out names, initials, or themed symbols.
- Mix different bead colors and sizes to add texture and visual interest.
- Experiment with fun shapes like stars, hearts, or animals for themed accessories.
- Seal your design with transparent glue or clear sealant to keep beads secure during wear.
This approach turns leftover beads into charming, customized friendship bracelets you’ll love to share. Give it a try—you’ll be surprised how fun and rewarding it is!
Frequently Asked Questions
Can You Melt Leftover Diamond Art Beads?
You can’t safely melt leftover diamond art beads at home because they require extremely high heat and release toxic fumes.
Instead, you should repurpose or recycle them for crafts to avoid damage and health risks.
It’s much safer and better for the environment to find creative ways to reuse those beads rather than trying to melt them down.
What to Do With Leftover Beads?
You can transform leftover beads into dazzling masterpieces that could rival the Louvre! Just craft jewelry, decorate cards, or design mosaic art.
Don’t waste them; they’re tiny treasures begging for your creative magic!
How to Store Leftover Diamond Art Beads?
You should store leftover diamond art beads in small, airtight containers or bead organizers. Label each container by color to keep things tidy.
Keep them in a cool, dry place. It’s a good idea to regularly check your stock to stay organized and keep everything fresh.
What to Do With Leftover Drills From Diamond Art?
You can use leftover drills to fix gaps on your diamond paintings or create small new designs. Try decorating cards, frames, or ornaments.
If you don’t need them, recycle responsibly to reduce waste and help the environment. It’s a simple way to keep things tidy and eco-friendly!
Conclusion
Don’t let those leftover diamond art beads gather dust—they’re pure creative gold waiting to explode your projects with sparkle! Imagine turning tiny beads into dazzling cards, manicures, or even festive ornaments that steal the show.
With just a sprinkle of your imagination, these little gems can transform everyday items into unforgettable masterpieces. So grab those beads and watch your creativity skyrocket—
because with diamond beads, there’s no limit to the magic you can make! Using leftover diamond art beads is a fantastic way to add a unique touch to your crafts. Whether you’re decorating phone cases, jazzing up picture frames, or creating eye-catching jewelry, these beads bring vibrant color and texture.
So next time you finish a diamond painting, don’t toss those beads aside. Instead, use them to inspire new projects and keep the sparkle going strong!