How to Add Album Art to MP3 in 7 Easy Steps
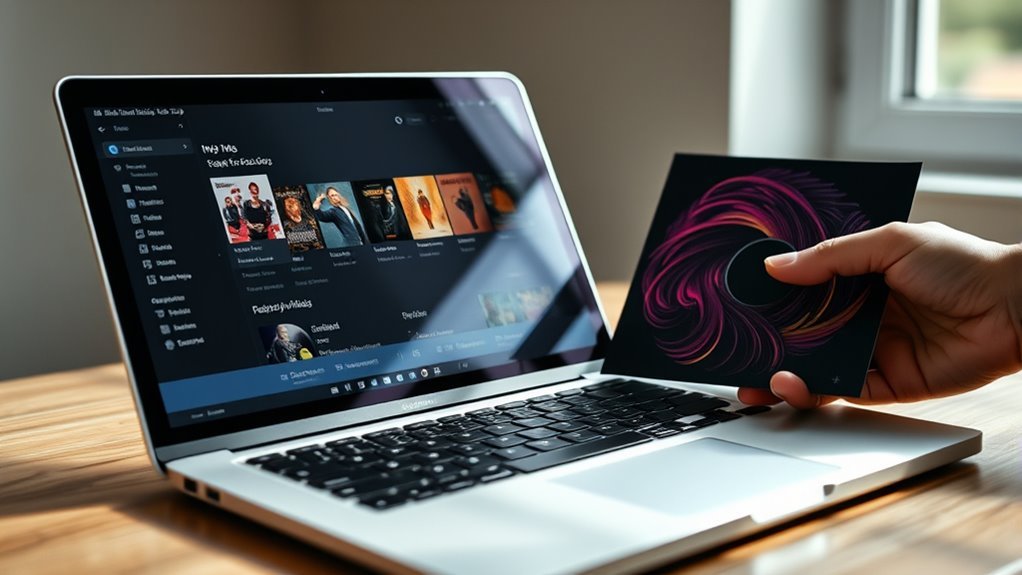
To add album art to your MP3 in 7 easy steps, start by finding and copying your desired cover image in JPEG or PNG format. Having a clear, high-quality image makes your music files look professional and organized.
Next, locate the MP3 file on your device and open it with Windows Media Player. This tool is straightforward and perfect for embedding album art quickly.
Switch to the Library view, find the song, and right-click the album art area. This action lets you easily replace or add new artwork.
Then, paste the new cover art and verify it appears correctly.
Once done, close the player to save changes, making sure your MP3 file now displays the updated image.
Keep going to uncover tips for flawless embedding and maintaining your music collection’s visual appeal!
Key Takeaways
- Locate the MP3 file on your device and open it with a media player or MP3 tag editor that supports album art editing.
- Find or copy a suitable cover image in JPEG or PNG format to your clipboard before starting the embedding process.
- In the media player or tag editor, open the song’s details and right-click the album art section to choose the “Paste album art” option.
- Save or close the media player to embed the album art permanently into the MP3 file’s metadata tags.
- Verify the embedded art by playing the MP3 in different media players and devices to ensure consistent display.
Select and Copy Your Desired Cover Image
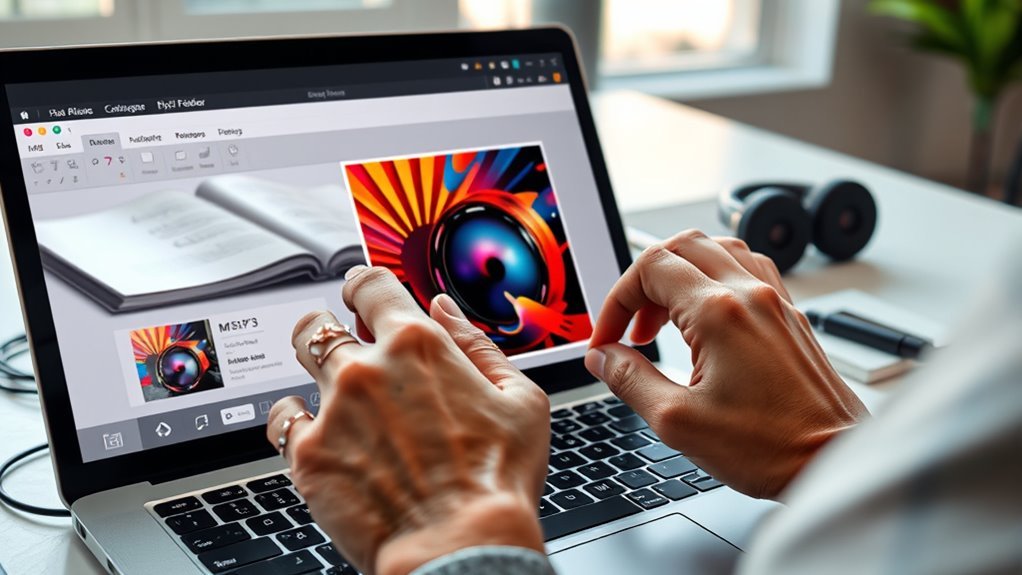
Before you add album art to your MP3, you need to select and copy the cover image you want to use. First, find the image saved on your device or locate it online.
If it’s a file, right-click and choose “Copy,” or use keyboard shortcuts to copy it directly to your clipboard. Make sure the image is in a compatible format like JPEG or PNG to avoid issues when pasting.
To double-check you copied it correctly, try pasting the image into a document or image editor as a quick test. Keep the cover image handy—ideally, copied to your clipboard—so you can easily paste it when you start editing your MP3 file’s metadata.
Doing this prep step makes everything that comes next much smoother.
Locate the MP3 File to Edit
Where can you find the MP3 file you want to edit? Start by opening the folder where your music is stored, such as “Music” or “Downloads.”
If you have many files, use the search bar in File Explorer and type the filename or part of it to quickly locate the track. If your MP3s are organized by album or artist, simply navigate through the folders to find the specific song.
To confirm you’ve got the right file, right-click it and select “Properties” to check its location and details. Make sure you select the correct MP3 before moving on to the next step.
This will make certain you’re editing the exact track you want to add album art to without any confusion.
Open the MP3 File With Windows Media Player
To open your MP3 file with Windows Media Player, right-click the file and choose “Open with” followed by “Windows Media Player.” You can also launch the player directly and use its “Open” option to find your track.
Make sure Windows Media Player is set as the default for MP3 files to speed up future access. Once opened, play the file to confirm it loads properly.
Check if your MP3 already contains cover art, as this will be essential for editing.
| Action | Emotion | Outcome |
|---|---|---|
| Right-click file | Confident control | Quick access |
| Open with WMP | Anticipation | Ready to edit |
| Play MP3 | Satisfaction | Confirmed success |
| Check cover art | Preparedness | Smooth editing |
Switch to Library Review View
Once you’ve opened your MP3 in Windows Media Player, switch to the Library Review view by clicking the arrow icon or toggle button. This icon usually looks like an arrow pointing to the right, making it easy to spot.
Before switching, make sure you’re in the “Library” mode; if you’re not, click the “Switch to Library” option to activate it. The Library Review view lets you see detailed song information, including album art, and organizes your music for simpler navigation and editing.
Accessing this view is essential because it provides the tools you need to manage and update album covers directly within the player. This step prepares you to easily add or change album art on your MP3 files.
Find the Song and Album Cover Area
Now that you’re in Library Review view, find the MP3 file you want to update. Click on the song to open its details and locate the album cover area.
Check the current cover image, which might be blank if none is set yet. This will help you know if you need to add or change the artwork.
Locate Desired MP3 File
Although finding your MP3 file may seem straightforward, locating the exact song and its album cover area requires a few simple steps.
First, browse through your computer folders or music library where the song is stored. Next, identify the specific song you want by checking its title and artist.
Then, right-click the MP3 file and select “Open with,” followed by “Windows Media Player” to load it.
Finally, play the song briefly to confirm it’s correctly loaded and accessible within the player.
Within Windows Media Player, you’ll see the album cover area displayed alongside the song details—this is where you’ll add or edit the cover art in the next step.
Access Album Cover Section
Before you can add or change the album art, open Windows Media Player and switch to the “Library Review” view by clicking the arrow icon.
Next, locate and select the specific MP3 song you want to edit within your music library. Once selected, scroll through the song’s details until you find the album cover or artwork section.
This area displays the current album art or a placeholder if none exists. To prepare for editing, right-click on the album cover space to reveal available options.
Keep in mind, before pasting a new image, you should have your desired cover copied to the clipboard. This guarantees a smooth process when you replace or add the album art in the next steps.
Identify Current Cover Image
Where can you find the current album cover for your MP3 file? Start by opening Windows Media Player and locating the MP3 with the existing cover.
Then, play the song to load it in the library view where cover art appears. If you don’t see the cover art right away, try switching to “Library Review” mode by clicking the arrow icon.
Next, find the song in your library and look for the album cover displayed next to it. You can hover over or right-click the cover to access options for editing or replacing the image.
Paste the New Album Art
Before pasting new album art, make sure you’ve copied the desired image to your clipboard.
Then, right-click the album cover area in Windows Media Player and select “Paste album art” to apply it.
If the update doesn’t show immediately, try rejuvenating the library or playing a different track. Sometimes, a quick refresh does the trick!
Clipboard Image Preparation
Once you’ve copied the album cover image to your clipboard in a compatible format like JPEG or PNG, you’re ready to paste it as the new album art.
Before you do, make sure the image is properly prepared on your clipboard to avoid any hiccups.
- Right-click the desired album cover image and select “Copy” to add it to your clipboard.
- Verify the image format is JPEG or PNG, as other formats may not paste correctly.
- Open your MP3 file in Windows Media Player by right-clicking the file, choosing “Open with,” and selecting Windows Media Player.
- Play the MP3 to activate the editing interface where you can paste the new album art.
Confirming these steps ensures your image is ready to be pasted smoothly.
Just take a moment to double-check, and you’ll be all set!
Applying Cover Art
With your album cover image copied to the clipboard and your MP3 file open in Windows Media Player, you’re ready to apply the new cover art. First, select the song, then right-click the existing album cover area and choose “Paste album art.”
The new image should appear instantly, replacing the old cover. If you don’t see the update immediately, try switching to another song or restarting Windows Media Player to refresh the display.
Keep in mind that some versions of Windows Media Player might not allow direct pasting. So, you may need additional tools or steps depending on your setup. Following these simple actions ensures your MP3’s album art looks exactly how you want it.
Verify and Save Your Changes
After pasting the new album art in Windows Media Player, check that the cover image appears correctly in the song’s info. To verify everything is set, follow these steps:
- Play the MP3 file and watch for the album art during playback to confirm the update. If the image doesn’t show right away, try selecting a different track and paste the art again to refresh the display.
- Close Windows Media Player to save your changes automatically; this embeds the album art into the MP3 file. It’s pretty handy that way.
- For longer-term reliability, consider using specialized MP3 tag editors to embed the cover art. This helps ensure it shows up across all your devices without any hassle.
Frequently Asked Questions
How Can I Add an Album Cover to an MP3 File Online?
You can add an album cover to an MP3 online by uploading your file to a site like MP3Tag, then selecting or uploading an image, and saving it.
Make sure to back up your files first. That way, you won’t lose anything if something goes wrong.
How Do I Add Album Art to MP3 in MP3TAG?
You open MP3TAG, select your MP3 file, then drag and drop your desired image into the cover art area or right-click to add cover art.
It’s pretty straightforward. Once you’ve added the image, just save your changes to embed the album art into the file.
That’s all there is to it! Your MP3 will now show the new album art whenever you play it.
How Do I Add Album Art?
You add album art by copying your image, opening the MP3 in Windows Media Player, right-clicking the current cover, and selecting “Paste album art.”
If it doesn’t update, play another song to refresh before pasting again. Just give it a try, and it usually works fine!
How Do I Add Albums to an MP3 Player?
Like arranging books on a shelf, you just connect your MP3 player to your computer. Then, open its folder and drag albums into it.
Make sure to organize your files neatly in folders named after each album. When you’re done, safely eject your MP3 player to keep everything secure.
Now, you’re all set to enjoy your music library on the go!
Conclusion
Adding album art to your MP3 is like framing a favorite photo—it gives your music a new identity and brings it to life. Just as a picture tells a story without words, the cover art speaks for your song before it even plays.
By following these simple steps, you’re not just editing a file; you’re giving your music a face, making each track more personal and vibrant every time you hit play.
Incorporating album art into your MP3 files enhances your listening experience and makes your music library visually appealing. Whether you’re organizing your collection or sharing songs with friends, adding album art helps your tracks stand out.
So, with these easy steps, you can effortlessly add album art to MP3s, giving your music a fresh look and feel. This not only personalizes your songs but also makes your music collection more enjoyable and professional-looking.