How to Frame Canvas Art in 7 Simple Steps
To frame canvas art in seven simple steps, start by measuring your canvas accurately and preparing a clean, flat workspace. This ensures everything fits perfectly and makes the process smoother.
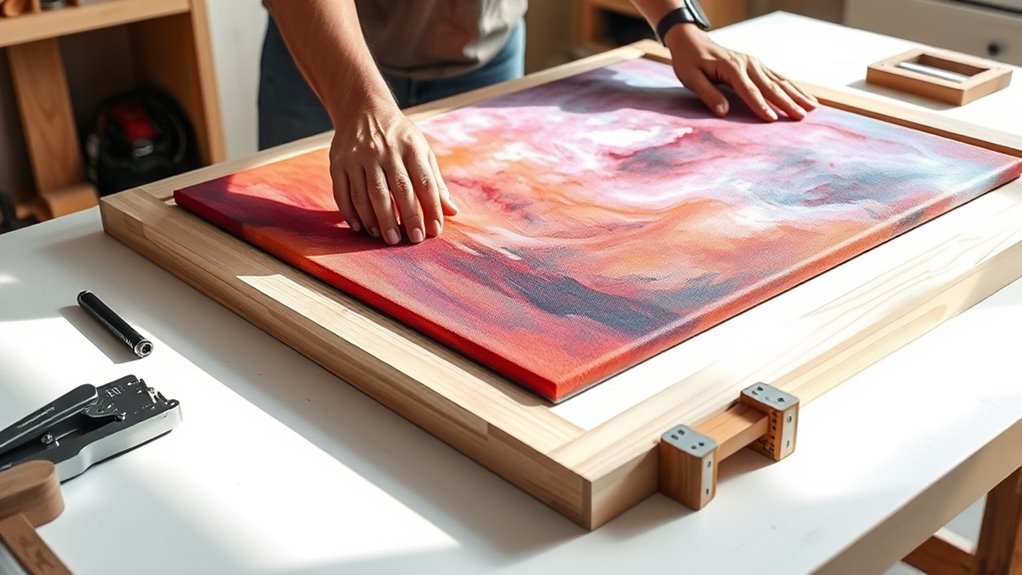
Next, center your canvas within the frame and carefully fold the edges over the stretcher bars. Use staples or nails to secure the fabric evenly, starting from the center of each side.
Stretch the canvas taut as you go to avoid wrinkles.
Make sure to neatly fold and secure the corners for a polished look. Trim any excess fabric to keep things tidy.
Finally, insert and secure the canvas firmly in the frame. Following these basics will guarantee a professional finish you’ll want to perfect.
It’s easier than it sounds, and your framed canvas art will look fantastic hanging on your wall!
Key Takeaways
- Clean the canvas and ensure the frame is sturdy and properly sized for the artwork.
- Measure and center the canvas within the frame, leaving extra fabric to wrap around the edges.
- Stretch the canvas taut using pliers, folding corners neatly and securing fabric with staples or tacks.
- Attach the canvas firmly to the frame by stapling or nailing along the inner edge, maintaining even tension.
- Inspect alignment, tautness, and secure fit, making adjustments before finalizing the framed canvas for display.
Measure the Canvas Dimensions
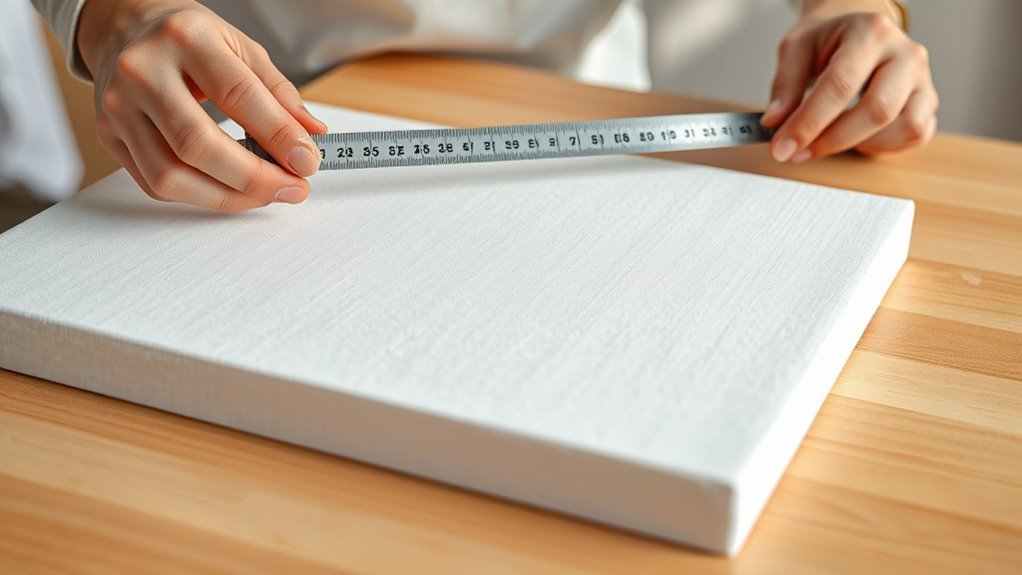
Before you begin framing, measure the height and width of your canvas accurately using a tape measure or ruler. Accurately measure the canvas dimensions, noting the artwork size itself and the overall canvas size including stretcher bars.
Be sure to leave at least two inches of extra fabric on each side for folding and stretching during framing. Record these measurements carefully to ensure your frame and any mat you use are cut to fit perfectly.
Lightly mark the measurements on the back of the canvas or framing material with a pencil. Double-check all measurements before cutting or purchasing to guarantee the frame opening matches your artwork size.
Taking these steps ensures a precise frame fit, avoiding issues with too-small or too-large frames later on. It’s worth the extra effort to get it right!
Prepare a Clean Workspace
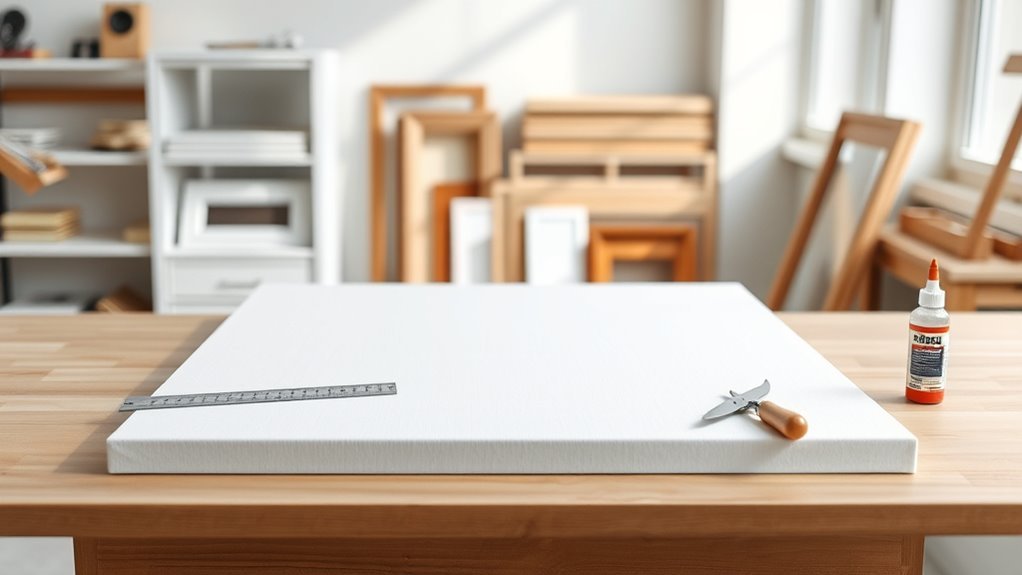
While setting up your framing project, clear a flat, well-lit area free of dust and clutter to create an ideal workspace. A clean workspace helps you focus and prevents damage to your canvas.
Begin by clearing a flat, well-lit, dust-free area to protect your canvas and enhance focus.
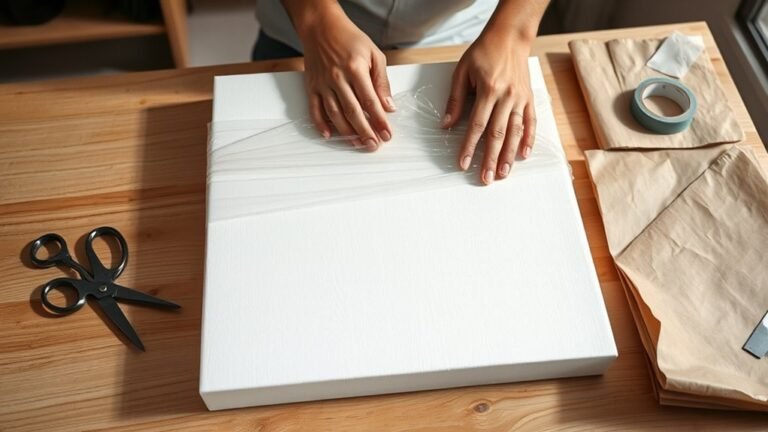
Cover your surface with a drop cloth to protect it from paint, glue, or dust. Gather all necessary tools—measuring tape, scissors, staple gun, and protective gloves—before you begin.
Organize your workspace by arranging tools within reach to streamline your workflow and avoid unnecessary movement. Good workspace organization ensures you can easily check measurements and apply materials without interruption.
Also, guarantee proper ventilation to safely disperse fumes from finishes or adhesives. Following these steps in your workspace setup will make framing your canvas art efficient, safe, and enjoyable.
Fold and Staple the Canvas Edges
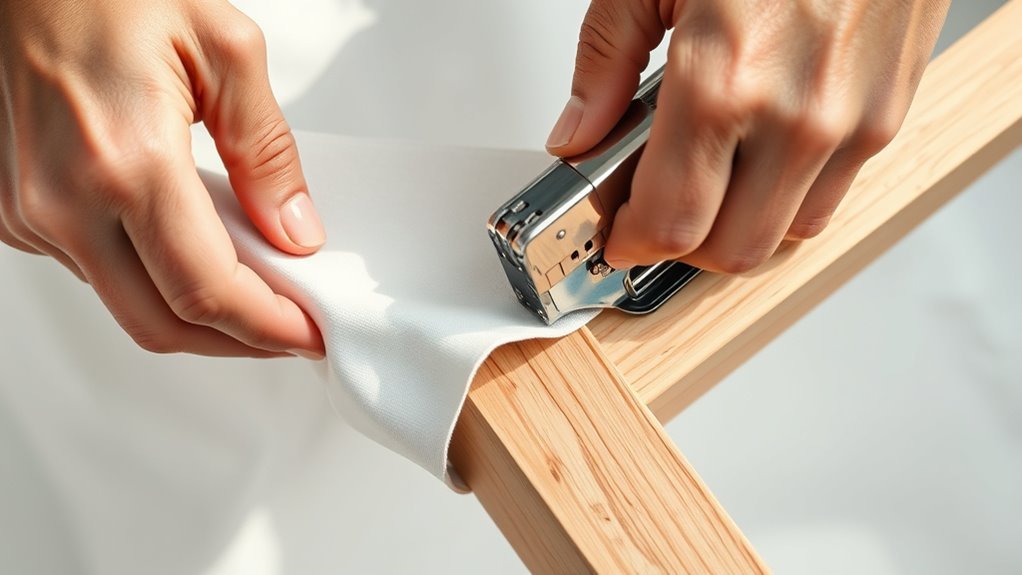
How exactly do you guarantee your canvas stays tight and smooth as you frame it? Start by carefully folding the excess canvas edges over the stretcher bars. This fold creates the foundation for a professional finish.
Next, secure the fabric by stapling the canvas edges to the frame. To maintain even tension, staple the center of each side first, then work outward toward the corners.
Don’t forget to pull the fabric gently to stretch and eliminate any slack before stapling. For neat corners, fold them cleanly, tuck the extra fabric underneath, and staple firmly.
- Fold the canvas edges smoothly over the stretcher bar
- Staple at the center of each side before moving outward
- Gently stretch the fabric to remove slack
- Secure corners with tight, tidy folds for a flawless finish
Tighten the Canvas for a Smooth Surface
To tighten the canvas for a smooth surface, start by gently pulling the fabric from the center toward the edges to remove any slack. Use canvas pliers to grip and stretch the material evenly before stapling from the center of each side outward.
Keep the tension consistent, checking regularly to avoid overstretching or warping. It’s important to take your time here—rushing can lead to uneven stretching and a less smooth finish.
Stretching Techniques
Even if your canvas feels loose at first, you can tighten it by pulling the fabric evenly across the frame and securing it with staples or tacks. Start by working from the center of each stretcher bar, gently stretching the fabric outward.
Using canvas pliers helps grip the stretched fabric, making sure you apply even tension without damaging the canvas. Keep your stretched canvas taut by wrapping canvas edges neatly around the stretcher bars.
Remember to:
- Work from the center to maintain balanced tension
- Use canvas pliers for a firm, even pull
- Secure with staples or tacks, spacing them evenly
- Check tension regularly; the surface should feel smooth and tight
These stretching techniques help you achieve a professional, wrinkle-free finish. Give it a try, and you’ll see how much better your canvas looks!
Stapling for Tension
Once you’ve stretched the canvas evenly across the frame using the techniques described earlier, securing it with staples becomes the next step to maintain consistent tension. Start stapling at the center of each side, gently pulling the canvas taut before each staple to prevent wrinkles or sagging.
Use a staple gun with enough power to secure the fabric firmly without damage. Work progressively from the center toward the corners, alternating sides to ensure even tension across the surface.
Frequently check the tightness as you go, adjusting if needed to keep the canvas taut and wrinkle-free. Finally, secure the corner staples carefully, as they anchor the tension and complete the stretch.
Proper stapling guarantees a smooth, professional finish for your framed canvas art. Just take your time with this part—it really makes a difference!
Secure the Corners With Precision
Although securing the corners might seem straightforward, using a square or corner clamp will help you hold the canvas tightly and guarantee precise alignment. This step assures your canvas stays taut without warping or distorting the artwork.
To get a professional finish, fold the canvas neatly at each corner, creating a clean mitered seam. Then, use a staple gun to secure the fabric evenly, starting from the center and working outward to maintain proper canvas tension.
Fold corners neatly into mitered seams, then staple from center outward for even tension and a professional look
- Use corner clamps or braces to hold corners firmly during stapling
- Fold the canvas carefully to form crisp mitered seams
- Apply corner staples for added stability and precise alignment
- Avoid overstretching fabric to prevent distortion or warping
These techniques help you achieve a sharp, professional finish every time. Just take your time, and you’ll see the difference it makes!
Trim Excess Fabric Carefully
After securing the corners with care, you’ll want to trim the excess fabric to create a neat, professional edge. Start by folding the fabric neatly around the stretcher bars, leaving about 1 to 2 inches of excess beyond the frame. This extra fabric allows you to fold and staple securely.
Use sharp scissors to make clean, straight cuts, trimming away any loose or frayed strands to prevent uneven edges. At the corners, cut the fabric at a 45-degree angle to facilitate tight, crisp folds.
Take your time with trimming to ensure all edges are neat and even. Proper trimming not only improves the canvas’s appearance but also makes the final framing process much smoother and more polished.
Insert the Canvas Into the Frame
Now that you’ve trimmed the excess fabric, place your canvas face down and align it precisely within the frame. Make sure it fits snugly and sits evenly against the edges.
Once positioned, secure it firmly with nails, staples, or clips to keep it perfectly in place. This will ensure your canvas stays put and looks great.
Align Canvas Precisely
Before inserting your canvas into the frame, make sure you measure the interior dimensions carefully to match your canvas size exactly. Properly aligning the canvas ensures a neat, professional look.
Place the canvas face down on a clean, flat surface and align it with the frame edges. As you insert it, aim for a snug fit without forcing it.
To align the canvas precisely:
- Gently press the canvas into each corner for a secure fit
- Check that the edges sit flush and straight within the frame
- Confirm the canvas is centered by viewing it from the front
- Adjust slightly if it’s off-center or tilted before finalizing
Aligning the canvas evenly avoids gaps and keeps the artwork looking balanced and sharp. It really makes a difference in the final presentation.
Secure Canvas Firmly
A secure fit keeps your canvas stable and showcases your artwork at its best. Start by gently placing the canvas face down into the frame, making sure it’s centered and perfectly aligned.
Apply even pressure around the edges so the canvas settles reliably within the frame’s inner edges. Next, use small nails, tacks, or staples along the frame’s inner lip to hold the canvas firmly in place.
For extra security, add small clips or corner braces that grip the canvas without causing damage. Throughout this process, check that the canvas remains taut and flush with the frame.
Adjust as needed before finalizing to ensure your canvas is secure, well-aligned, and beautifully presented.
Frequently Asked Questions
What Is an Easy Way to Frame a Canvas?
An easy way to frame a canvas is to buy a pre-made frame that fits your artwork.
Then, remove any glass and insert the canvas. After that, secure it with clips or screws.
It’s quick, simple, and looks great. You’ll have your art ready to hang in no time!
How Do You Frame Unframed Canvas?
You stretch your unframed canvas onto stretcher bars, making it taut. Then, pick a frame slightly larger than the canvas and place it inside.
Secure the canvas with clips or staples, and don’t forget to add hanging hardware for display. It’s pretty straightforward once you get the hang of it!
How Do I Frame Canvas Art?
Framing canvas art is easier than climbing Mount Everest! You’ll measure your canvas, pick a frame with a slight gap, carefully place and secure it, then add hanging hardware for a stunning, polished display you’ll love.
It’s really straightforward when you break it down step by step. Just take your time, and you’ll have your artwork looking amazing in no time!
What Type of Frame Is Best for Canvas Painting?
You’ll want a floating frame for a modern look or a wooden frame for classic style. Match the frame type to your artwork’s vibe, and make sure it fits your canvas depth to avoid damage or distortion.
Choosing the right frame really depends on the feel you want to create. A floating frame gives a sleek, contemporary edge, while a wooden frame adds warmth and tradition.
Just double-check that the frame matches the thickness of your canvas. This way, you keep your painting safe and looking sharp without any warping or damage.
Conclusion
So, who knew framing your own canvas could be this straightforward? With just a few simple steps, you’ve gone from blank wall to gallery-worthy art curator—without calling in a professional or breaking the bank.
Sure, you might have a few extra staples or a slightly uneven corner, but hey, that’s called character. Now, sit back and enjoy your masterpiece, framed by none other than your own two hands.
Framing canvas art by yourself doesn’t have to be complicated. With the right tools and a bit of patience, you can easily create a polished look that complements your artwork beautifully. Whether you’re a beginner or just looking to save some money, these simple steps make framing canvas art accessible and fun.
So go ahead—turn your blank canvas into a stunning piece of wall decor. Framing canvas art is not only easy but also incredibly rewarding when you see your creation hanging proudly in your space. Easy, right?