How to Render Art Step by Step
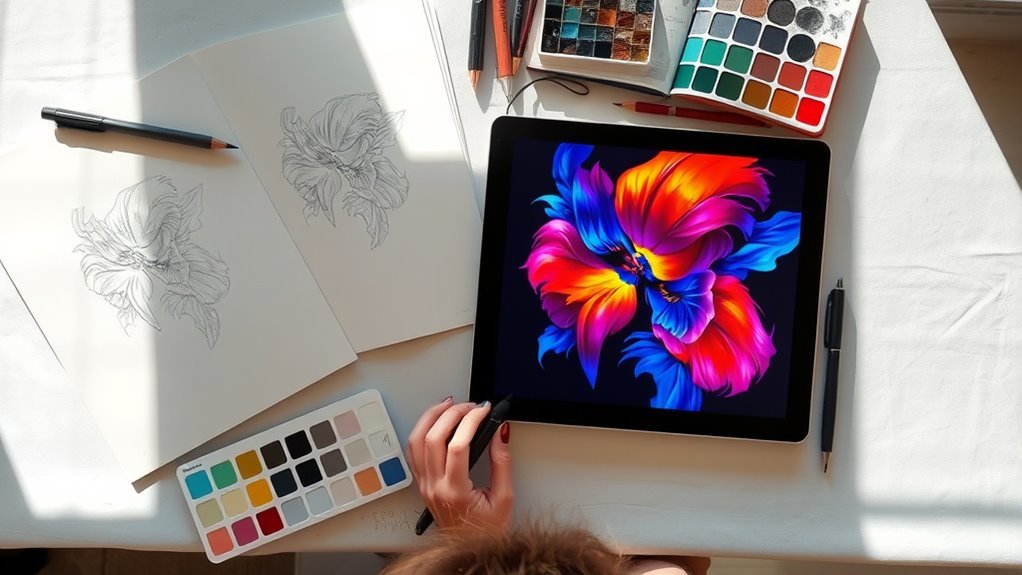
To render art step by step, start with a detailed sketch to map out your composition. This initial step is crucial as it lays the foundation for your artwork. By focusing on your sketch, you can plan the overall layout and balance of your piece.
Next, clean up your drawing by erasing stray lines and tracing key outlines with a precise brush. This sharpens your work and makes the image clearer.
Applying flat base colors on separate layers comes after, which helps keep your colors organized and vibrant.
Then, add shadows and highlights to build depth and dimension. This stage brings your art to life by creating contrast and realism.
Keep refining by emphasizing key details and adjusting shading for a more polished look.
If you keep going, you’ll discover how each step shapes a professional and polished piece. The process might take time, but the results are worth it!
Key Takeaways
- Begin with a detailed sketch to establish the composition and main forms clearly.
- Apply flat base colors on separate layers to simplify color blocking.
- Use layer blending modes to add shadows and highlights, building depth gradually.
- Refine lines by erasing stray marks and emphasizing key outlines for clarity.
- Adjust shading, highlights, and textures to enhance realism and polish the final piece.
The Cleanup Process
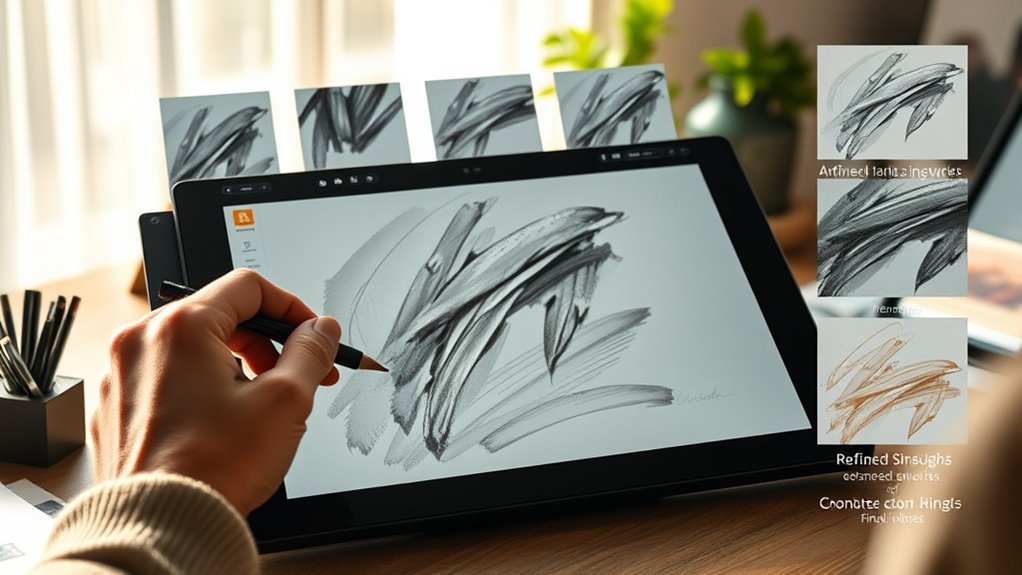
The cleanup process refines your rough sketch by erasing unnecessary lines and tracing key outlines with a thinner, more precise brush. You’ll want to focus on creating clean lines that enhance the overall refinement of your artwork.
Start by erasing stray marks and construction lines. This helps in polishing the piece and giving it a professional finish.
Next, emphasize the main outline to guide the viewer’s eye and strengthen the composition. Pay close attention to shading and highlights, adjusting them to add depth and bring out important details.
This stage isn’t just about tidying up—it’s about strategically enhancing your sketch. It allows the key elements to stand out clearly and ensures your art looks crisp, polished, and ready for the next step.
Step-by-Step Rendering Method

Although it might seem overwhelming at first, breaking down rendering into clear steps will help you build depth and realism gradually. Start with a detailed sketch to establish your composition and major forms.
Breaking rendering into clear steps helps build depth and realism gradually, beginning with a detailed sketch.
Next, apply flat base colors on separate layers, keeping fills simple and uniform. Then, use layer blending to add shadows and highlights, carefully refining the depth and volume of your work.
Focus on lighting to enhance mood and dimension. As you progress, erase or thin unnecessary lines and emphasize key details to define focal points.
Finally, add textures and subtle effects to bring your piece to life. Throughout this process, continually refine your work, ensuring each step enhances the composition and contributes to a polished, realistic render.
Frequently Asked Questions
What Is the 70/30 Rule in Art?
The 70/30 rule means you focus 70% of your effort on major elements like composition and lighting, then spend 30% on details.
It helps you prioritize and create balanced, visually appealing artwork without overworking small parts early.
By doing this, you make sure the big picture looks great before getting caught up in tiny details.
It’s a smart way to keep your art from feeling cluttered or unbalanced.
How to Render Step by Step?
You don’t just slap colors on a canvas; you build depth by layering shadows and highlights over flat bases. Start with a clean sketch, blend carefully, add textures,
then finish by sharpening details and adjusting vibrancy for impact. It’s all about taking your time and letting each step enhance the last. Keep it steady and enjoy the process!
What Are the Five Rendering Techniques?
The five rendering techniques you’ll use are flat shading, smooth shading, hatching, cross-hatching, and stippling. Each creates different textures and effects, letting you define form, shadow, and detail in unique, expressive ways.
These methods help bring your drawings to life by adding depth and dimension. Plus, experimenting with them can really boost your artistic style.
Is Rendering Difficult to Learn?
Rendering isn’t difficult to learn if you stay patient and practice regularly.
You’ll improve by breaking down steps, experimenting, and learning from mistakes.
With time, you’ll gain confidence and find rendering much easier and enjoyable.
Conclusion
Now that you’ve mastered the cleanup process and step-by-step rendering, you’re ready to bring your art to life with confidence. Imagine Sarah, who struggled with messy sketches but transformed her work by following these steps—her final pieces now pop with clarity and detail.
By breaking down your rendering into manageable stages, you’ll see steady improvement and enjoy the creative journey more. Keep practicing, and watch your art evolve beautifully every time! Remember, mastering how to render art step by step makes your process smoother and your results more polished. So, take your time, stay patient, and let each stage of rendering bring out the best in your artwork. Your dedication will definitely pay off, turning your sketches into stunning finished pieces.