How to Hang Metal Wall Art in 7 Easy Steps
To hang metal wall art, first pick the perfect spot at eye level where it balances well. This helps your art stand out and makes sure it fits nicely in your space.
Measure and mark your wall precisely to avoid any guesswork or crooked hanging.
Choose hardware strong enough for your art’s weight. It’s important to get this right so your metal wall art stays secure and safe. Find a stud or use the right anchors for secure support, especially if your piece is heavy.
Install the hardware carefully, then hang your piece and test its stability. You don’t want any surprises later!
Finally, level it and make adjustments for a straight, polished look.
Keep going to discover tips that guarantee a flawless and lasting display. You’ll be a pro at showing off your metal wall art in no time!
Key Takeaways
- Select a visually balanced wall space and hang the metal art at eye level for optimal viewing and aesthetic appeal.
- Measure and mark the exact hardware placement using a tape measure, pencil, and level for precise installation.
- Locate wall studs with a stud finder and use appropriate anchors or heavy-duty hardware for secure mounting.
- Carefully hang the metal art, adjusting its position with a level to ensure it is straight and balanced.
- Verify final placement from different angles, tighten hardware securely, and remove any marking tools for a clean finish.
Choose the Perfect Location and Space
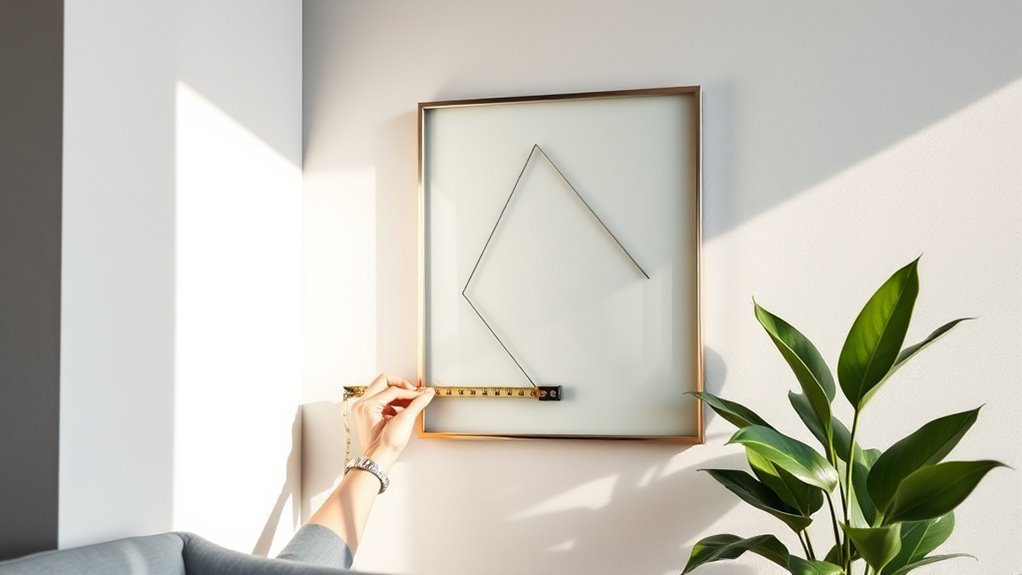
When choosing the perfect location and space for your metal wall art, consider a wall that matches the piece’s size to create a balanced look. Selecting wall space with the right proportion guarantees your artwork achieves a strong visual impact without overwhelming the room.
Aim to hang the piece at eye level—about 57 inches from the floor—for natural viewing. Pay attention to the wall type and lighting; avoid glare but highlight metallic textures to enhance the artwork’s appeal.
Choose a location free of clutter so the metal art can become a focal point. Before hanging, use painter’s tape or paper templates to mock up the placement. This lets you visualize how the piece fits, ensuring your final placement complements the space perfectly.
Measure and Mark Your Wall Accurately
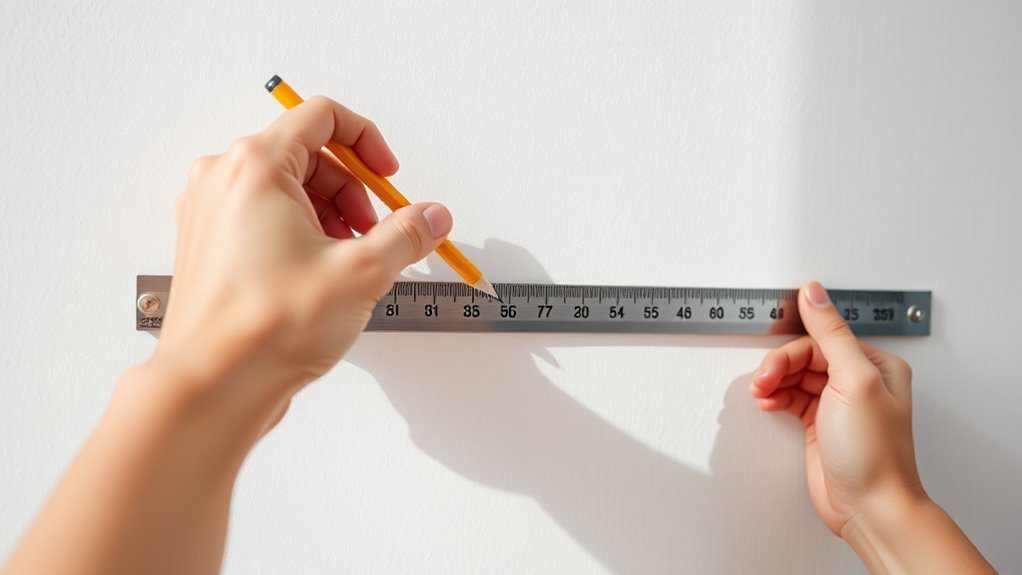
After selecting the ideal spot for your metal wall art, the next step is to measure and mark your wall accurately to guarantee a perfect fit. Use a measuring tape to determine the desired height and placement, then transfer these measurements carefully to the wall.
With a pencil, mark the exact points where the hardware will go, making sure they align with the mounting brackets on your artwork. Use a level to draw straight guidelines or checkmarks to ensure precise horizontal and vertical alignment.
Double-check all measurements and markings before drilling to avoid mistakes. Getting this right now will make hanging your metal wall art easier and ensure it looks perfect once installed.
Select the Appropriate Hardware and Tools
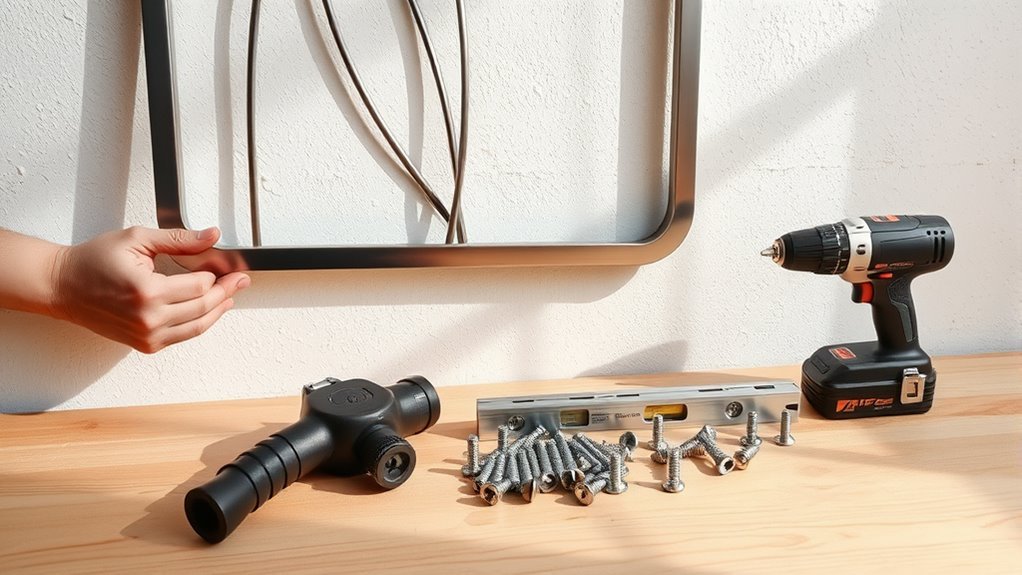
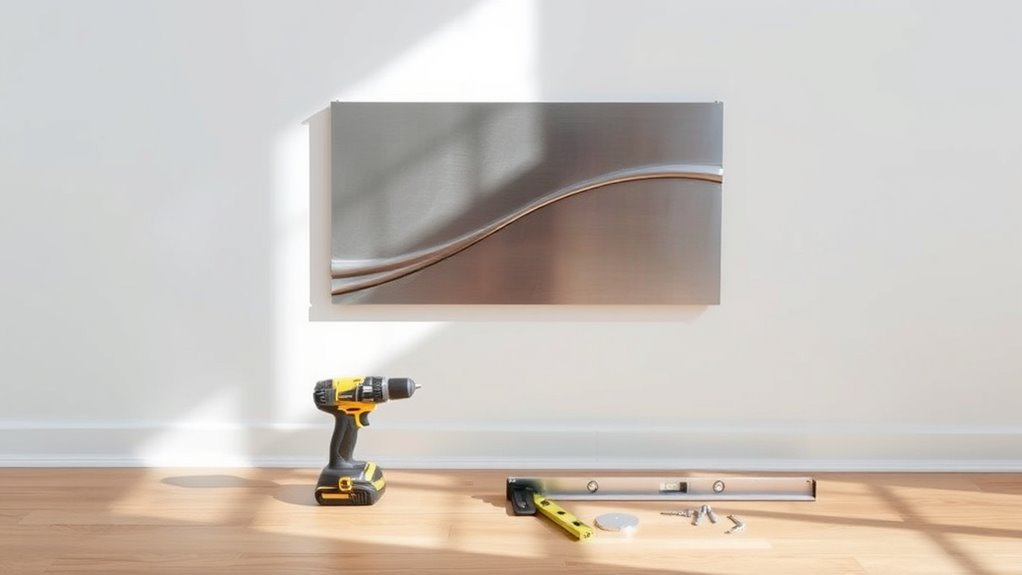
You’ll need the right tools like a tape measure, level, drill, and screwdriver to get started. Choose hardware that matches your metal art’s weight and your wall type to guarantee a secure hold.
For heavy pieces or outdoor displays, consider sturdier options like French cleats and rust-resistant materials. This way, your art stays safe and looks great for a long time.
Matching Hardware to Weight
Choosing the right hardware depends largely on the weight of your metal wall art. Use heavy-duty hooks or D-rings with screws that have weight ratings exceeding your art’s load capacity for secure mounting.
For heavier pieces, French cleats combined with wall anchors like toggle bolts or masonry anchors provide excellent hardware support and evenly distribute weight. This way, your art stays safe and sound on the wall.
Lightweight metal art under 5 pounds can be hung using picture hanging strips rated for their weight. This method helps avoid wall damage and keeps things simple.
Always match anchors to your wall material to guarantee stability. Picking the right combination is key to making sure your art looks great and stays put.
| Weight Range | Recommended Hardware |
|---|---|
| Under 5 lbs | Picture hanging strips |
| Up to 50 lbs | Heavy-duty hooks or D-rings |
| Over 50 lbs | French cleats + toggle bolts |
| Masonry walls | Masonry anchors + cleats |
Essential Hanging Tools
Matching your metal wall art with the right hardware is just the start; having the proper tools guarantees your piece hangs securely and looks great. Begin by using a tape measure and pencil for precise measuring and marking.
A stud finder helps locate studs for secure mounting, especially when dealing with heavier pieces. A level ensures your art hangs perfectly straight.
For installation, a drill is essential to create holes for anchors and screws. Select anchors that suit your wall type and the weight of your metal art.
Using the correct screws and hardware, such as D-rings or toggle bolts, prevents damage and guarantees stability. With these essential tools—measuring tape, pencil, stud finder, drill, level, anchors, screws—you’ll confidently mount your metal wall art with precision and ease.
Wall Type Considerations
Although metal wall art can enhance any space, hanging it securely depends largely on your wall type. First, identify the wall material using a stud finder to locate wall studs for maximum wall support.
For drywall, use drywall anchors or toggle bolts for heavier pieces; lightweight art may only need screws. Masonry walls require a hammer drill with masonry bits and proper wall anchors to hold the mounting hardware firmly.
Wooden walls or paneling typically accept wood screws, but pre-drilling prevents splitting. Always match your mounting hardware to the wall type: metal hooks or D-rings for studs provide the best support.
Avoid relying on adhesive strips except for very light, indoor pieces. Choosing the right wall anchors and tools guarantees your metal art stays safely in place.
Locate a Stud or Choose the Right Anchor
Before you hang your metal wall art, you’ll want to locate a stud to guarantee a secure hold. Use a stud finder by sliding it horizontally across the wall until it signals a stud’s presence.
Locate a stud first using a stud finder to ensure your metal wall art hangs securely.
Mark the stud’s center with a pencil to ensure secure mounting with your wall hardware. For heavy wall art, always drill holes into studs rather than relying on drywall anchors alone.
If you can’t find a stud, choose appropriate wall anchors like toggle bolts or expansion anchors rated for your artwork’s weight. After marking, double-check placement with a level to keep your art straight.
Using the right combination of studs or wall anchors ensures your metal wall art stays safely mounted on drywall without risk of falling. That way, you can enjoy your art without worrying about it coming loose!
Install the Hanging Hardware Securely
Once you’ve marked the stud or chosen the right anchor, make sure to install the hanging hardware securely and straight. Use a level before drilling holes to ensure your metal wall art hangs perfectly.
Select screws and hooks rated for your art’s weight, relying on wall anchors for drywall or masonry bits for brick. Always pre-drill holes to prevent wall damage and ease screw insertion.
Securely tighten the hardware into wall studs or anchors, confirming they provide solid wall support without slipping. Use appropriate installation tools like drills and screwdrivers for precision.
Properly installed hanging hardware guarantees your artwork stays safely mounted. This careful process ensures your heavy metal piece won’t tilt or fall, preserving both your wall and the art itself.
Hang Your Metal Wall Art and Check Stability
After securing the mounting hardware, hang your metal wall art carefully. Use a level to guarantee it sits perfectly horizontal.
Align the piece precisely, then gently press it to check for any movement or wobbling. If it shifts, adjust the hardware or add wall anchors for better support.
Align your artwork carefully and test for wobbling; add anchors if needed for added stability.
Make certain all hardware is securely fastened to maintain stability over time. Adding protective bumpers or spacers on the back can help prevent tilting and keep the art flush against the wall.
Once hung, inspect the hardware and mounting points regularly for loosening or wear. Tighten or replace as needed.
Taking these steps ensures your metal wall art remains stable, secure, and beautifully aligned on your wall.
Level the Artwork and Make Final Adjustments
With your metal wall art hanging securely, it’s time to level the piece and make final adjustments. Place a level on top of the artwork to check the straightness, ensuring the bubble is centered.
If it’s off, make small adjustments by shifting the piece left, right, up, or down to perfectly align it. After leveling, tighten or loosen the mounting hardware so the artwork stays securely in place.
Step back and view the placement from different angles to confirm visual balance and the final position feels right. Finally, do a last check with your level to verify the straightness hasn’t shifted during adjustments.
Taking these steps guarantees your metal wall art is perfectly aligned and secure, enhancing its overall presentation.
Frequently Asked Questions
What Is the Best Way to Hang Metal Wall Art?
The best way to hang metal wall art is to use hooks anchored into studs for heavy pieces, or damage-free adhesive strips for lighter ones.
Always measure, level, and choose proper hardware for secure, damage-free mounting.
That way, your art stays put and your walls stay looking great!
How to Hang Metal Wall Art With No Hooks?
You can use damage-free adhesive strips rated for your metal art’s weight.
First, clean the wall thoroughly. Then, press the strips firmly onto the art.
Give the adhesive some time to cure before mounting it.
Make sure to check the strips regularly to keep your art secure and safe.
How to Put Metal Wall Art Up?
Grab your trusty quill and measure the wall where you want your metal art. Then, pick suitable hardware, drill pilot holes if needed, install securely, hang the piece, and finally, use a level to straighten it perfectly.
Sounds simple, right? Just take it step by step, and your metal wall art will be up in no time!
How to Attach Metal Wall Art Without Nails?
You can attach metal wall art without nails by using damage-free adhesive strips or strong removable hooks rated for your art’s weight.
Just clean the wall, apply carefully, and test on a small spot first to avoid damage.
It’s pretty simple once you get the hang of it! Just make sure the surface is dry and smooth before sticking anything on.
Conclusion
Now that you’ve hung your metal wall art, your space isn’t just decorated—it’s transformed into a gallery of your own story. Like a heart beating on your wall, your art brings life and character, reflecting who you are.
With each step you took, you built more than a display; you crafted a connection. So stand back, admire your work, and let your walls speak volumes without saying a word.
Hanging metal wall art isn’t just about decoration—it’s about personal expression. Your carefully chosen piece adds depth and personality to your home. Plus, the process of hanging it correctly ensures it stays secure and looks stunning for years to come. So enjoy your new artwork and the unique vibe it brings to your space!