How to Make Pixel Art in Procreate in 7 Easy Steps
To make pixel art in Procreate, start by setting a small canvas, like 32×32 pixels, with an SRGB color profile. This size helps you focus on the tiny details that make pixel art unique.
Next, enable the Drawing Guide and set it to a 1×1 pixel grid. This grid is super useful for accuracy and keeping your pixels aligned perfectly.
Now, create a custom pixel brush by disabling stabilization. This gives you crisp, sharp strokes, which are essential for that classic pixel art look.
Don’t forget to use layers and selection tools to build up details and add shadows. These tools make your pixel art pop and look more dynamic.
When your artwork is ready, resize it using the nearest neighbor option to keep those edges sharp.
Export your masterpiece as a PNG file to preserve quality.
Finally, you can add subtle effects to enhance depth and give your pixel art a little extra flair.
Keep practicing, and you’ll master pixel art in Procreate in no time!
Key Takeaways
- Set up a small canvas, like 32×32 pixels, at 300 DPI. Make sure to use an SRGB color profile and a white background—perfect for pixel art.
- Turn on the Drawing Guide and set it to a 1×1 pixel grid. You can tweak the grid color and opacity to help place your pixels just right.
- Next, create or import a custom pixel brush. It should have no stabilization, and you’ll want to adjust the pressure sensitivity so your strokes stay sharp and consistent.
- Don’t forget to use layers! They’re great for adding details like shadows and highlights. Plus, selection and transform tools come in handy for making pixel-perfect edits.
- When you’re done, export your artwork as a PNG. Use nearest neighbor resizing to keep those pixels crisp and maintain any transparency.
Set Up a New Canvas for Pixel Art
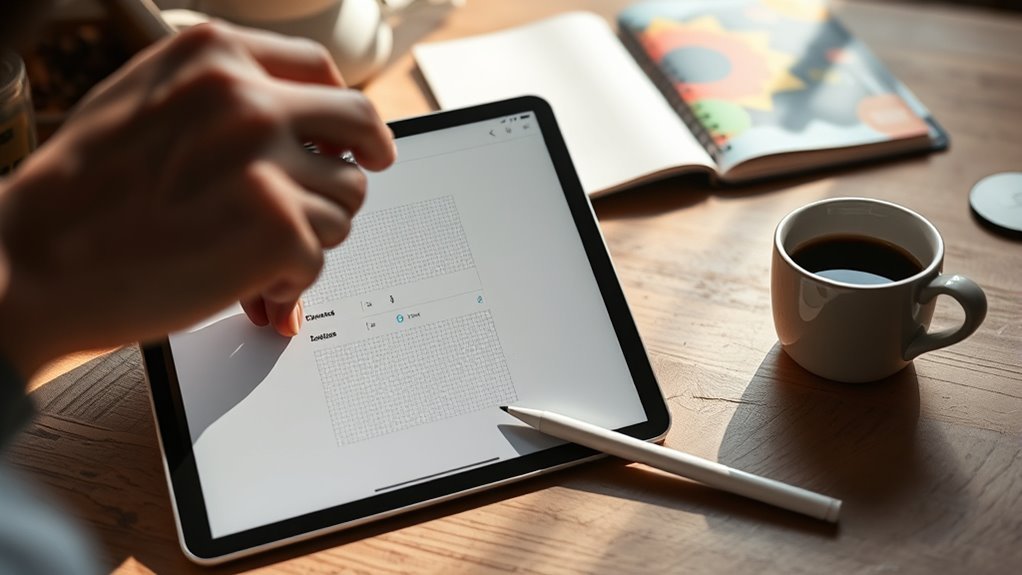
Before you begin your pixel art masterpiece, set up a new canvas in Procreate by tapping the plus icon and selecting the second option. Once you open the new canvas, set the dimensions to 50 by 50 pixels at 300 DPI and choose the SRGB color profile to guarantee your colors stay accurate.
Change the background color to white for a clean drawing surface that won’t distract you. While you won’t configure the pixel grid and drawing guide yet, this initial setup is crucial for precise pixel placement.
Configure the Pixel Grid and Drawing Guide
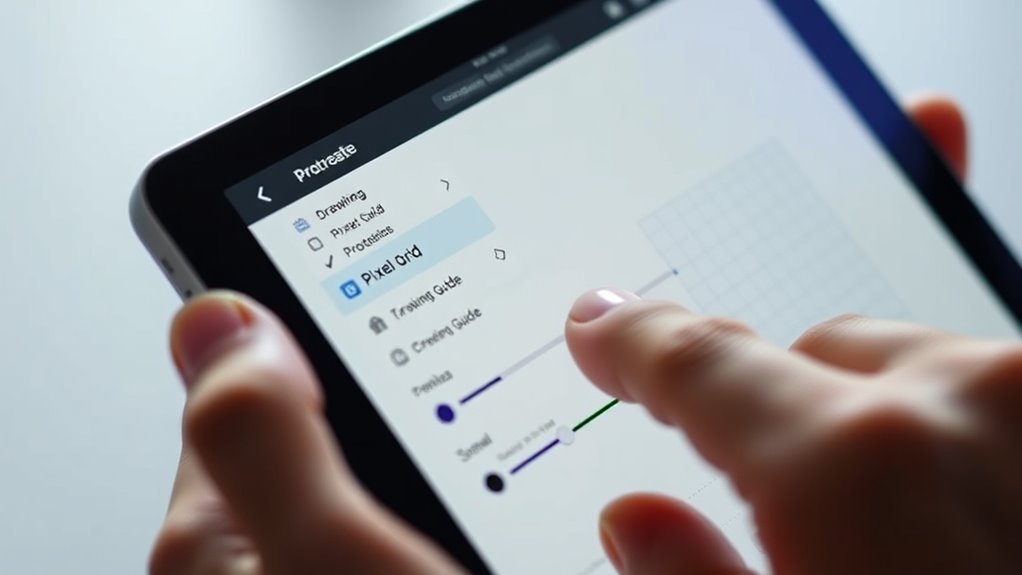
Start by enabling the Drawing Guide from the Actions menu and selecting Edit Drawing Guide.
Then, set the grid size to zero to create a precise pixel grid that matches each pixel on your canvas.
Finally, customize the grid’s thickness, opacity, and color to make it easy to see as you work on your pixel art.
Enable Drawing Guide
How do you create a precise pixel grid in Procreate? First, tap the wrench icon to open Actions, then toggle on the drawing guide.
Next, tap “Edit Drawing Guide” to access customization options. Here, you’ll want to set the grid size to zero, which creates the essential 1×1 pixel grid for pixel art precision.
You can also customize the pixel grid’s thickness, opacity, and color—choose a reddish hue for better visibility behind your artwork.
Once you’ve adjusted these settings to your preference, tap “Done” to confirm. With the drawing guide enabled and customized, you’ll have a clear and accurate pixel grid that makes detailed pixel art creation much easier and more precise.
Adjust Grid Settings
Where can you fine-tune your pixel grid settings in Procreate? Simply enable the drawing guide, then tap “Edit Drawing Guide” to access the grid options.
For pixel art, set the grid size to zero, which creates a 1×1 pixel grid perfect for detailed work. You can also customize the grid’s thickness, opacity, and color—choosing something like a reddish hue helps the grid stand out behind your artwork.
This grid acts as a precise framework, letting you place and align each pixel exactly where you want it. Remember, you can toggle the grid on or off and adjust these settings anytime through the drawing guide menu.
Mastering these grid settings is essential for crafting clean, crisp pixel art in Procreate. It really makes a difference when you want your work to look sharp and polished.
Customize Grid Visibility
Although enabling the drawing guide is essential, customizing your pixel grid’s visibility guarantees you can work with precision and ease.
To do this, tap the wrench icon, turn on Drawing Guide, then select Edit Drawing Guide. Choose Grid to display a pixel-perfect overlay.
Set the grid size to zero pixels for a 1×1 pixel grid, ensuring each square represents a single pixel. You can also customize the grid’s thickness, opacity, and color—like a reddish hue—to improve visibility behind your artwork.
Adjusting these settings helps you see individual pixels clearly, making it easier to place and align details accurately.
Create and Customize a Pixel Brush
To create a precise pixel brush, start by turning off brush stabilization and taper options so every pixel lands exactly where you want.
Then, design a small square shape to use as your brush tip and import it into Procreate’s brush settings.
Finally, adjust pressure sensitivity to keep your strokes consistent and sharp for clean pixel art. Easy, right? Give it a try and see how crisp your pixel creations can get!
Disable Brush Stabilization
How can you achieve pixel-perfect strokes in Procreate? The key is to disable brush stabilization in your brush settings. Stabilization smooths your lines but can blur the sharp edges you need for pixel art.
Turn off both stabilization and taper options to get precise strokes that hold their crispness. This adjustment ensures every pixel counts without unwanted curves or softness.
Next, fine-tune pressure sensitivity to keep size and opacity consistent, preventing uneven pixel lines. Also, lower your stroke spacing to maintain sharpness and avoid gaps.
Design Brush Shape
Creating your own pixel brush starts with designing a simple, small shape—typically a black square on a 2100×2100 px canvas—that will serve as the brush’s core. Export this shape as a PNG file, then import it into Procreate by selecting “Shape Edit” in the brush settings.
Replace the default brush shape with your pixel art design to customize your brush shape effectively. To keep your pixel lines sharp, disable stabilization and taper options, ensuring crisp edges.
Once you’ve customized the brush shape, save your new pixel brush with a clear name. Test it by adjusting size and other settings, refining your brush until it produces clean, precise strokes ideal for pixel art.
This approach lets you create a tailored pixel brush perfect for your artwork. Give it a try, and you’ll see how much easier pixel art can become!
Adjust Pressure Sensitivity
Although designing your pixel brush shape is essential, adjusting pressure sensitivity guarantees your strokes stay consistent and sharp. In Procreate’s brush settings, turn off stabilization and taper to maintain pixel-perfect edges.
Then, focus on pressure sensitivity: disable any opacity or size changes triggered by pressure to keep your pixel art crisp and uniform. Lower stroke spacing to avoid gaps or overlap between pixels, ensuring each dot stands out clearly.
This lets you draw precise, controlled lines without unexpected variations. After tweaking these settings, name and save your custom brush. Test it by varying the size from the smallest setting to confirm maximum precision.
Design Your Pixel Art With Precision Tools
When you want pixel art that pops with clarity, you’ll need to design using precision tools in Procreate. Start by setting up a 50×50 pixel canvas and enable the drawing guide with a 1×1 pixel grid.
This grid helps you place each pixel exactly where you want it, ensuring pixel perfect accuracy. Next, use a custom brush designed for pixel art—one without stabilization or taper—to keep your lines sharp and consistent.
Adjust your brush size to the smallest setting to capture fine details precisely. The combination of the grid and a pixel-perfect custom brush lets you control every pixel’s placement.
This setup empowers you to craft detailed pixel art with the exactness that makes your artwork stand out.
Refine Your Artwork Using Layers and Selections
After setting up your canvas and tools for precise pixel placement, you can refine your artwork further by using layers and selections. Use the selection tool to isolate specific areas for targeted edits, then apply transform tools to resize, rotate, or reposition pixels within that selection.
Lock the alpha channel on a layer to restrict changes to visible pixels, keeping backgrounds intact. Add new layers above your artwork to introduce shadows, highlights, or details without altering original pixels.
Adjust layer opacity and experiment with blending modes to refine colors and effects, enhancing depth and visual interest. By mastering layers and selections, you gain full control to refine your pixel art efficiently while preserving the integrity of your original design.
Resize and Export Your Pixel Art Correctly
To keep your pixel art crisp and sharp, start by creating it at a small size like 50×50 pixels before enlarging it on a bigger canvas. Use Procreate’s “Insert Photo” feature to place your small pixel art onto a larger canvas.
When you resize, make sure to set the interpolation method to “nearest neighbor”—this prevents blurring and keeps edges sharp. After resizing, zoom in to 100% to verify your pixel art maintains its clarity.
When you’re ready to save, always export as a PNG file to avoid compression artifacts and preserve any transparency. Following these steps guarantees your pixel art stays vibrant and clear, whether you’re sharing it online or using it in a project.
Apply Postprocessing Effects for Extra Depth
Although pixel art thrives on crisp edges, you can enhance its visual appeal by applying subtle postprocessing effects on a larger canvas. This way, you preserve sharpness while adding depth and texture.
Pixel art’s crisp edges stay sharp while subtle postprocessing adds depth and texture for enhanced visual appeal.
Here’s how to do it:
- Resize your pixel art using nearest neighbor interpolation to keep pixel-perfect quality.
- Adjust the color balance to enrich your artwork’s mood and vibrancy.
- Add a touch of noise or grain to introduce texture and break flatness.
- Apply a slight blur (around 3%) to soften some edges, enhancing depth without losing clarity.
Combining noise with controlled turbulence further boosts texture, making your pixel art more dynamic and visually appealing. Give it a try—you might be surprised how these subtle tweaks bring your art to life!
Frequently Asked Questions
Is There a Way to Make Pixel Art in Procreate?
Yes, you can make pixel art in Procreate by creating a small canvas and using a pixel-perfect brush. It helps to enable the drawing guide with a grid, so you can keep everything aligned perfectly.
When you’re done, export your artwork using nearest neighbor interpolation. This keeps your pixel art crisp and clear without any blurring. It’s a pretty straightforward process once you get the hang of it!
How to Make Pixel Art Step by Step?
You start by creating a small canvas with a visible grid, then use a pixel brush to draw pixel by pixel. Fill colors precisely, refine with selection tools, and finally export and resize using nearest neighbor for clarity.
It’s all about taking your time with each pixel. Don’t rush—pixel art is detailed work, but super rewarding! Just keep tweaking until it looks just right.
How to Make Pixel Art Easier?
Think of pixel art like building with LEGO—you need the right blocks and clear instructions. Use a 1×1 pixel brush, enable grid lines, and lock layers to speed up your workflow and keep your art sharp.
It really helps to break things down into small steps. And don’t forget, having the right tools makes a big difference!
How to Create Pixel Art on Ipad?
You can create pixel art on your iPad by using apps like Procreate or Pixelable. Start by setting a small canvas size, which is perfect for that pixelated look.
Next, enable a pixel grid to help keep your artwork precise. Using a pixel brush lets you draw sharp, clear pixels easily.
Don’t forget to zoom in while you work—it really helps with accuracy. Plus, layering tools can make your pixel art stand out even more. Give it a try and have fun experimenting!
Conclusion
By following these seven simple steps, you’ll turn Procreate into your very own pixel art studio—just like that! It’s funny how setting up a tiny grid and customizing a brush can open a whole new world of creativity right at your fingertips.
So, explore, experiment, and watch your pixel masterpieces come to life. You might just surprise yourself with what you create when precision meets passion in Procreate!
Creating pixel art in Procreate is easier than you think. With a bit of practice, you’ll master the tools and techniques that make your artwork pop. Whether you’re a beginner or a seasoned artist, these steps help you bring pixel art ideas to life beautifully.
Dive into the pixel art process, enjoy each step, and let your creativity flow. Procreate’s powerful features combined with your vision will make pixel art creation a fun and rewarding experience every time!