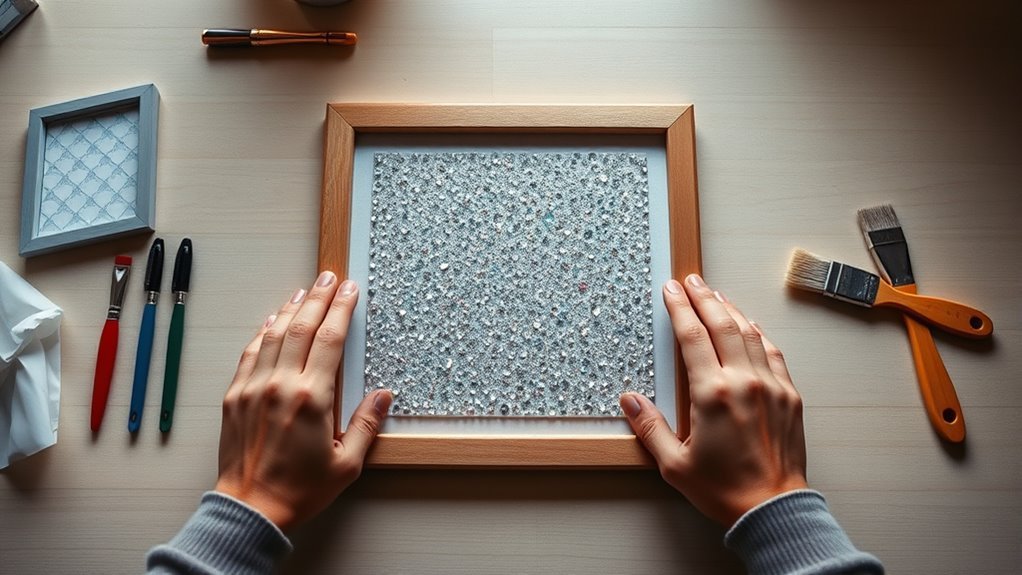
How to Frame Diamond Art in 3 Easy Steps
To frame your diamond art in three easy steps, start by measuring your piece precisely. Be sure to add a little extra space for overlap or matting to make sure it fits perfectly.
Next, choose a frame that’s slightly larger than your artwork. You might also want to consider adding a mat—it really enhances the overall look and gives your diamond art a polished feel.
Finally, trim any excess edges from your piece.
Apply a strong adhesive to a mounting surface, then carefully smooth your art in place. Let it dry completely before putting it into the frame.
Keep reading for helpful tips that will ensure a flawless finish every time!
Key Takeaways
- Measure your diamond art precisely, including canvas and borders. Add ¼ inch for framing overlap or matting.
- Choose a frame slightly larger than your artwork. Also, consider matting to enhance its appearance.
- Trim excess edges and logos from the diamond art for a clean, professional look before framing.
- Apply strong adhesive to a mounting surface. Then, center the artwork and smooth out any bubbles.
- Allow the adhesive to dry completely. Secure the artwork firmly before placing it in the frame.
Measure and Prepare Your Diamond Art
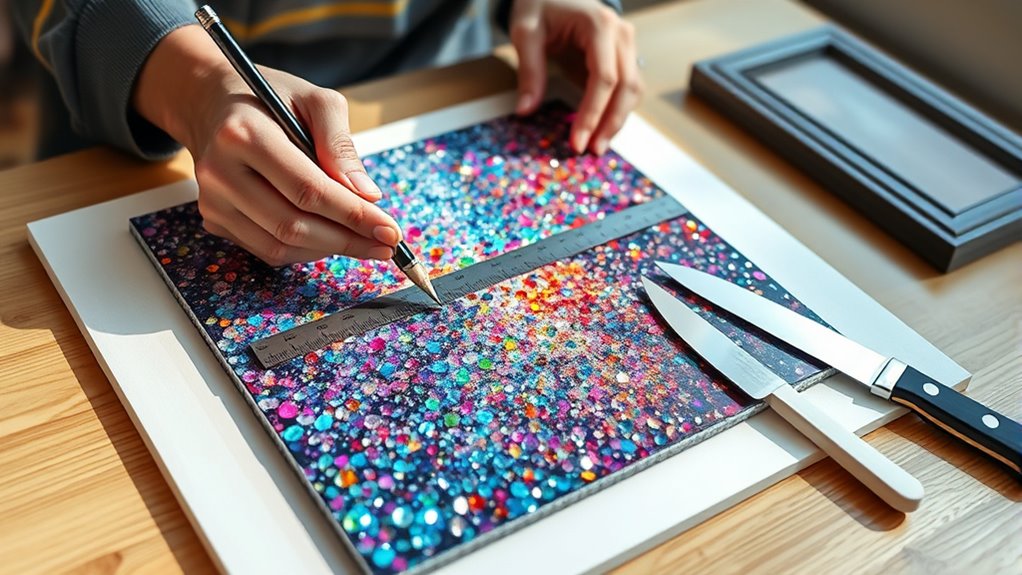
Measuring your diamond art carefully confirms your frame fits perfectly. Start by using reliable measurement tools like a ruler or measuring tape to get an accurate diamond measurement of your finished piece.
Use precise tools like a ruler to measure your diamond art for a perfect frame fit.
Focus on the diamond art dimensions, considering canvas sizing and framing preparation. You can exclude borders if you prefer, but remember to add ¼ inch to each measurement to accommodate frame overlap or matting.
Double-check all numbers to ensure precise sizing for framing. This helps avoid any issues with the diamond art fit later.
Record measurements clearly and keep them handy for choosing or customizing your frame. This attention to detail guarantees your diamond art will look polished and professionally framed without any unexpected surprises.
Select and Customize Your Frame
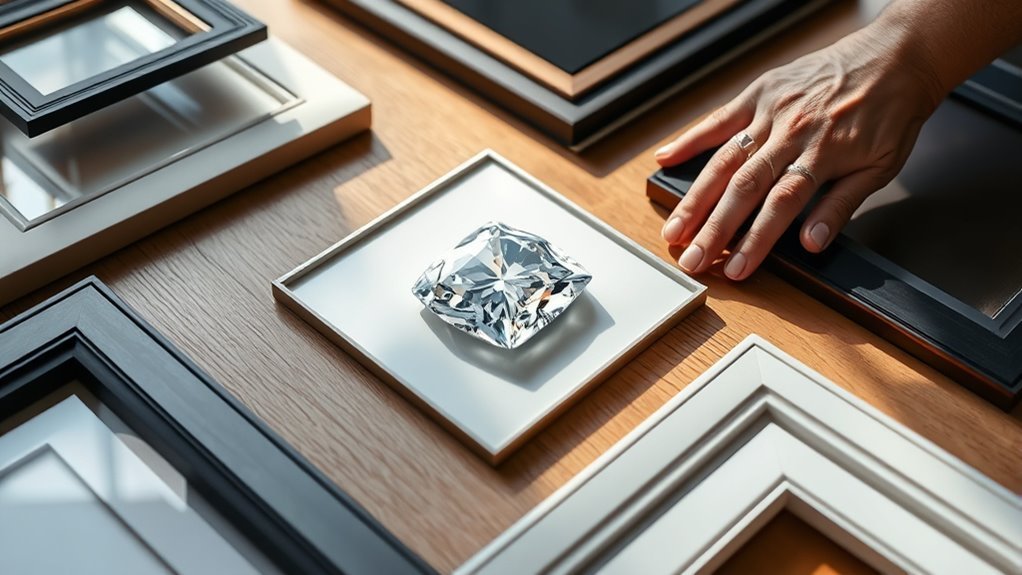
When you’re ready to frame your diamond art, choose a frame slightly larger than your piece to guarantee a proper fit and easy mounting. Start by measuring your diamond art accurately to find the perfect frame size that fits snugly.
Think about adding matting options—like custom-cut mats or pre-made borders—to enhance your artwork and cover any uneven edges.
Pick a frame material that suits your decor style and can support the artwork’s weight. For example, wood adds warmth, while metal offers a sleek, modern vibe.
Consider going for a custom frame with a finish color that complements your diamond painting’s palette and theme.
Assemble and Secure Your Artwork
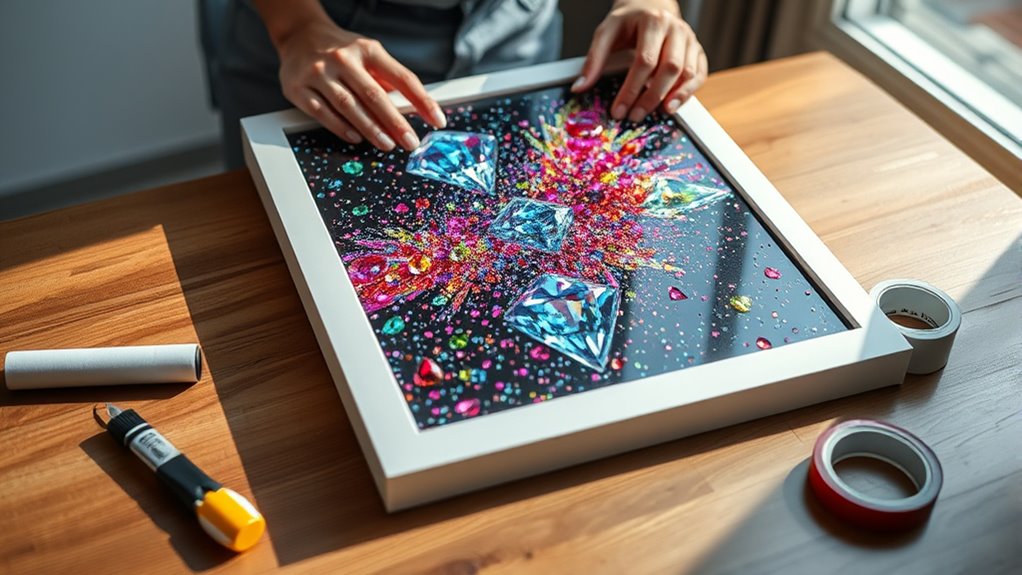
After selecting the perfect frame, you’ll want to prepare your diamond art for mounting. Start by measuring your diamond painting carefully to ensure a perfect fit.
Next, trim any excess edges, logos, or color keys for a clean look. Then, apply a strong adhesive like craft glue to a foam board or wooden mounting surface.
Finally, center and press your artwork firmly onto the adhesive, smoothing out bubbles or wrinkles to secure it properly.
- Measure your diamond painting precisely.
- Trim away any unwanted edges or markings.
- Spread craft glue evenly on foam board for mounting.
- Press and smooth your artwork onto the adhesive surface.
Allow the adhesive to dry completely before framing to keep your artwork secure. It’s worth the wait!
Frequently Asked Questions
What Is the Best Way to Frame a Diamond Art Picture?
You should measure your diamond art accurately and mount it on sturdy backing. This helps keep everything in place and looking neat.
Next, use a complementary matboard. It adds a nice border that enhances the artwork without overwhelming it.
Make sure to seal your piece for protection. This step preserves the sparkle and keeps dust or dirt away.
Finally, choose a UV-protective or no-glass frame. This will help prevent damage and keep your diamond art shining bright for years to come.
Should Diamond Art Be Framed Under Glass?
Don’t put all your eggs in one basket—framing diamond art under glass can dull its sparkle, but it protects from dust.
You’ll want to decide if preserving shine or protection matters more to you.
What Are Some Creative Ideas for Framing Diamond Art?
You can use custom-cut mats in bold colors, mount your art on foam board, or add pompom trims for texture.
Try shadow box frames to protect and highlight sparkle, or create a gallery wall with varied styles for impact.
Do You Have to Seal Diamond Art Before Framing?
You don’t have to seal diamond art before framing, but doing so protects your piece from dust and loosening drills.
If you want maximum sparkle, especially behind glass, you might skip sealing to keep it vibrant.
Conclusion
Framing your diamond art is like setting a precious gem in a crown—it highlights its sparkle and protects its beauty. By measuring carefully, choosing a frame that reflects your style, and securing your masterpiece, you’re giving your artwork the home it deserves.
Just as a frame holds a story, your finished piece will shine brightly on your wall. It becomes a symbol of your creativity and care, ready to inspire every time you glance its way.
Taking the time to frame your diamond art properly not only enhances its visual appeal but also preserves it for years to come. Whether you prefer a sleek modern frame or something more ornate, the right frame complements your diamond painting beautifully. So go ahead, frame your diamond art with pride and enjoy the dazzling display that celebrates your hard work and artistic flair.