How Is Zentangle Art Created?
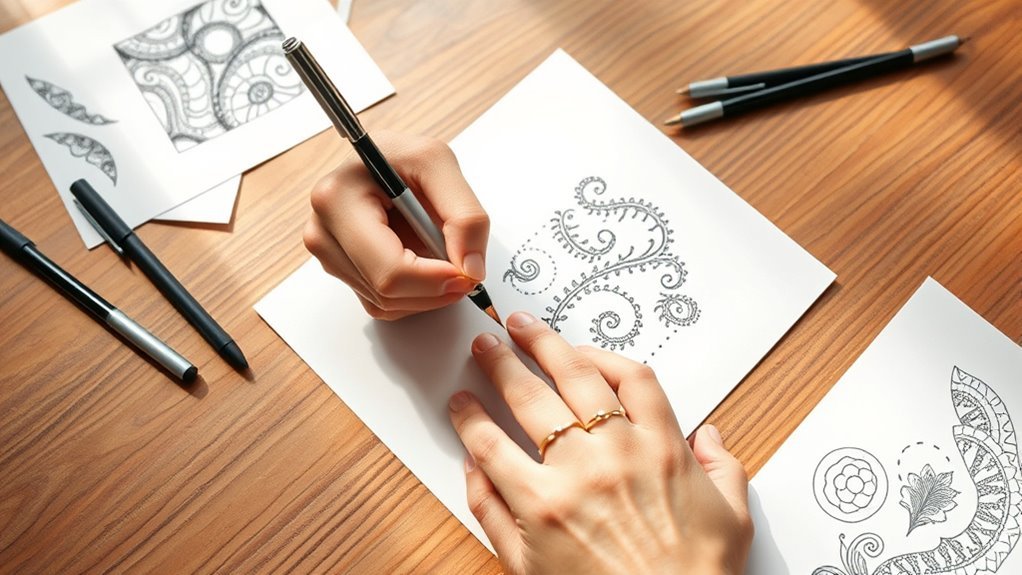
You create Zentangle art by starting with gratitude and marking your tile with corner dots, then drawing a string to divide the space into sections.
You fill each area with deliberate, mindful strokes to form structured patterns called tangles. Using a black ink pen on smooth tiles and adding shading with pencils brings depth to your work.
This process helps you focus, relax, and enjoy spontaneity within structure. Keep exploring, and you’ll uncover more about the tools and techniques that enhance this creative flow.
Key Takeaways
- Begin Zentangle by placing corner dots and drawing a string to divide the tile into sections for focused pattern work.
- Use a black ink pen to create deliberate, mindful strokes forming structured patterns called tangles within each section.
- Work slowly and intentionally, incorporating spontaneous creativity while maintaining control and focus throughout the drawing process.
- Add shading with pencils to enhance depth and dimension, layering tones to create a rich, intricate design.
- Reflect on the completed artwork, expressing gratitude, adding initials, and appreciating the meditative, relaxing experience.
The Eight Steps of the Zentangle Process
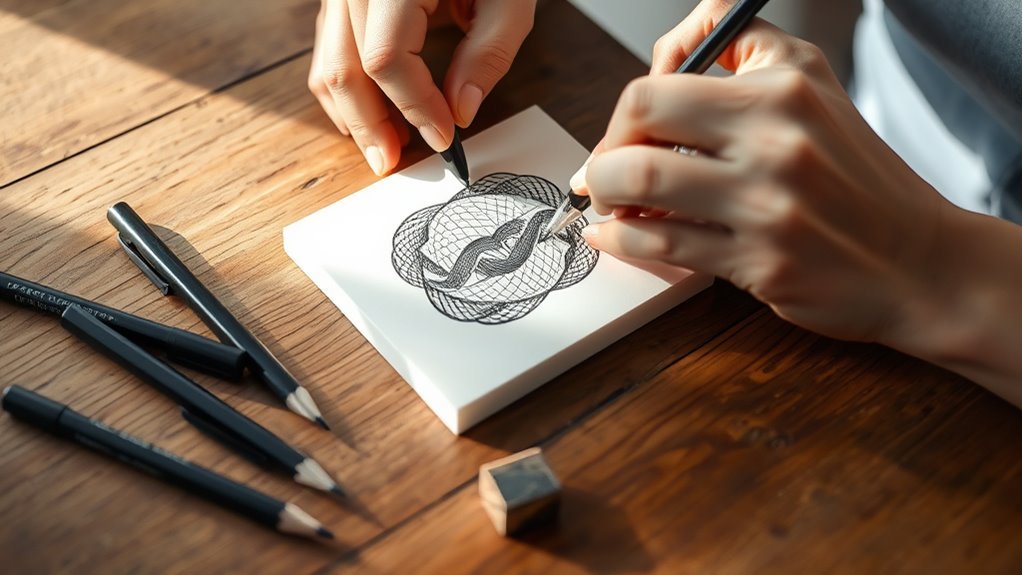
How do you begin creating a Zentangle masterpiece? You start with gratitude, setting a mindful and positive intention. Next, place your corner dots; these act as guides, marking the tile’s boundaries.
Then, draw the string—a deliberate line that divides your space into sections. This structured approach helps you focus on filling each segment with unique patterns.
As you move through each step, you work deliberately but allow for spontaneous creativity within the set boundaries. The process keeps you grounded and reflective, encouraging you to slow down and appreciate each stroke.
Finally, you add your initials and take a moment for reflection, acknowledging your growth and the beauty you’ve created through this mindful, step-by-step journey.
Tools, Techniques, and the Creative Flow
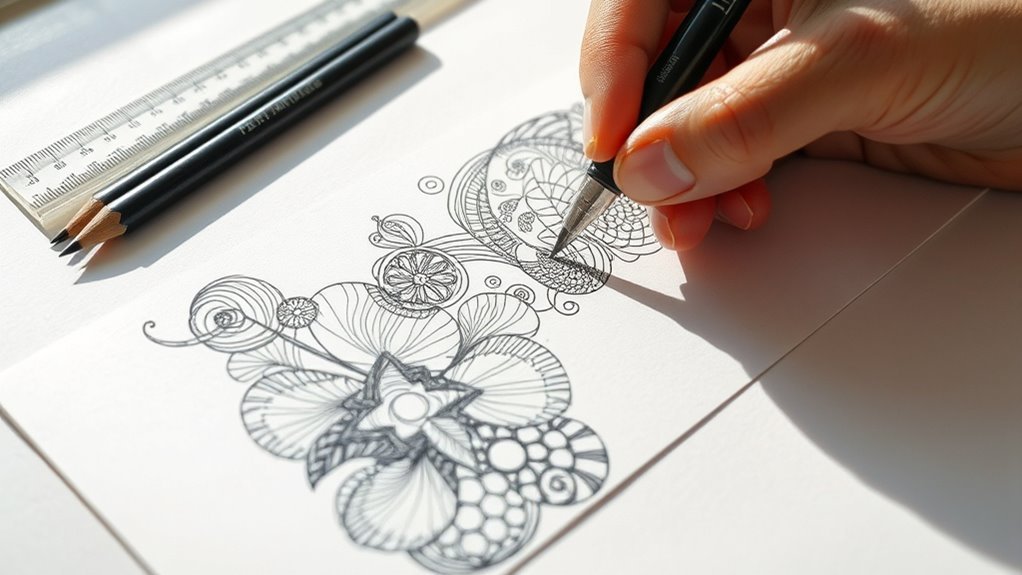
Once you’ve set your intention and outlined your Zentangle tile with dots and strings, the next step is choosing the right tools and techniques to bring your patterns to life. You’ll use a black ink pen to draw structured patterns called tangles, focusing on deliberate strokes that encourage mindful drawing.
The smooth, heavyweight tiles provide the perfect surface to layer these intricate designs. As you fill each section, embrace the creative flow, letting your hand move slowly and confidently.
After completing the tangles, you can add shading with a pencil to create depth and emphasize layered effects. These drawing tools and techniques help transform simple lines into enthralling artwork, promoting relaxation and focus throughout the Zentangle process.
Frequently Asked Questions
Is Zentangle Real Art?
Yes, Zentangle is real art because you engage in creative pattern drawing that requires skill, intention, and expression. When you create Zentangle, you develop unique compositions that reflect mindfulness and artistic craftsmanship.
It’s more than just doodling. Zentangle is a genuine art form that encourages focus and creativity, making each piece truly special.
What Are the 8 Steps of Zentangle?
You start by expressing gratitude, then create corner dots, draw a border, add a string, tangle within sections, sign your tile, and finally reflect with appreciation.
These steps guide your mindful, creative Zentangle process.
It’s a simple way to focus your mind and enjoy some creative time. Just follow along, and you’ll find the process both relaxing and rewarding.
Is There a Right or Wrong Way to Zentangle?
There isn’t a right or wrong way to zentangle. You can relax, enjoy the process, and let your creativity flow freely.
Mistakes become part of your unique art, making each piece truly your own. So, just have fun with it!
Can I Sell My Zentangle Art?
You can sell your Zentangle art, but remember, “good things come to those who wait.”
Own your original designs, avoid copying official patterns, and don’t misuse the Zentangle trademark without proper licensing.
It’s all about respecting the craft and the creators behind it, so keep it authentic and enjoy sharing your work!
Conclusion
Now that you’ve explored the eight steps of the Zentangle process and its tools, you’re ready to create your own mindful masterpieces. Remember, practice makes perfect—each stroke brings you closer to calm and creativity.
Zentangle isn’t about perfection; it’s about enjoying the flow and embracing the moment. So pick up your pen, let your hand wander, and watch how simple patterns turn into beautiful art that reflects your unique journey.
Creating Zentangle art is a wonderful way to practice mindfulness and unlock your creativity. By focusing on repetitive patterns, you’ll find yourself more relaxed and centered. So dive in, have fun, and let the art of Zentangle guide you toward a peaceful, artistic experience that’s uniquely yours.