How to Do Resin Art in 10 Easy Steps for Beginners
To do resin art as a beginner, start by gathering clear epoxy resin, hardener, molds, and protective gear. Having the right materials is key to creating beautiful resin art pieces. Set up a clean, well-ventilated workspace with surfaces covered to protect from spills.
Next, measure equal parts resin and hardener carefully. Mix them slowly to avoid bubbles—that’s a common issue beginners face. Pour the resin into molds in thin layers.
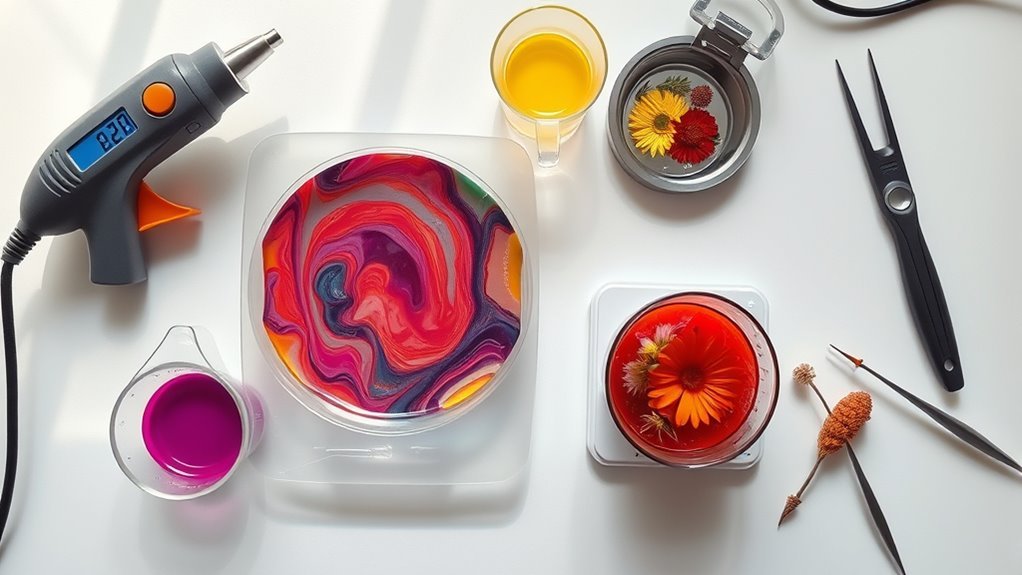
Using a heat gun can help remove any trapped air bubbles for a smooth finish.
Let the resin cure undisturbed in a dust-free area. This step is important to get a flawless look. Once it’s fully cured, you can demold your piece and add any finishing touches.
Keep following along to discover helpful tips that will make your resin art shine!
Key Takeaways
– Prepare a clean, ventilated workspace with protective coverings and gather all resin art supplies before starting.
This helps keep everything organized and safe.
– Measure equal parts of epoxy resin and hardener accurately using dedicated cups for proper mixing.
Getting the ratio right is super important for the resin to set properly.
– Mix resin and hardener slowly for 3-5 minutes, scraping the sides to reduce bubbles and ensure thorough blending.
Take your time here to avoid trapping air.
– Pour resin slowly into clean, dry silicone molds on a level surface, using heat tools to remove surface bubbles.
A steady hand and a heat gun or torch can really make a difference.
– Allow resin to cure undisturbed for at least 24 hours, then carefully demold and sand edges for a flawless finish.
Patience pays off with a smooth, professional look.
Gather Essential Resin Art Supplies
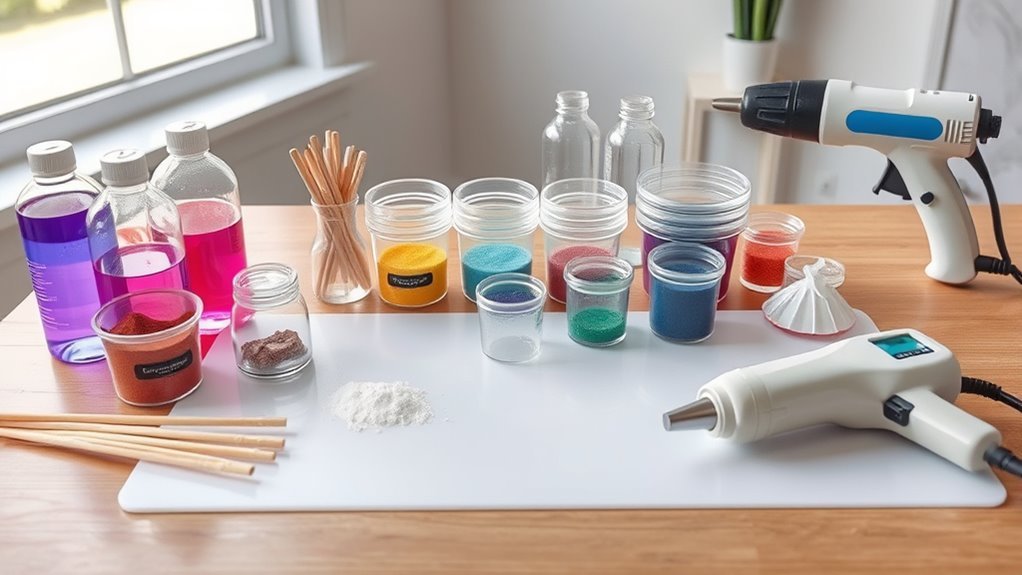
Before you plunge into resin art, gather the essential supplies to set yourself up for success. Start with a crystal clear epoxy resin kit, preferably one with a 1:1 mixing ratio—it’s perfect for beginners.
You’ll need measuring cups to mix your resin and hardener accurately. Silicone molds are great for shaping your projects, and disposable gloves protect your hands from the sticky resin.
Don’t forget safety gear like a ventilated mask and surface coverings to keep your workspace safe. To add flair, incorporate decorative elements such as glitter, pressed flowers, or photos.
Finally, keep tools like mixing sticks and a kitchen torch handy; they help blend the epoxy thoroughly and eliminate bubbles, ensuring your resin art looks flawless every time.
Set Up Your Workspace Properly
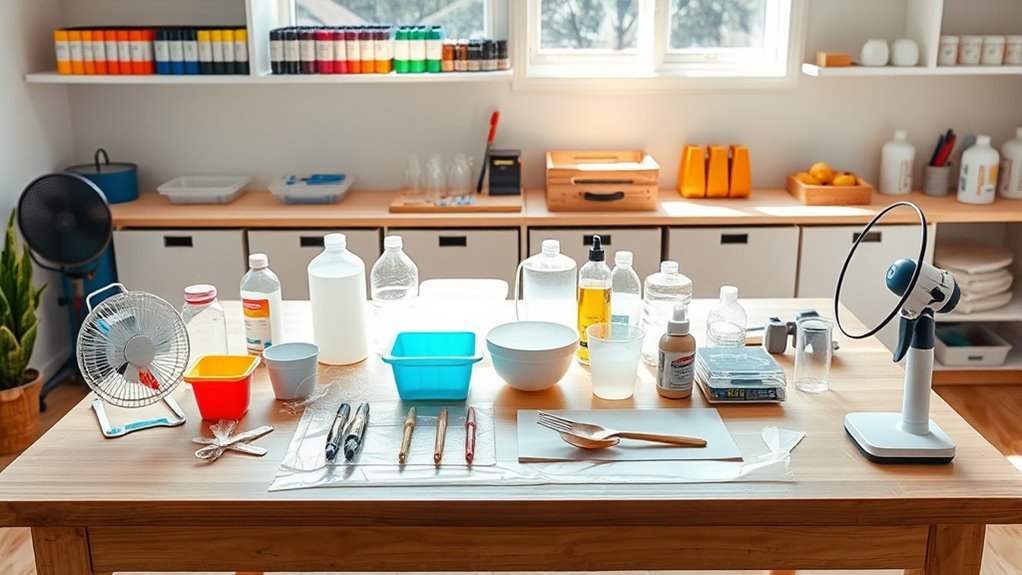
You’ll want to pick a well-ventilated spot with a level surface to work safely and guarantee your resin cures evenly.
Protect your workspace with plastic sheets or drop cloths to catch any spills.
Keep all your tools and materials neatly organized and within reach to make the process smoother.
Choose Well-Ventilated Area
Since epoxy resin releases fumes that can be harmful, setting up your workspace in a well-ventilated area is essential. Choose a spot near open windows or use an exhaust fan to guarantee proper ventilation and keep the air fresh.
This helps disperse fumes quickly, protecting your health as you work. Make sure your work surfaces are stable and positioned where air circulates well, avoiding enclosed spaces that trap vapors.
Wearing a ventilated mask and gloves adds extra protection when mixing and pouring resin. Also, keep children and pets away from your workspace to prevent accidental exposure.
Remember to ventilate the area regularly during and after your resin project to maintain a safe environment throughout your creative process.
Protect Surfaces Thoroughly
Although resin projects can get messy, protecting your work surfaces thoroughly will save you time and frustration later. Start by covering your entire workspace with plastic drop cloths or silicone mats to catch resin spills and prevent stains.
Use painter’s tape along the edges to create a barrier, stopping resin from spreading onto unwanted areas. Make sure your table or surface is level to avoid resin pooling or tilting during curing.
Organize Tools Neatly
A well-organized workspace makes resin art easier and more enjoyable. Start by choosing a flat, level surface and cover it with a plastic sheet to protect against spills.
Focus on tools organization by placing measuring cups, stirring sticks, gloves, and molds within easy reach. Arrange your epoxy resin, colorants, and decorative elements in clearly labeled containers to avoid confusion while mixing.
Keep essential safety gear like gloves, masks, and eyewear nearby and ready before you begin. It’s also a good idea to designate a dedicated workspace away from children and pets to ensure safety and prevent accidental contamination.
With everything neatly organized, you’ll streamline your workflow, reduce stress, and create your resin art more efficiently and safely. It just makes the whole process smoother and more fun!
Choose the Right Epoxy Resin and Colorants
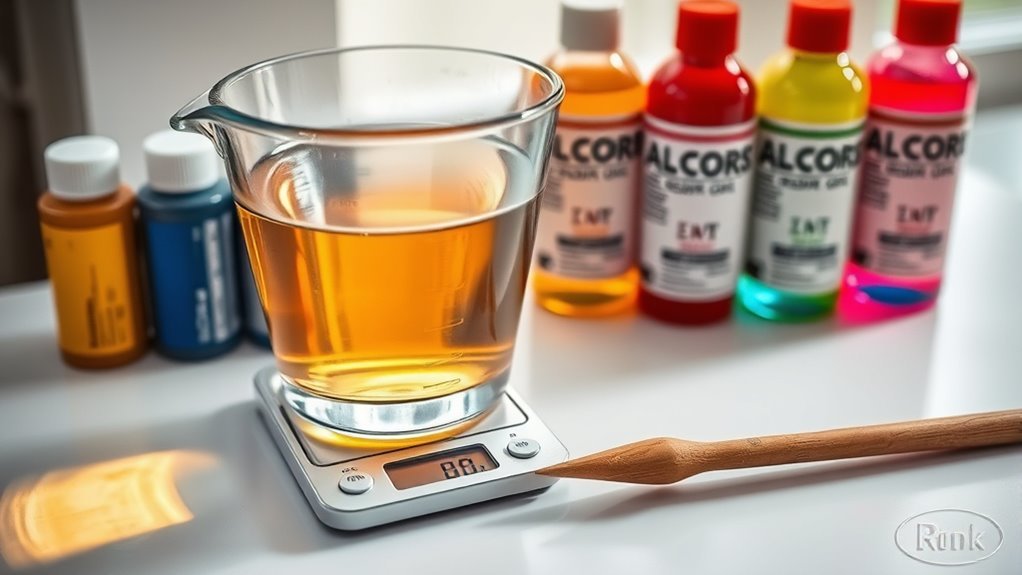
How do you guarantee your resin art turns out vibrant and safe? Start by choosing a non-toxic, low-VOC epoxy resin like ArtResin. It offers clarity and safety for your projects.
Next, pick compatible colorants such as mica powders, alcohol inks, or resin-specific dyes. These help you achieve bright, lasting colors.
Avoid oil-based paints or regular acrylics, as they may interfere with curing or blend poorly. When adding colorants, do it gradually and mix thoroughly to prevent lumps.
This way, you ensure even color distribution throughout the epoxy resin. Selecting the right materials sets the foundation for successful resin art that’s both beautiful and safe to create.
Measure Resin and Hardener Accurately
You’ll want to measure your resin and hardener carefully to get the right mixing ratio, usually 1:1 by volume. Use clear, dedicated measuring tools to make certain you’re accurate and avoid sticky spots or curing issues.
Double-check each amount before mixing to prevent any measurement errors that could ruin your project. It really helps to take your time here—accuracy is key!
Correct Mixing Ratios
Since proper curing depends on it, you must measure epoxy resin and hardener in the exact ratio specified by the manufacturer—usually 1:1 by volume.
Correct mixing ratios are essential to avoid sticky or soft finishes. Always use dedicated measuring cups with clear markings for your measurements, and avoid guessing or eyeballing amounts.
Mixing equal parts by volume—not weight—is key, unless your product says otherwise.
After measuring, stir the mixture thoroughly for 3 to 5 minutes, scraping the sides and bottom of your container to ensure everything blends properly.
Precise mixing ratios and careful measurements guarantee your resin cures fully and yields a smooth, durable surface.
Paying close attention to this step sets the foundation for successful resin art projects.
Accurate Volume Measurement
Getting the mixing ratios right sets the stage, but accurate volume measurement makes sure those ratios hold true. Use dedicated measuring cups with clear milliliter or ounce markings to measure both resin and hardener precisely.
Typically, you’ll need equal parts by volume, usually a 1:1 ratio, to ensure proper curing. Avoid kitchen spoons—they lack the accuracy needed for consistent results.
Double-check your measurements before mixing to prevent curing issues like stickiness or soft spots. Once measured, thoroughly mix the resin and hardener to trigger a complete chemical reaction, which leads to a durable finish.
Accurate measurements and careful mixing are essential for your resin art to cure perfectly and look professional. So, take your time with this step—it really pays off!
Preventing Measurement Errors
Although measuring resin and hardener might seem straightforward, small mistakes can cause big problems in curing. To prevent measurement errors, always use dedicated or disposable measuring cups and follow the manufacturer’s recommended ratio, usually 1:1 or 2:1.
Make sure to measure each component at eye level to ensure accuracy. And don’t forget to double-check your measurements before mixing.
For small amounts, use precise tools like syringes or digital scales, especially with detailed projects. Avoid estimating or eyeballing; consistent accuracy in measurements guarantees proper curing and a durable finish.
Once measured, mix the resin and hardener thoroughly without altering the ratio. Even slight deviations can affect the final result.
Prioritizing accuracy in your measurements will help your resin art turn out perfectly every time. So take your time and measure carefully!
Mix Resin and Hardener Slowly to Minimize Bubbles
When you mix resin and hardener slowly and steadily, you’ll greatly reduce the number of air bubbles in your mixture. Take your time stirring for about 3 minutes, using a gentle, consistent motion.
Avoid quick or vigorous mixing, which traps air and creates bubbles. Remember to scrape the sides and bottom of your cup frequently to fully blend the components.
Here’s how to keep bubbles at bay:
- Use a slow, steady stirring motion to prevent air from being trapped.
- Scrape the mixing cup’s edges and base often for thorough integration.
- Let your mixed resin rest for a few minutes, allowing bubbles to rise and escape.
Prepare Molds and Decorative Elements
After mixing your resin carefully, turn your attention to preparing the molds and decorative elements. Start by cleaning and drying your silicone molds thoroughly to guarantee an easy release.
Next, select decorative elements like pressed flowers, glitter, or coins. Make sure they’re dry to avoid moisture issues. Use tweezers or silicone tools to position delicate decorations precisely within the mold.
If you’re making jewelry, consider molds with built-in holes or create openings using templates.
| Task | Tips |
|---|---|
| Clean Silicone Molds | Guarantee dry, free of dust |
| Prepare Decorations | Use dry, moisture-free elements |
| Position Decorations | Use tweezers for precise placement |
Thoughtful arrangement of decorative elements sets the foundation for your resin art masterpiece.
Pour Resin Into Molds Carefully
Before you start pouring, make sure your mold surface is clean and ready.
Pour the resin slowly and evenly to prevent air bubbles from forming. Taking your time here will help you get a smooth, flawless finish.
Prepare Mold Surface
Ensuring your molds are clean and dry sets the foundation for a flawless resin pour. Before you begin, double-check that your molds are free from dust, lint, or any debris that could cause imperfections. Use a soft cloth or compressed air to clean the surface gently.
Keeping molds clean helps your resin cure evenly and makes demolding easier. It’s a small step that really pays off in the end.
To prepare your mold surface effectively:
- Wipe molds with isopropyl alcohol for a spotless finish.
- Avoid touching the inside of molds with bare hands to prevent oils transferring.
- Position molds on a level surface to ensure even resin distribution.
Taking these simple precautions will help you get the best results every time!
Pour Slowly, Evenly
With your molds spotless and level, you’re ready to pour the resin carefully to avoid bubbles and uneven surfaces. To pour slowly, aim for thin, steady streams at about 1/8 inch per second. This pace helps you maintain control and ensures even distribution throughout your resin art project.
Keep your hand steady and pour from a moderate height to avoid splashing or disturbing the mold’s surface. Fill the mold gradually, pausing occasionally to let trapped air escape naturally.
If your project is thick or large, always pour in layers, allowing each to settle before adding more resin. By pouring slowly and evenly, you’ll create smooth, professional-looking pieces with minimal imperfections every time.
Avoid Air Bubbles
Although pouring resin slowly helps, you’ll still need to take extra care to avoid air bubbles that can ruin your piece’s smooth finish. When you pour resin into molds, aim for thin coats—about 1/8 inch—to prevent trapping bubbles.
Before pouring, tap or gently shake the mold to free any air pockets at the bottom. After pouring, let the resin sit for a few minutes so bubbles can rise. Then, use a heat gun or small torch carefully to remove bubbles from the surface without causing resin drips.
- Slowly pour thin layers to minimize trapped air
- Tap the mold gently before pouring
- Use heat to pop bubbles and smooth the surface
These steps will help you remove bubbles and achieve a flawless resin finish. Just take it slow and steady, and you’ll get that perfect smooth look!
Use Heat Tools to Remove Air Bubbles
When you gently heat the resin surface using a heat gun or culinary torch, trapped air bubbles rise and pop, leaving a clearer finish. Hold your heat tool about 4-6 inches above the resin and move it in slow, circular motions to avoid overheating or burning.
Applying heat in short bursts helps release air bubbles without damaging the resin. Always wear protective gloves and work in a well-ventilated space to stay safe from burns and fumes.
Be careful not to overheat; too much heat can cause discoloration or uneven curing. Using a heat tool properly guarantees a smooth, bubble-free surface, enhancing the beauty of your resin art.
This simple step greatly improves your final piece’s clarity and professionalism. It’s an easy trick that really makes a difference!
Allow Resin to Cure in a Dust-Free Environment
To achieve a flawless finish, you need to let your resin cure undisturbed in a clean, dust-free space. This dust-free environment prevents unwanted particles from settling on your piece, preserving its clarity and smooth surface.
Cover your workspace with plastic film or a protective sheet to keep airborne dust at bay. Maintain a steady temperature between 75-85°F (24-30°C) to promote proper curing and reduce dust attraction.
Resist the urge to handle or move your resin for at least 24 hours to avoid imperfections. Trust me, it’s worth the wait!
Demold and Finish Your Resin Art Piece
Before you attempt to demold your resin art, make sure it has cured for at least 24 hours so it’s fully hardened. Gently flex or peel the silicone mold away from the resin, starting at the edges to avoid damaging your piece.
Use gloves or silicone tools to carefully lift your artwork, especially if it has delicate details or embedded elements. Once demolded, inspect your piece for imperfections or sharp edges.
Sand or trim these areas as needed to achieve a smooth finish. To protect your artwork, store it in a dust-free environment.
If you plan to apply a top coat or polish, allow it to cure for an additional week to ensure the best final finish on your resin art piece.
Frequently Asked Questions
How to Start Resin Art as a Beginner?
You start resin art by choosing a beginner-friendly kit, preparing a clean workspace, accurately mixing resin and hardener.
Then, add color or effects, pour carefully, remove bubbles with a heat source, and let it cure undisturbed.
It’s pretty straightforward once you get the hang of it! Just take your time and enjoy the process.
How to Use Resin for Beginners Step by Step?
Don’t worry about bubbles—they’re easy to fix! Mix equal parts resin and hardener, pour slowly, and use a heat gun to pop bubbles.
Then, let it cure undisturbed for 24-72 hours before demolding. You’ve got this!
What Are Some Creative Resin Art Ideas for Beginners?
Try making coasters, keychains, or jewelry pendants with dried flowers or glitter. You can also create small trays or paperweights.
Experiment with layered pours and simple color swirls to add a unique, personal touch easily. It’s a fun way to get creative without feeling overwhelmed. Give it a shot and see what cool designs you come up with!
What Are the Common Mistakes in Resin Art?
Don’t let your resin art go sideways—common mistakes include mixing resin unevenly and using wrong ratios.
Pouring thick layers without popping bubbles is another big no-no. Also, working in cold or stuffy spaces can mess things up.
And hey, never skip safety gear or surface protection. Trust me, you’ll thank yourself later!
Conclusion
Now that you’ve mastered these 10 easy steps, you’re ready to create resin art that’s as mesmerizing as a sunset’s final glow. Like a painter with a blank canvas, you hold the power to transform simple materials into shimmering treasures.
Remember, every masterpiece starts with patience and care. So keep experimenting, and watch your creativity flow like liquid gold.
Your resin art journey is just beginning, and the possibilities are endless. With each project, you’ll learn new techniques and find your unique style. Dive into the world of resin art and enjoy the magic of turning everyday items into stunning resin creations.