How to Hang Art on Plaster Walls in 3 Easy Steps
To hang art on plaster walls, start by finding studs with a stud finder. If you can’t locate any studs, pick strong anchors like toggle bolts instead. These will support your artwork securely.
Next, mark your hanging points carefully using a pencil. Don’t forget to use a level to make sure your art will hang evenly. It’s all about getting that perfect balance on the wall.
Finally, attach the right hardware based on the weight of your artwork. Make sure to secure it firmly into the wall so your pieces stay safe and stable.
Following these simple steps will make hanging art on plaster walls easier than you think.
Keep reading for more tips to make the process even smoother!
Key Takeaways
- Locate studs using a magnetic stud finder or choose strong wall anchors if studs are unavailable.
- Mark hanging points with a pencil and use painter’s tape to protect plaster before drilling.
- Drill pilot holes carefully and use appropriate hardware like toggle bolts or picture hooks rated for the artwork’s weight.
- Clean marked areas with rubbing alcohol to improve hardware grip and ensure secure attachment.
- Hang artwork, use a level to ensure straightness, and confirm hardware is firmly secured before final placement.
Locate Studs or Suitable Anchors
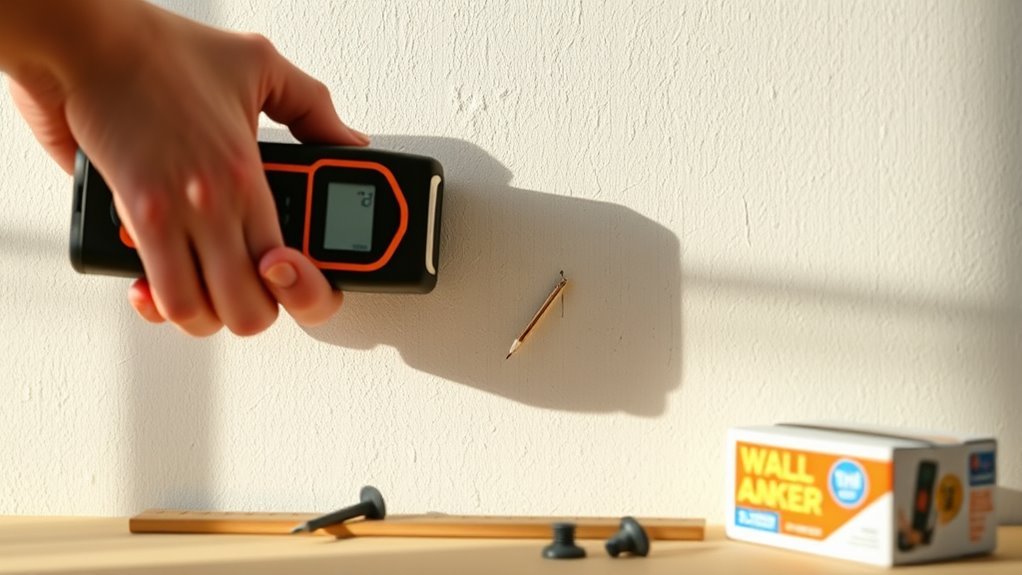
Before you start hanging your art, you’ll want to locate studs or suitable anchors in your plaster walls to make certain a secure hold. Use magnetic stud finders to detect metal nails or fasteners embedded in the plaster, which reveal stud location.
Locate studs or anchors in plaster walls first using magnetic stud finders to ensure a secure hang for your art.
Look for nail holes or existing wall hardware as additional clues. Measure 16 or 24 inches from a known stud to find others, based on standard wall spacing.
If you can’t find a stud where you want to hang your art, choose strong wall anchors like toggle bolts or drywall anchors to support heavier pieces. Always use a stud finder with wiring detection to avoid drilling into electrical wiring.
This careful preparation guarantees your art stays safely mounted without damaging your plaster walls.
Mark and Prepare Hanging Points
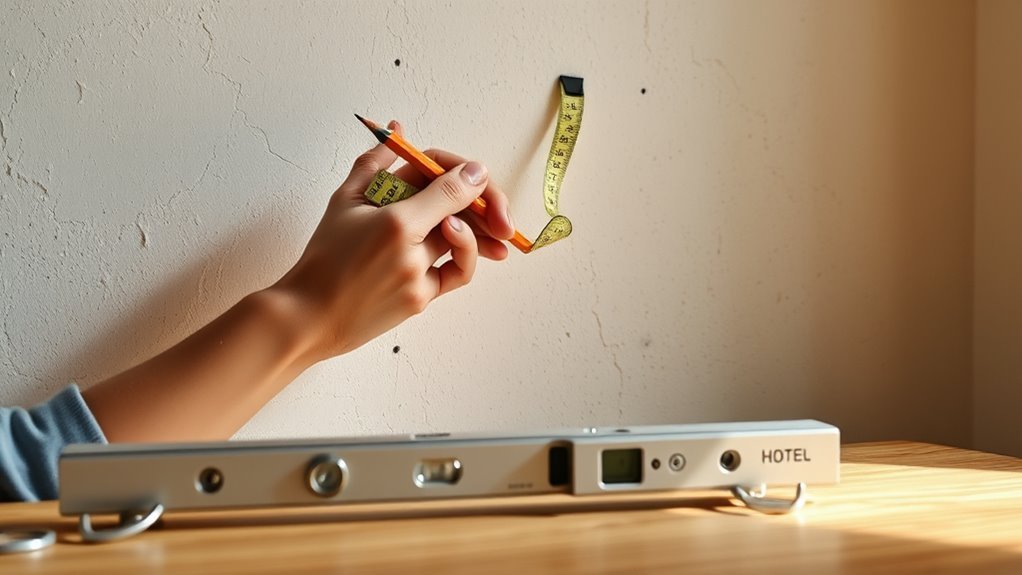
Once you’ve located studs or selected the right anchors, the next step is to mark and prepare the exact hanging points. Use a level and pencil for precise measurements, marking where hooks will go.
Apply painter’s tape over marks to protect plaster walls from cracking when you drill. Clean these areas with rubbing alcohol for better preparation and hardware grip.
Make certain placement matches your wall studs or anchors and is level for balanced artwork.
| Step | Tool/Material | Purpose |
|---|---|---|
| Marking | Pencil & Level | Accurate measurements |
| Protecting marks | Painter’s Tape | Prevent plaster cracking |
| Cleaning | Rubbing Alcohol | Remove dust for better grip |
| Drilling points | Drill & Hooks | Secure placement on plaster walls |
Attach Artwork With Appropriate Hardware
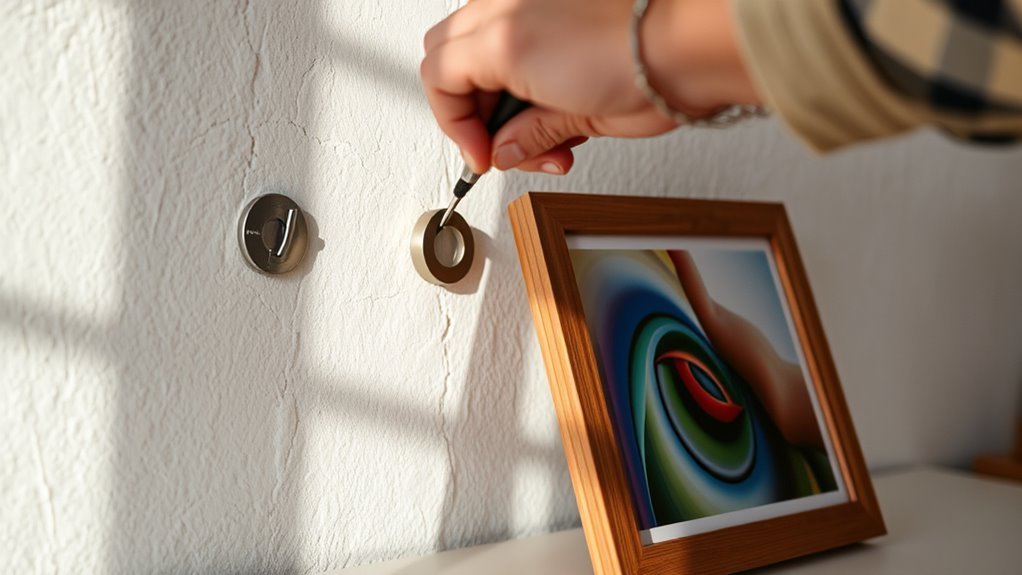
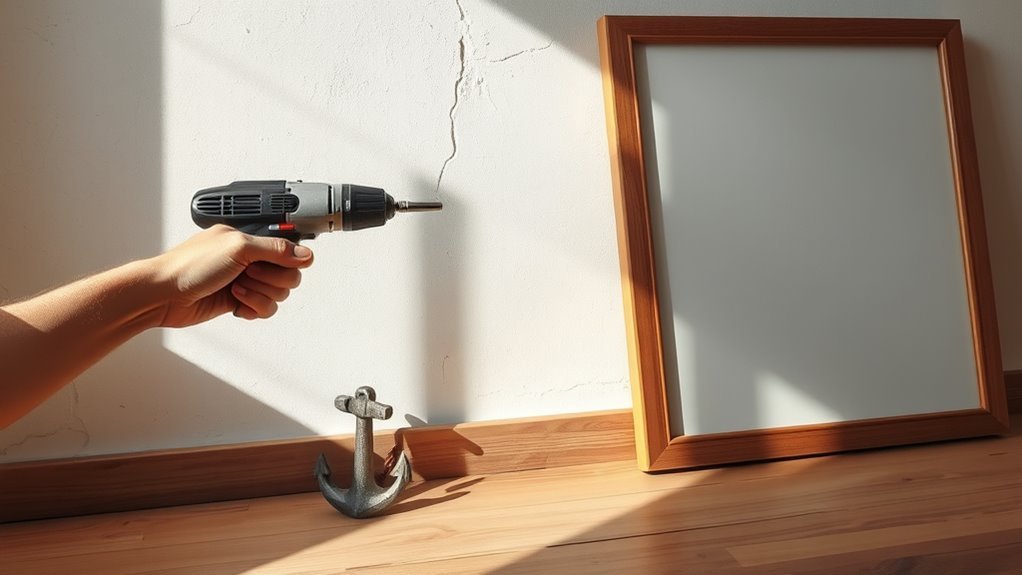
While selecting hardware, match it precisely to your artwork’s weight and wall type to guarantee a secure hold. Use picture hooks rated for your piece’s weight, opting for small hooks with light art and toggler bolts or sturdy wall anchors for heavier frames.
Before mounting, drill pilot holes carefully to avoid wall damage on plaster walls. Secure hardware into wall studs or reliable wall anchors to support the load safely.
If you have delicate plaster, consider low-impact options like Command strips or OOK hooks to protect the surface. Always check the hardware’s weight capacity and use a level to ensure your artwork hangs straight.
Frequently Asked Questions
What Is the Best Way to Hang Artwork on Plaster Walls?
The best way to hang artwork on plaster walls is to find studs for secure support. If you can’t find studs, don’t worry.
You can use wall anchors or adhesive hooks for lighter pieces instead. Just make sure you choose the right type for your wall.
Always drill carefully to avoid plaster damage. It’s better to take your time than to crack the wall!
What Is the Best Way to Hang Something on a Plaster Wall?
You should use lightweight hooks or Command picture hangers made for plaster. Find studs or use molly bolts to get a secure hold.
Make sure to pre-drill pilot holes to avoid damage. Also, evenly distribute the weight for secure, damage-free hanging on plaster walls.
Will Command Strips Work on Plaster Walls?
Yes, Command strips can work on plaster walls if you clean and dry the surface thoroughly.
Make sure to use strips suited for your art’s weight and avoid textured or crumbly areas for the best hold.
What Are Some Ways to Hang Pictures on Plaster Walls Without Drilling Holes?
Don’t let your plaster walls feel the sting of nails; instead, use adhesive hooks or strips. Double-sided tape works great for light frames, or you can try damage-free masonry hooks.
Picture molding and cable systems also let you hang art without drilling holes. They’re super handy if you want to switch up your decor without the hassle.
Conclusion
Now that you know how to hang art on plaster walls in just three easy steps, you can confidently display your favorite pieces without worry. Contrary to the myth that plaster walls can’t hold heavy frames, using the right anchors or finding studs makes all the difference.
With careful preparation and proper hardware, your artwork will stay secure and enhance your space beautifully. Give it a try—you’ll see how simple and effective it really is!
Hanging art on plaster walls doesn’t have to be intimidating. When you use the right tools, like plaster anchors or screws that reach studs, your frames will be safe and stable. Plus, it opens up so many options to personalize your home.
So go ahead, bring your walls to life with your favorite paintings or photos. Once you master these easy steps for hanging art on plaster walls, you’ll wonder why you ever hesitated!