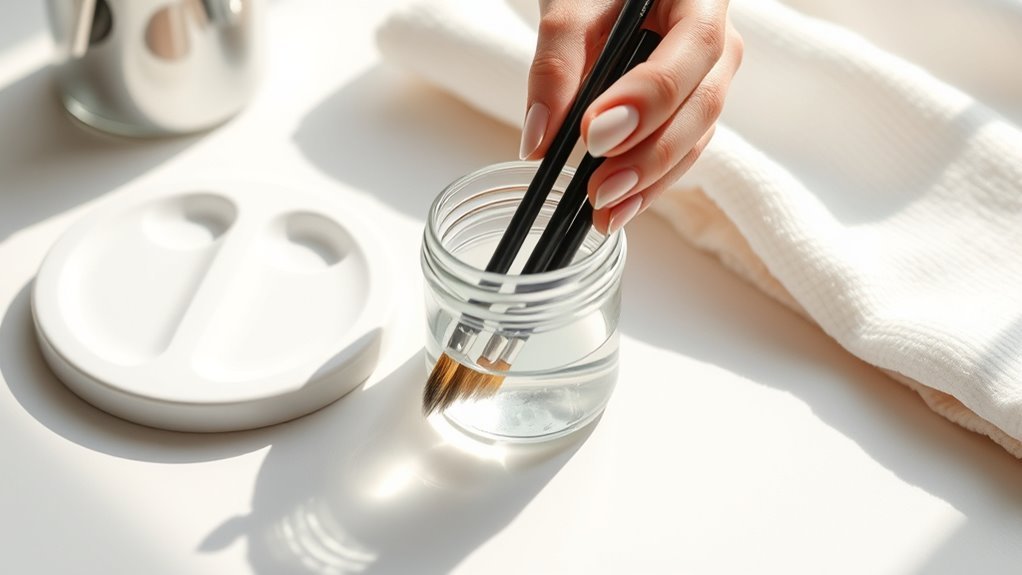
How to Clean Nail Art Brushes in 5 Easy Steps
To clean your nail art brushes in five easy steps, start by gathering your supplies. You’ll need 90% alcohol or a gentle brush cleaner—both work great to keep your brushes clean and ready for your next design.
Wipe off any excess polish right away using a lint-free cloth. This prevents the polish from drying and hardening on the bristles, which can be a pain to remove later.
Next, gently swirl the bristles in your chosen cleaner. This helps remove any gel or leftover polish without using harsh chemicals that could damage your brushes.
After that, rinse the brushes with warm water. Be sure to reshape the bristles carefully while they’re still damp.
Finally, let your brushes air dry flat. Store them with the bristles upright in a cool, dry place.
Following these simple steps keeps your nail art brushes in top shape, making your next nail design even easier and more fun!
Key Takeaways
- Wipe off excess polish from brushes immediately using a lint-free cloth or paper towel. This helps prevent drying and damage.
- Apply gentle brush cleaner or 90% alcohol to remove gel residue. This won’t harm the bristles or glue.
- Rinse brushes with warm water. Then, gently reshape the bristles to their original form.
- Pat brushes dry with a clean towel. After that, air dry them flat to maintain their shape and integrity.
- Store brushes upright in a cool, dry place, away from sunlight. This keeps them clean and ready for use.
Gather Your Cleaning Supplies
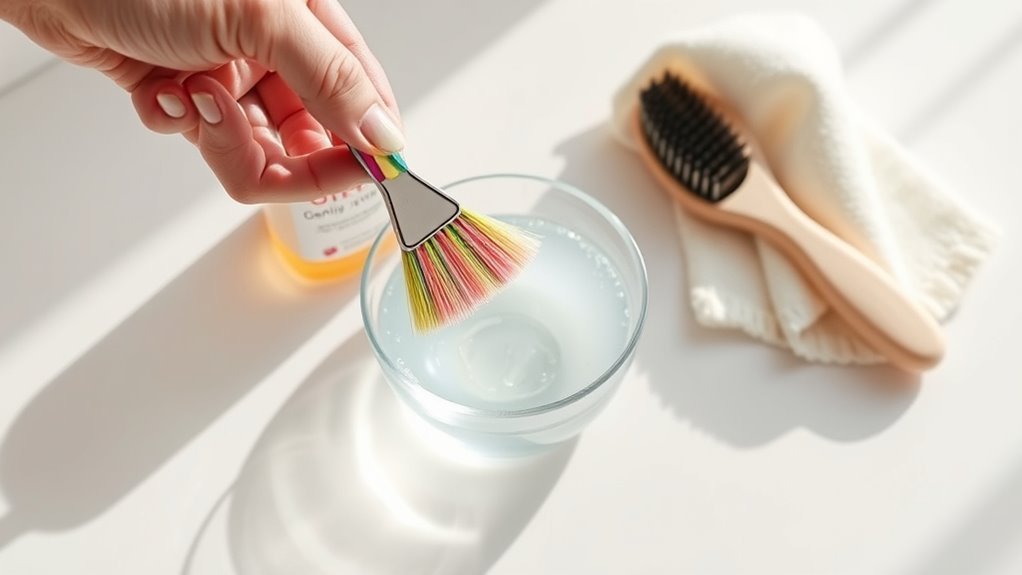
Before you begin cleaning your nail art brushes, gather all the necessary supplies. You’ll need a small container filled with brush cleaner or alcohol—90% works best—to properly cleanse your brushes.
Start by gathering all your cleaning supplies, including a container with 90% alcohol for effective brush cleansing.
Make sure your cleaning supplies are sanitized and free of contaminants before starting. Grab a lint-free cloth or paper towel to dry and wipe your brushes without leaving fibers behind.
Set up a dedicated space to keep everything organized and avoid clutter during the process. Having cotton swabs or extra small brushes nearby helps you clean metal parts and bristles precisely.
Preparing all these cleaning supplies ahead of time ensures a smooth, efficient cleaning session, keeping your nail art brushes in great condition for your next creative project.
Remove Excess Polish From Brushes
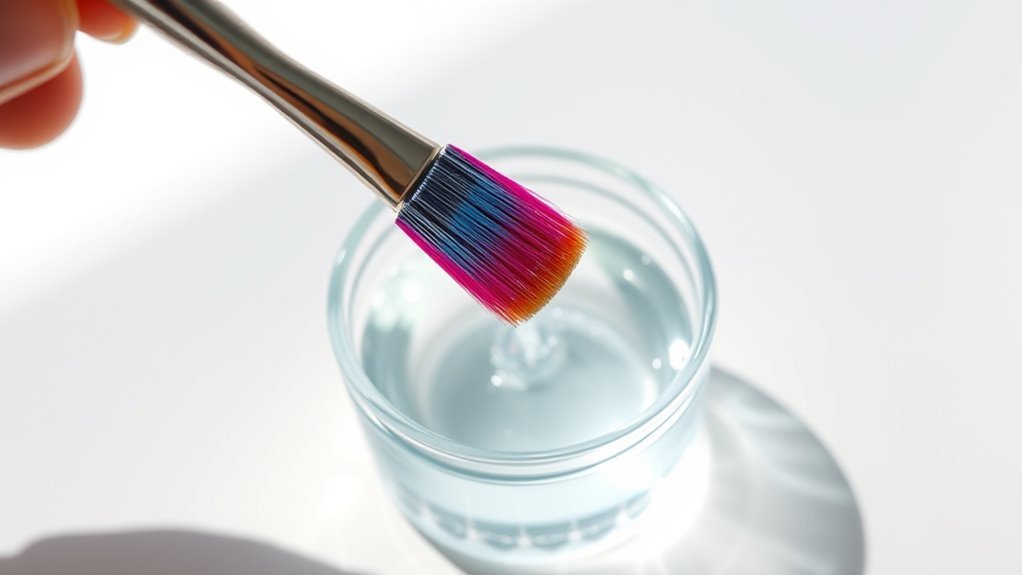
Although it’s tempting to skip this step, you should always wipe your nail art brushes against a lint-free cloth or paper towel right after use to remove excess polish.
Doing this keeps your brushes clean and prevents polish from drying on the bristles, which can damage them.
Use a dry or lightly dampened lint-free cloth to gently blot away leftover nail polish or gel.
For stubborn polish, swirl the brush briefly in acetone or brush cleaner to loosen residue before wiping again.
| Feel Frustrated? | Brushes ruined by dried polish? |
|---|---|
| Feel Relieved? | Brushes clean and ready fast! |
| Feel Empowered? | Take control of your brush care! |
| Feel Proud? | Keep your tools like new! |
Clean Brushes With Gentle Brush Cleaner
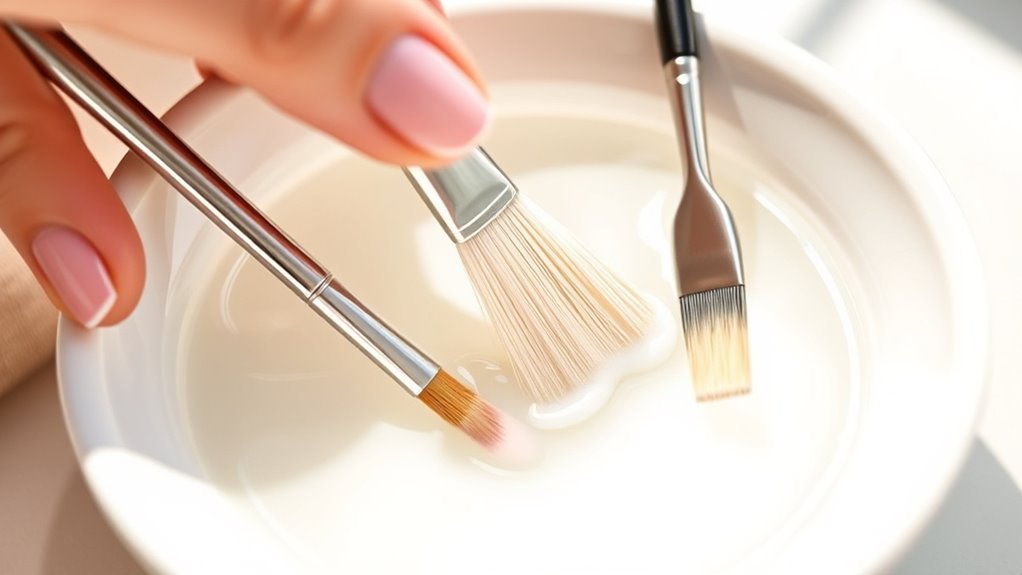
Wiping away excess polish is just the first step in keeping your nail art brushes in top shape. To clean your brushes properly, use a gentle nail art brush cleaner designed to break down gel polish without damaging bristles or glue.
Apply a few drops of the cleaner onto a lint-free wipe, then gently swirl your brush bristles in it. This method removes stubborn gel residue while conditioning the bristles, helping your brushes stay flexible and effective.
Avoid harsh chemicals or acetone, as they can weaken the brush glue and metal parts over time. By regularly cleaning your brushes without harsh solvents, you’ll extend their lifespan and maintain their precision for flawless nail art every time.
Rinse and Reshape Brush Bristles
Once you’ve cleaned your brush, rinse the bristles thoroughly with warm water to remove any leftover polish or gel. This step guarantees no residue remains that could affect your next use.
After rinsing, gently reshape the bristles with your fingers to maintain their original pointed or flat form. Be careful not to pull on the bristles, as this can loosen the glue and damage the brush.
During this reshaping process, handle the bristles delicately to preserve their structure. Once you’ve reshaped your brush, use a clean towel or paper towel to gently pat the bristles dry without deforming them.
Proper rinsing and reshaping after cleaning are essential to keep your brush in excellent condition and ready for your next nail art project. Keep it nice, and it’ll last you much longer!
Dry and Store Brushes Properly
After reshaping the bristles, let your brushes air dry flat on a clean towel to keep their shape intact. This prevents bending or fraying, which can damage the delicate bristles.
Once dry, store your brushes in a dedicated holder or case with bristles facing up. This setup protects the brushes from dust and avoids crushing the shape.
Never store brushes with the ferrule submerged in liquids, as moisture can loosen the glue and deform the brush. Keep them in a cool, dry place away from direct sunlight to prevent discoloration and deterioration.
Make it a habit to regularly check your brushes for damage or dried polish buildup. Clean or replace them as needed.
Proper drying and storage will extend your brushes’ lifespan and keep them performing great.
Frequently Asked Questions
How Do I Clean My Nail Art Brushes at Home?
You clean your nail art brushes by wiping bristles with an alcohol-soaked cloth. Then, rinse them under warm water and reshape the bristles.
After that, use a specialized cleaner to remove any leftover residue. Try to avoid acetone because it can damage the brushes.
Once they’re clean, store your brushes flat or with the bristles pointing up after they dry. This helps keep their shape and prolongs their life.
How to Properly Sanitize Nail Brushes?
Think of your nail brushes as shields; you properly sanitize them by soaking in 70% isopropyl alcohol for 10-15 minutes. Then, rinse them off and dry thoroughly.
Make sure to store them sealed to keep their protective power strong and ready for use. This way, your brushes stay clean and effective every time you need them.
Can I Clean My Nail Art Brushes With Acetone?
You can use acetone, but it weakens bristles and damages metal parts over time.
Instead, stick to specialized brush cleaners to keep your nail art brushes in great shape and extend their lifespan.
How Do I Get Hardened Acrylic off My Brush?
You don’t want hardened acrylic on your brush, so soak it in acetone for 10-15 minutes. Then, gently scrub with a fine brush or toothbrush.
If you still see some acrylic, just repeat the process. After that, rinse your brush, reshape the bristles, and dry it carefully. Easy, right?
Conclusion
Now that you’ve mastered these simple steps, maintaining your manicure tools will be a breeze. By regularly rinsing, reshaping, and resting your brushes, you’re ensuring they stay spotless and strong.
Caring consistently not only keeps your nail art neat but also nurtures your creativity. So, stay savvy, stay spotless, and savor the satisfaction of stunning, streak-free strokes every time you create.
Your brushes will thank you with flawless finishes! Keeping your nail art brushes clean is key to beautiful designs that last. With just a little effort, your tools will perform at their best, making every manicure a masterpiece.