How Do You Make Digital Art in 5 Easy Steps?
To make digital art in five easy steps, start by choosing software that suits your skill level and hardware, like Procreate or Krita. Picking the right digital art software is key because it sets the foundation for your creative process and helps you work comfortably. Whether you’re a beginner or more experienced, there are great options tailored just for you.
Next, create a simple initial sketch to plan your composition. This rough outline helps you visualize your idea before diving into details.
Work with multiple layers to separate line art, colors, and details for flexibility. Layers make it easier to edit parts without affecting the whole piece.
Then, add colors and shading using separate layers to build depth and mood. This step really brings your artwork to life by adding vibrancy and dimension.
Finally, save your work in editable and high-quality formats to preserve it. Keep exploring to discover more tips and techniques—you’ll get better with every piece you create!
Key Takeaways
– Choose beginner-friendly or advanced digital art software that matches your needs and hardware compatibility.
Pick something that feels right for you and your device. It’s all about comfort and what you want to achieve.
– Create a simple initial sketch focusing on composition using paper or digital tools to outline your idea.
Don’t worry about details yet; just get your concept down. This is your blueprint.
– Use multiple layers to separate elements like sketch, line art, colors, and shading for better control.
Layers make editing way easier and keep things organized. Trust me, you’ll thank yourself later.
– Add colors and shading on different layers, selecting a fitting palette and gradually building depth with soft brushes.
Start with basic colors, then add shadows and highlights slowly. It helps bring your art to life.
– Finalize by saving layered files for edits and exporting high-quality images, while organizing and backing up your work.
Always keep a backup and save in formats that let you edit later. That way, you’re never stuck.
Choose the Right Digital Art Software
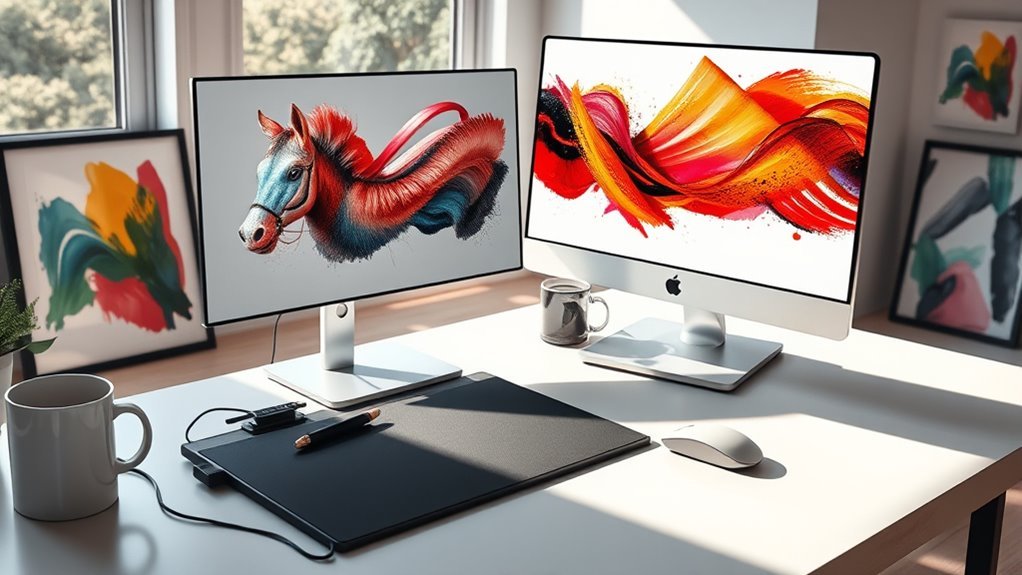
When you start making digital art, choosing the right software can make all the difference. You’ll want digital art software that’s beginner-friendly, especially if you’re new to drawing tablets. Programs like Procreate or Krita offer intuitive user interfaces that help simplify your workflow.
If you need advanced features, paid options like Adobe Photoshop or Clip Studio Paint provide powerful tools that boost efficiency and flexibility. Don’t overlook free trials—they let you test compatibility with your hardware and ensure the software fits your creative goals.
Free software like GIMP and Inkscape also offers robust tools without any cost, perfect for getting started. By selecting software that matches your needs and equipment, you’ll create more comfortably and productively, making your digital art journey smoother from the start.
Create Your Initial Sketch
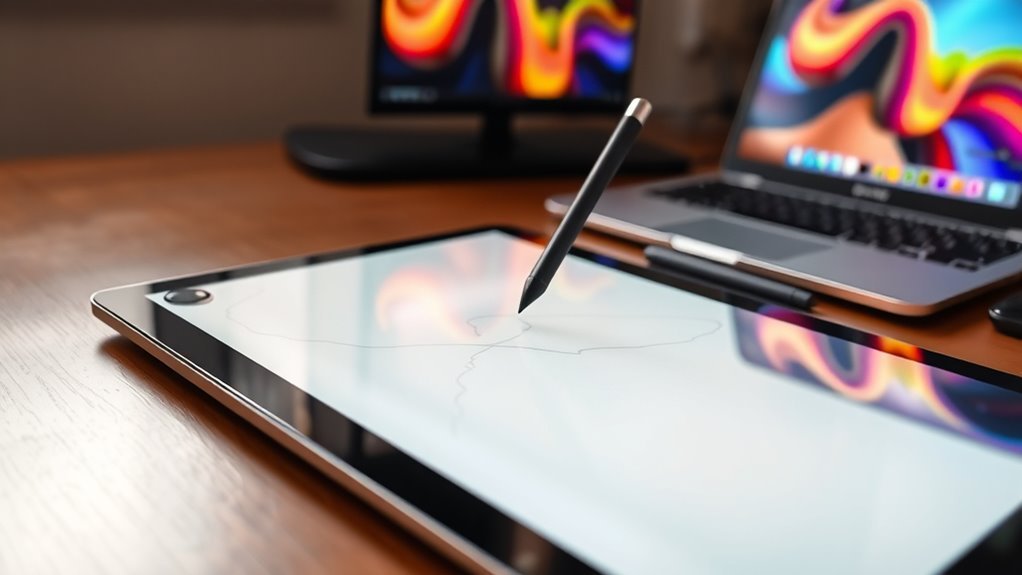
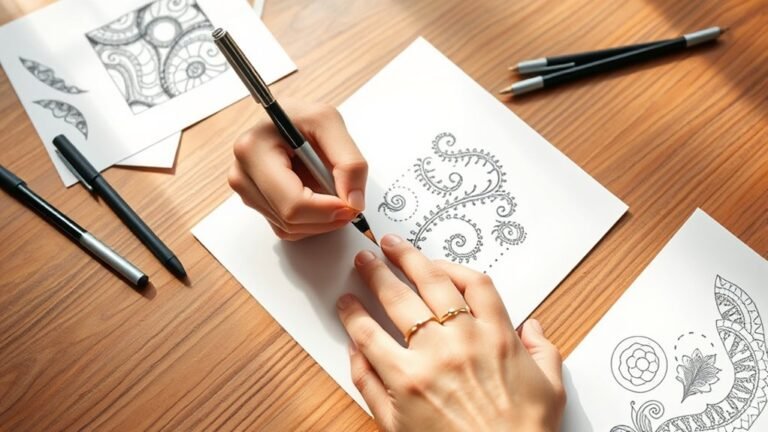
Before diving into detailed work, start by sketching your idea either on paper or digitally with a simple drawing app. Focus on establishing your composition using a rough stroke to outline the main shapes and placement.
Keep your initial draft simple with basic drawing techniques, avoiding detailed lines so you can easily adjust your digital sketch later. If you start on paper, scan or photograph your work to import it into your digital tools.
Start with simple lines and basic shapes for easy adjustments when moving your sketch to digital tools.
Then, create a new layer to trace over and begin refining your sketch without losing the original concept. Using layers helps you separate your rough draft from the refining process, allowing you to make corrections smoothly.
This approach sets a strong foundation for your artwork and makes subsequent steps more manageable.
Work With Multiple Layers
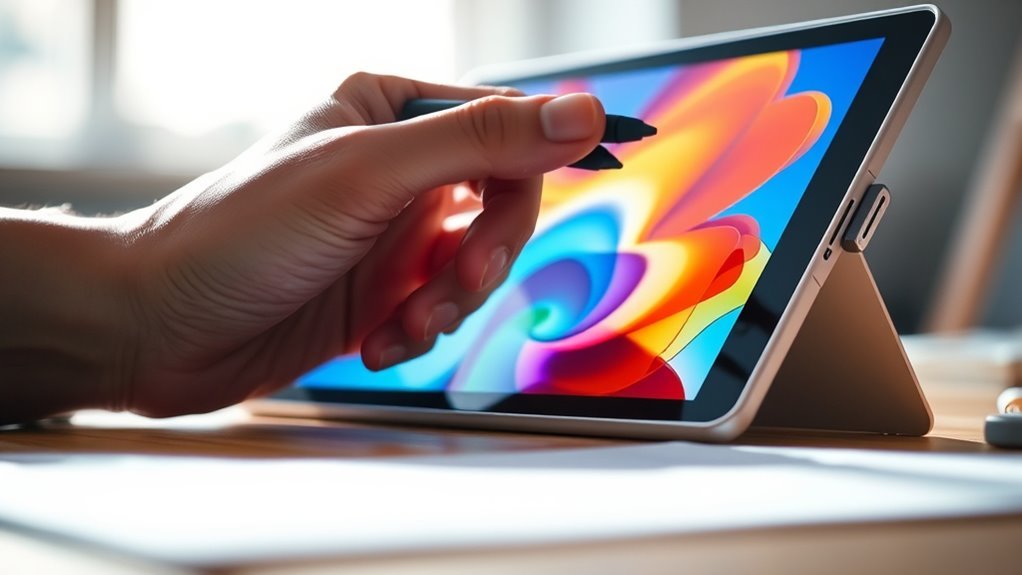
Once you’ve refined your initial sketch on a separate layer, it’s time to organize your artwork by working with multiple layers. Using layers lets you separate line art, backgrounds, and details, making non-destructive adjustments easier.
You can experiment with layer modes like multiply or overlay to achieve smooth blending effects. Keeping elements on separate layers helps prevent accidental edits and simplifies tweaks.
When ready, strategically merging layers keeps your file manageable while preserving editable versions. This way, you stay flexible without losing your progress.
| Layer Type | Purpose | Common Layer Modes |
|---|---|---|
| Sketch | Initial drawing | Normal |
| Line Art | Clean outlines | Multiply |
| Background | Base colors | Normal |
| Highlights | Light effects | Overlay |
| Textures | Surface details | Screen |
Organizing layers effectively streamlines your workflow and enhances creative control. Trust me, it makes the whole process way smoother!
Add Colors and Shading
Although adding colors and shading might seem intimidating at first, you can simplify the process by working with separate layers for flat colors and shadows. This keeps your artwork organized and easy to adjust.
Start by choosing a color palette that fits your lighting and mood. Sampling colors directly from your digital painting helps keep things consistent.
Use a soft brush to apply shading, building up darker tones gradually in areas farther from the light source to create depth. You can employ blending tools to smooth gradations between light and shadow, alt-clicking to sample mid-tones.
Finally, add highlights on a new layer to enhance realism. Focus on reflective surfaces like eyes, lips, and hair.
This approach helps you master light and shadow, making your colors and shading striking and natural.
Finalize and Save Your Artwork
Since your digital artwork is complete, you’ll want to save it carefully to preserve its quality and allow for future edits. First, save a layered version in formats like PSD to keep your layers intact for easy adjustments later.
Then, export high-quality copies in formats such as PNG or TIFF at 300 DPI to maintain clarity and detail. Organize your files by naming them systematically, which helps you manage different versions efficiently.
Don’t forget to regularly backup your work to external drives or cloud storage to avoid losing your progress. By managing your files well and saving in appropriate formats, you ensure your digital art remains accessible and pristine for sharing, printing, or revisiting in the future.
Frequently Asked Questions
What Are the Steps to Creating Digital Art?
You start by choosing software and experimenting with tools. Sketch your idea, use layers for organization, add basic colors, then refine details with shading and highlights.
Finally, merge layers if needed and save your artwork properly. It’s a pretty fun process once you get the hang of it!
How Can I Create My Own Digital Art?
You can create your own digital art by choosing easy software, sketching your idea, using layers to organize, experimenting with tools, and practicing regularly.
Don’t forget to save your work often and learn from tutorials to improve. It really helps to keep trying and exploring different techniques.
What Are the 7 Elements of Digital Art?
You’ll find the 7 elements of digital art are line, shape, form, color, texture, space, and value— they’re like the superheroes of your artwork.
They shape every stroke and make your creations burst with life and emotion. It’s pretty cool how these elements work together, right?
How to Make an Easy Drawing Step by Step?
Start with simple shapes to sketch your idea. Add flat colors on new layers, then block shadows and highlights.
Refine details by zooming in. Use clean lines, and save your work in high resolution regularly. Keep checking your progress as you go along!
Conclusion
By following these five simple steps, you’ll be creating impressive digital art in no time. Did you know that over 90% of professional digital artists use layers to perfect their work? Using layers not only helps organize your art but also gives you the freedom to experiment without losing your progress.
So, jump in, have fun, and watch your creativity flourish with each stroke. Your digital masterpiece is just a few clicks away! With these easy steps, making digital art becomes an enjoyable and rewarding experience.
Whether you’re a beginner or looking to improve your skills, mastering techniques like layering and experimenting with tools will boost your confidence. Dive into the world of digital art, explore different styles, and let your imagination run wild. Remember, creating digital art is all about practice, patience, and passion—so keep creating and watch your digital artwork come to life!