What Is Scratch Art and How Is It Made?
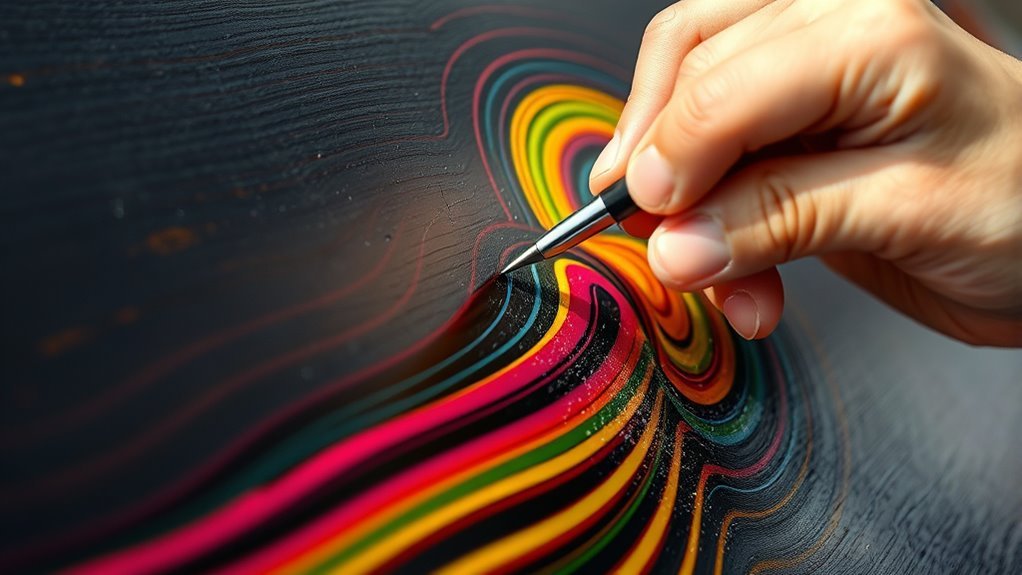
Scratch art is a fun and creative way to make vivid images by scratching away a black ink layer to reveal bright colors underneath. It’s a cool technique that starts with a coated board or paper, usually covered in black India ink.
Then, you use tools like wooden styluses or blades to carefully etch your designs.
Techniques like hatching and stippling come in handy to add texture and shading, making your artwork really pop. This method isn’t new—it dates back to the 19th century.
Originally, it was used for practical reproduction but has since evolved into a form of expressive art. If you dig a little deeper, you’ll see how artists master these tools to create stunning effects that really catch the eye.
Key Takeaways
- Scratch art is an artistic technique where a black-coated surface is scratched to reveal colorful layers beneath. It’s a pretty cool way to create vibrant images by just scratching away the top layer.
- It originated in the 19th century as a method for image reproduction and evolved into fine art. So, what started as a practical technique turned into a creative expression.
- Artists use tools like wooden styluses or needles to scratch away the black ink layer precisely. These tools help them control how much of the color underneath shows through.
- Techniques such as stippling, hatching, and cross-hatching create texture, shading, and intricate details. These methods add depth and complexity to the artwork, making it really stand out.
- The scratched areas expose vibrant colors, producing high-contrast, visually striking artworks. It’s this contrast that makes scratch art so eye-catching and unique.
History and Evolution of Scratch Art
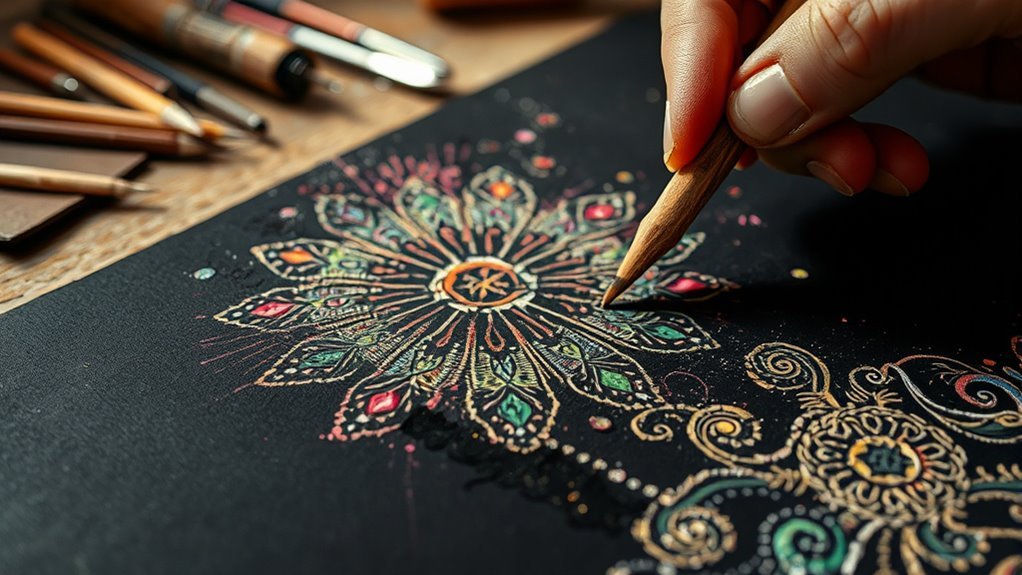
Although scratch art began in the 19th century as a practical method for reproducing images in Britain and France, it quickly gained popularity for its striking high-contrast results. You’ll find that scratchboard, a key medium, uses a black ink layer over a white surface.
Scratch art started as a practical image reproduction technique, evolving into a high-contrast, captivating art form.
When you scratch away the black, the white beneath emerges, creating detailed images with sharp contrasts. Over time, the history of scratch art shows an evolution from simple reproduction to a respected art form.
Artists combined scratch techniques with pen and ink to enhance visual depth. From early scientific illustrations to modern fine art, scratch art’s evolution reflects its versatility.
As you explore this art, you’ll appreciate how each scratched layer reveals both technique and history.
Materials and Techniques Used in Scratch Art
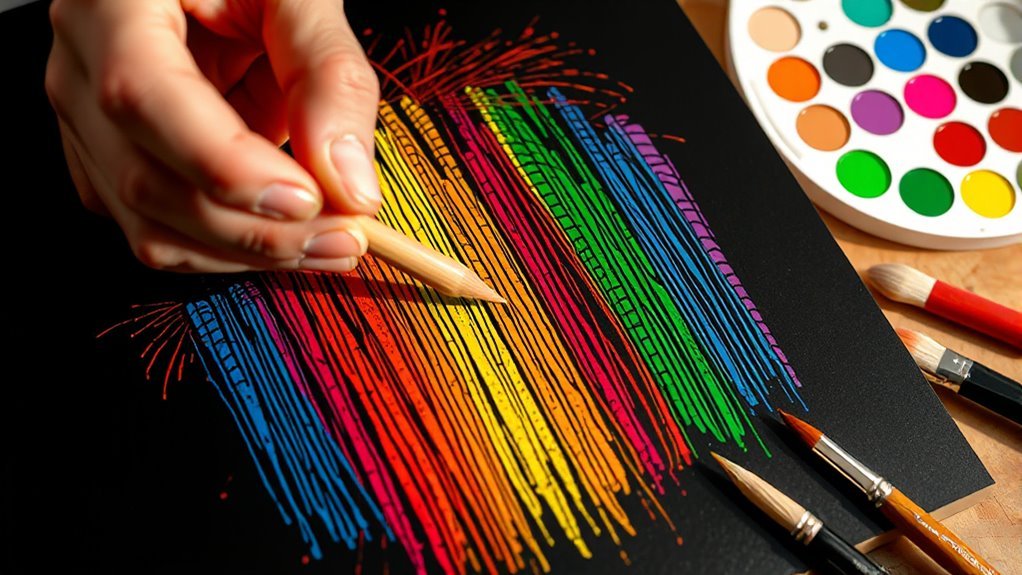
When you create scratch art, you start with a black-coated surface that hides vibrant colors underneath. This black coating is often applied over coated paper or a specialized scratchboard like Claybord.
The black layer may be made with black India ink, forming a fine layer that conceals the colors beneath. To reveal colors, you use a scratch tool such as a wooden stylus, needle, or scraping blade.
These tools to scratch away the black coating allow precise control, exposing bright hues below. You’ll apply various scratching techniques—stippling, hatching, and cross-hatching—to achieve textured shading and intricate details.
Mastering these techniques helps you manipulate light and shadow, creating depth and vibrant effects that define scratch art’s unique visual appeal. It’s all about bringing those hidden colors to life with every careful scratch.
Frequently Asked Questions
What Is the Point of Scratch Art?
The point of scratch art is to help you express creativity while enjoying a relaxing, focused activity. It lets you reveal vibrant designs beneath the surface, creating striking visuals that boost mindfulness and relieve stress.
It’s a fun way to unwind and tap into your artistic side without needing any fancy supplies. Plus, it’s satisfying to see your colorful masterpiece come to life with every scratch you make.
What Is the Black Stuff on Scratch Art?
Imagine uncovering a hidden treasure— the black stuff on scratch art is a special, durable ink coating.
When you scratch it away, it reveals vibrant colors underneath, making your artwork magically come to life.
What Is Another Name for Scratch Art?
Another name you’ll hear for scratch art is “scratch-off art” because you scratch away a surface to reveal colors beneath.
People also call it “scratchboard art” or “scraperboard,” especially when using special boards with black coatings.
How Does Scratch Art Work Step by Step?
Start by selecting a surface with a colorful coating beneath a black layer. Then, carefully carve and chip away the black coating using sharp tools to create mesmerizing, contrasting designs.
This way, you reveal vibrant visuals with every precise scratch you make. It’s like uncovering a hidden picture step by step!
Conclusion
Scratch art is a fun, creative way to express yourself by revealing vibrant colors beneath a black surface. You’ll find it’s both simple and rewarding, using basic tools like wooden styluses and scratch boards.
Did you know that over 60% of art educators use scratch art to help students develop fine motor skills and creativity? It’s a fantastic way to practice patience and precision while making something beautiful.
So, next time you want to try something new, grab some materials and start scratching your own colorful masterpiece! Scratch art combines creativity and technique, making it perfect for artists of all ages. Whether you’re a beginner or experienced, this unique art form is a wonderful way to explore colors and designs. Give scratch art a try and watch your imagination come to life with every scratch!