How to Make Mosaic Art in 10 Easy Steps for Beginners
To make mosaic art in 10 easy steps, start by gathering colorful tiles and essential tools.
Sketch your design carefully so you have a clear plan to follow. Then, safely break the tiles into pieces and sort them by color and shape.
Next, seal your base surface to prepare it for the mosaic.
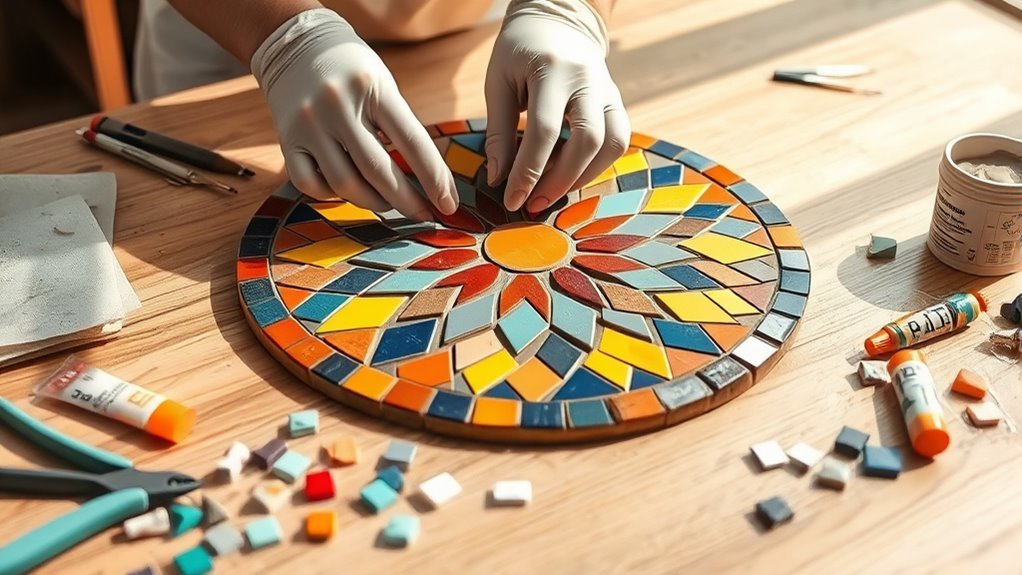
Glue the tiles onto your base, making sure they’re placed exactly how you want. Let the glue dry thoroughly before moving on.
After that, apply grout and press it into all the cracks between the tiles.
Clean off any excess grout gently to keep your design looking sharp.
Finally, finish by polishing your mosaic and displaying your artwork beautifully.
Keep going to uncover tips for perfecting your mosaic craft!
Key Takeaways
- Gather colorful tiles, tools, and adhesives. Also, prepare a clean, sealed base surface for your mosaic project.
- Sketch your design on paper or directly on the base. Then, sort your tiles by color and shape to keep things organized.
- Apply glue to the backs of the tiles. Press them onto the base with consistent spacing, and let everything dry for at least 24 hours.
- Spread grout evenly into the cracks. After about 20 minutes, clean off the excess grout with a damp sponge, then let it dry fully.
- Finish up by wiping away any residue, sealing the grout, and polishing the tiles. Finally, mount your mosaic for display or share it with friends!
Gather Your Mosaic Materials and Tools
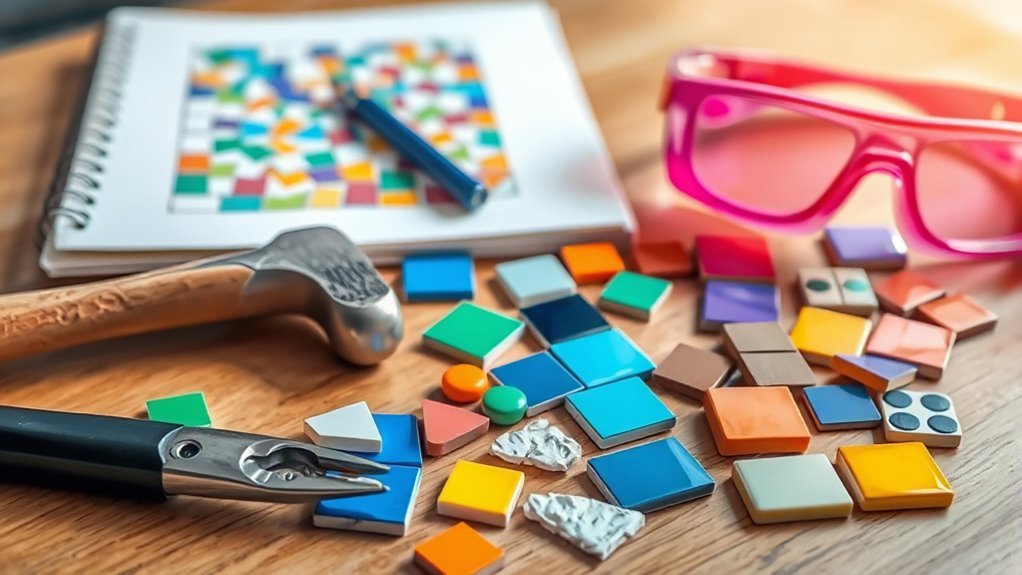
To start your mosaic project, gather a variety of tiles like glass, ceramic, stone, and mirror pieces from craft stores or online. These tiles will form the vibrant base of your design.
Begin your mosaic by collecting colorful glass, ceramic, stone, and mirror tiles for a vibrant design base.
Next, collect essential tools: tile nippers to cut tiles into the right shapes, a hammer for gentle shaping, safety goggles to protect your eyes, and a spatula plus a grout float for applying grout smoothly between pieces.
Prepare adhesives such as mosaic glue or non-toxic craft glue to securely attach your tiles to the base surface. Choose your base carefully—wooden boards, picture frames, or vases work well—and make sure they’re clean and sealed if needed.
You can also add optional embellishments like beads or shells for extra texture and detail. It really brings your mosaic to life!
Plan and Sketch Your Mosaic Design
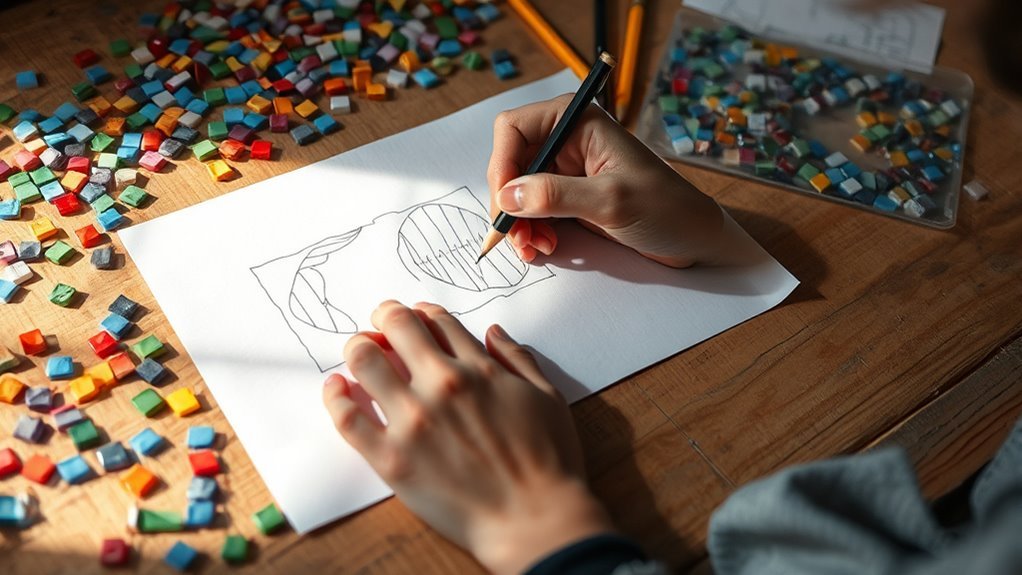
How do you bring your mosaic vision to life? Start by planning and sketching your mosaic design carefully. This step helps you visualize the final piece and guarantees your tiles fit perfectly.
Follow these three key steps:
- Sketch your design lightly on paper or directly on your surface, outlining main shapes and details with pencil lines.
- Consider tile size and shape during planning, so your design feels balanced and cohesive.
- Transfer your sketch onto the actual surface using tracing paper or freehand drawing. Then, adjust colors and shapes as needed before placing tiles.
Prepare and Break Tiles Safely
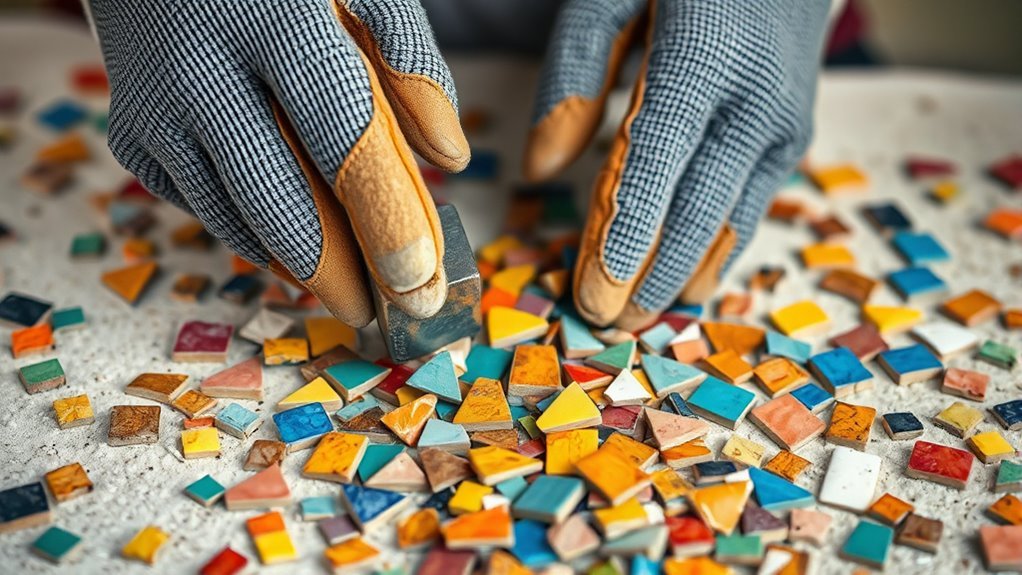
Before you start breaking tiles, make sure you wear safety goggles or wrap them in cloth to protect your eyes.
Use a hammer with steady pressure to break the tiles into even pieces, keeping them roughly the same size.
Finally, sort your tile pieces by color to make your mosaic easier to assemble.
Safety Gear Essentials
Although breaking tiles can be satisfying, you’ll need the right safety gear to protect yourself from sharp shards and dust. Before you start, make sure you equip yourself properly to avoid injuries and keep your workspace clean.
Here are three essential safety gear items to use:
- Safety goggles – Protect your eyes from flying tile shards when you break tiles with a hammer.
- Durable gloves – Shield your hands from sharp edges and accidental cuts while handling broken pieces.
- Thick cloth or towel – Wrap tiles to contain fragments and prevent scattering during breaking.
Always work in a well-ventilated area and keep cleaning tools nearby to manage dust and debris efficiently. Safety gear is your first step to creating mosaic art worry-free!
Breaking Tiles Techniques
Now that you’ve got your safety gear on, it’s time to break your tiles into pieces suitable for your mosaic. Wrap tiles in a cloth or wear safety goggles to protect your eyes. Use a hammer to gently tap and break tiles evenly.
Work in a well-ventilated area and handle sharp edges carefully to avoid injuries. Breaking tiles into uniform pieces helps keep your grout lines neat.
| Step | Tip |
|---|---|
| Wear Safety Gear | Use goggles and gloves |
| Prepare Tiles | Wrap in cloth for safe breaking |
| Break Tiles | Tap gently with a hammer |
| Handle Pieces | Be cautious with sharp edges |
These breaking tiles techniques ensure your mosaic supplies are ready for the next creative step. Pretty straightforward, right? Just take it slow and stay safe!
Sorting Tile Pieces
Once you’ve broken your tiles safely, you’ll want to sort the pieces by color and size to make your mosaic process smoother.
Sorting tile pieces helps you organize your materials and plan your design with ease. To do this effectively:
- Group tile pieces by color to create vibrant, cohesive sections in your artwork.
- Sort pieces by size, aiming for similar dimensions to keep grout lines consistent and neat.
- Include a mix of materials like china, glass, or pottery to add texture and visual interest.
Sort Broken Tiles by Color and Shape
Start by gathering all your broken tiles and sorting them into groups based on color and shape. To sort broken tiles by color, separate them into warm tones like reds, oranges, and yellows, and cool tones such as blues, greens, and purples. This helps you create a cohesive color palette for your mosaic.
Next, organize tile pieces by shape—irregular, square, or triangular—using trays or containers. Don’t forget to classify tiles by size, labeling small, medium, or large pieces to maintain consistent spacing and grout lines.
Keeping these groups labeled or separated makes selecting the right tile easier during assembly, speeding up your workflow and ensuring a balanced, visually appealing mosaic design. This organized approach sets a solid foundation for your mosaic art.
Seal Your Base Surface for Better Adhesion
Although it might seem like an extra step, sealing your base surface is essential for guaranteeing your tiles stick firmly and last longer. Applying a clear sealant creates a smooth, non-porous layer that boosts adhesion and prevents moisture damage.
Sealing your base is crucial—it ensures tiles adhere securely and protects against moisture damage for lasting mosaics.
For wooden bases, a DIY mod-podge diluted with water (1:1) works perfectly as a sealant.
Here’s why you shouldn’t skip sealing: It enhances tile adhesion, making your mosaic sturdy. It also blocks moisture that could loosen tiles or warp the base.
Plus, it increases the overall durability and lifespan of your artwork.
Make sure the sealant is completely dry before moving on. This step ensures your beautiful mosaic stays intact and vibrant for years!
Glue Each Tile Piece Onto the Base
With your base sealed and dry, you’re ready to glue each tile piece onto it. Apply a small amount of mosaic glue or non-toxic craft adhesive to the back of each tile before placing it on the base.
Press each tile firmly to guarantee good contact and prevent shifting. Keep the tiles close together with consistent spacing to create neat grout lines and a cohesive design.
Work in small sections, gluing tiles gradually so the glue doesn’t dry out before you place them. This careful approach helps maintain your design’s precision.
Allow Glue to Fully Set and Dry
Before you move on to the next step, let the glue fully set and dry for at least 24 hours to guarantee your tiles stay firmly in place. Allow glue to fully set and dry by giving it proper drying time, which is essential to prevent shifting or damage.
Let the glue dry fully for 24 hours to keep your tiles secure and prevent damage.
During this period, avoid touching or moving the mosaic pieces. You can check if the adhesive is ready by gently pressing a tile; it should feel firm and stable.
Follow these tips to protect your mosaic:
- Keep the surface undisturbed for a full day.
- Use a clean, dry cloth if you must clean nearby.
- Resist the urge to test or shift tiles prematurely.
Proper drying time ensures your mosaic’s durability and beauty. So, be patient—it’s worth it!
Apply Grout and Press Into Cracks
Now it’s time to spread the grout evenly over your mosaic, making sure you press it firmly into every crack and gap. Use a grout float to work the grout deep into the spaces, ensuring nothing is left unfilled.
This step is essential for both the strength and appearance of your mosaic. So, take your time and make sure each crack gets some attention. It’ll pay off in the long run!
Spreading Grout Evenly
One essential tool for spreading grout evenly across your mosaic is a grout float. It helps you spread grout smoothly and press it firmly into all grout lines, ensuring no gaps are left.
Hold the float at a 45-degree angle to work the grout into every crack and crevice, creating a stable and uniform surface. Work in small sections so the grout doesn’t dry before you remove the excess.
To master spreading grout:
- Spread grout firmly into grout lines, pressing deeply for full coverage.
- Work in manageable sections to maintain control and timing.
- Immediately wipe excess grout off tiles with a damp sponge to reveal your mosaic’s beauty.
This careful process makes your mosaic strong and visually stunning.
Ensuring Grout Penetration
To guarantee your mosaic’s grout fully penetrates every crack, press it firmly into all gaps using a grout float and a rubber or plastic spatula for tight spots. After spreading, wait about 20 minutes before wiping excess grout with a damp sponge.
During cleaning, gently press the sponge into the cracks to ensure thorough grout penetration and adhesion. Inspect your work and reapply grout where cracks remain unfilled. This step is essential for durability and a polished finish.
| Step | Tip |
|---|---|
| Apply Grout | Use grout float, press firmly |
| Push Into Cracks | Use rubber/plastic spatula |
| Cleaning & Inspection | Sponge gently, reapply if needed |
Clean Excess Grout and Remove Residue
Although applying grout is essential to hold your mosaic pieces in place, you’ll need to act quickly to clean off any excess before it hardens. Wipe excess grout immediately with a damp sponge or soft cloth within 20 minutes to prevent stubborn residue.
Follow these steps to keep your mosaic looking flawless:
- Use clean, warm water and a gentle scrub to remove grout residue without damaging the tiles.
- Spray a mixture of equal parts white vinegar and water on stubborn stains, then gently scrub.
- Change your sponge water frequently to avoid spreading grout dust and residue back onto your mosaic.
After cleaning, let your mosaic dry for at least 24 hours before any further work. This makes sure all grout residue is fully removed and your mosaic looks perfect.
Add Final Touches and Display Your Mosaic
Now that your mosaic is clean, it’s time to polish and seal it to protect your hard work. This step really helps your piece last longer and keeps it looking fresh.
You can then choose the perfect spot to showcase your creation, whether on a wall or a frame. It’s all about finding a place where it shines best.
Don’t forget to share your masterpiece with friends or online to celebrate your accomplishment. Everyone will love seeing what you’ve made!
Polishing and Sealing
How can you make your mosaic truly shine and last for years to come? The secret lies in careful polishing and sealing. After the grout dries for 24 hours, start by gently wiping your mosaic with a damp sponge to remove leftover grout residue.
Then, enhance its brilliance with these steps:
- Use a soft, dry cloth or microfiber towel to buff the surface, bringing out the tiles’ natural shine.
- For deeper cleaning, spray diluted white vinegar to eliminate grout dust and brighten the colors.
- Apply a quality grout sealer to waterproof your mosaic and protect its vibrant look.
With proper cleaning and sealing, your mosaic will stay beautiful and durable. It’ll be ready to impress every time you display it.
Sharing and Showcasing
Where should you go once your mosaic is complete? Start by inspecting it closely—fill gaps, polish tiles, and apply a sealant for durability.
Then, mount your piece on a frame or stand to prepare for showcasing.
To share your mosaic, photograph it well and post online with a story about your process. You can also enter local exhibitions or online contests to connect with others and get feedback.
| Step | Action | Purpose |
|---|---|---|
| Final Touches | Fill gaps, polish, seal | Enhance appearance, protect |
| Display Setup | Frame or stand your mosaic | Prepare for showcasing |
| Share & Showcase | Post online, join contests | Connect, get feedback, inspire |
Frequently Asked Questions
How to Make Mosaic Art for Beginners Step by Step?
Choose a design and sketch it on your base. Then, break and sort the tiles by color.
Next, glue the tiles closely together. Let the glue dry for about 24 hours.
After that, apply grout over the tiles. Clean off any excess grout carefully.
Finally, polish the tiles to make them shine. Seal your mosaic to keep its beauty lasting longer.
How to Begin Mosaic Art?
Did you know mosaic art dates back over 4,000 years? To begin, pick a simple design and a clean surface.
Then, gather your tiles and sketch your pattern to set a solid foundation for your artwork. It’s easier than you think once you get started!
What Do I Need to Start Doing Mosaic Art?
You’ll need mosaic tiles, a sturdy backing surface, adhesive, grout, and basic tools like nippers and a sponge.
Don’t forget safety gear like gloves and goggles to protect yourself while cutting and handling tiles.
Getting these basics will make your mosaic project way easier and more fun!
How to Mosaic Tile for Beginners?
Start by arranging your chosen tiles on the surface, leaving gaps for grout. Make sure you like the pattern before you stick them down.
Next, apply adhesive to secure each piece. Let it dry completely—that’s important!
Then, fill the gaps with grout. After that, clean off any excess grout, and your mosaic’s ready! Easy, right?
Conclusion
Don’t worry if you think mosaic art is too tricky or time-consuming—you’ll be surprised how simple and rewarding it is when you follow these steps. With just a little patience and creativity, you can transform everyday materials into stunning art pieces.
Remember, mistakes are part of the process and add character to your work. So grab your tools, jump in, and enjoy making your own beautiful mosaic masterpiece!
Mosaic art for beginners is all about having fun and experimenting. By following these 10 easy steps, you’ll quickly gain confidence and create amazing designs. Whether you’re working with tiles, glass, or recycled materials, the process is enjoyable and fulfilling.
So, don’t hesitate to start your mosaic art journey today. With patience and creativity, you’ll be amazed at what you can create!