How to Make Textured Art in 5 Simple Steps
To make textured art in five simple steps, start by prepping your canvas—clean it well and prime it for better adhesion. This step is crucial as it sets the foundation for your textured masterpiece.
Choosing the right texture paste comes next; make sure to pick quality paste and mix it properly, adjusting the thickness to suit your design.
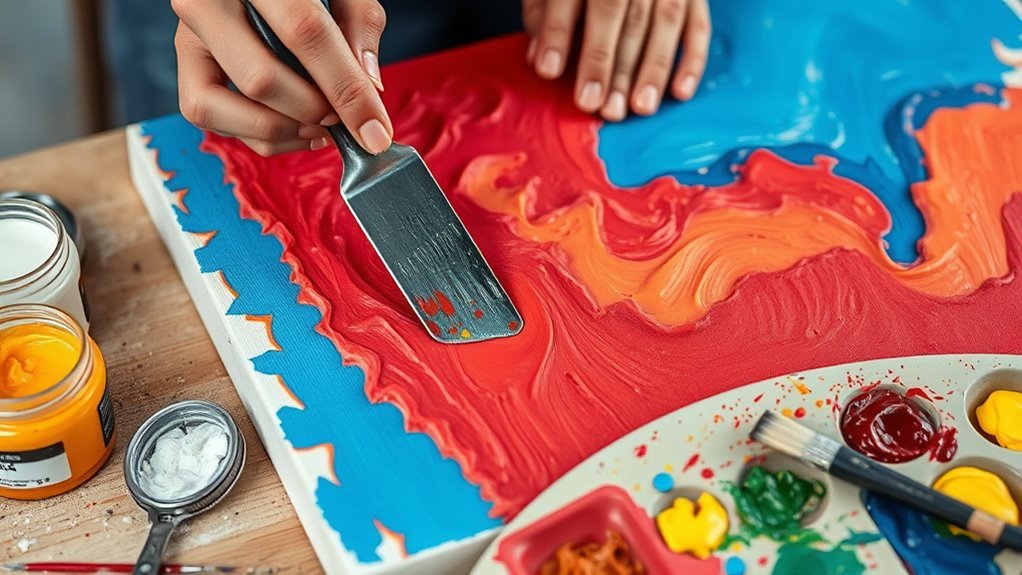
Applying the texture paste is where the fun begins. Use tools like palette knives or sponges to create interesting patterns and layers. Don’t rush this part—take your time to experiment with different techniques.
Once applied, let the texture dry fully in a cool, ventilated space. This helps prevent cracks and keeps your artwork looking fresh.
After the texture is dry, paint over it to bring your vision to life. Finally, seal your work to ensure durability and long-lasting beauty.
Stick around for tips that make each step easier and more enjoyable!
Key Takeaways
- Prepare a clean, primed canvas and secure it firmly for stable texture application.
- Mix high-quality texture paste evenly, adjusting consistency with acrylic medium or water.
- Apply texture paste using palette knives or tools to create desired patterns and effects.
- Allow the textured layers to dry completely in a flat, ventilated area away from direct heat.
- Paint over the dried texture with acrylics and seal with varnish for durability and finish.
Preparing Your Canvas
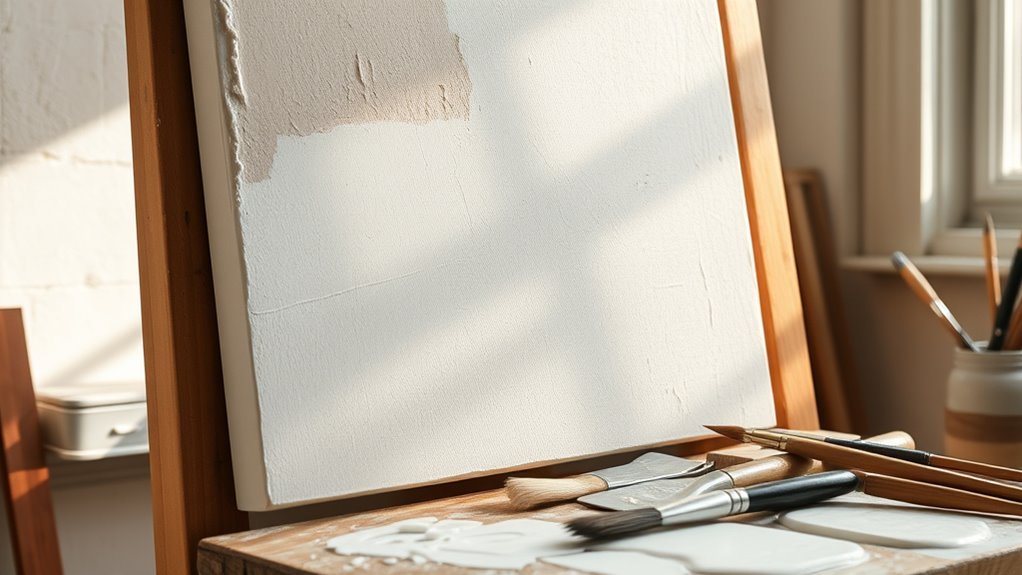
Before you begin applying texture, make sure your preprimed cotton canvas is clean and free of dust or oils. This step is the best part of preparing your canvas because it sets the foundation for your textured art.
You need to know that any dirt or grease can prevent your materials from adhering properly. If necessary, lightly sand the surface to create a slight roughness that helps the texture paste stick better.
Secure your canvas on a flat surface or easel to keep it steady during application. Additionally, if you want to modify the surface feel or improve paint adhesion later, consider applying a thin layer of gesso.
These preparation steps ensure your texture will hold beautifully.
Choosing and Mixing Texture Paste
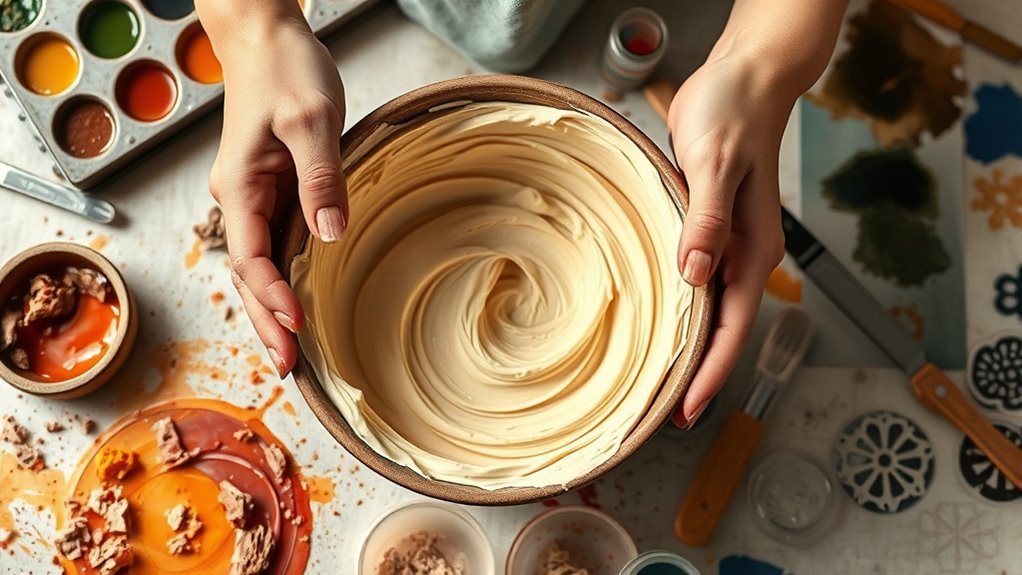
Although selecting the right texture paste can feel overwhelming, choosing a high-quality, professional-grade option guarantees your artwork remains durable and crack-free over time.
Before applying, mix the paste thoroughly with a clean palette knife or spatula to get a smooth, consistent texture. You can adjust thickness by diluting with acrylic medium or water.
Since brands vary in drying time and texture, test small amounts first. For unique surfaces, try mixing in sand or modeling compounds.
| Aspect | Tips |
|---|---|
| Quality | Use professional-grade paste |
| Mixing | Stir well with a palette knife |
| Thickness Control | Add acrylic medium or water |
| Brand Testing | Test small batches first |
| Texture Variation | Mix in sand or granular mediums |
Applying Texture and Creating Patterns
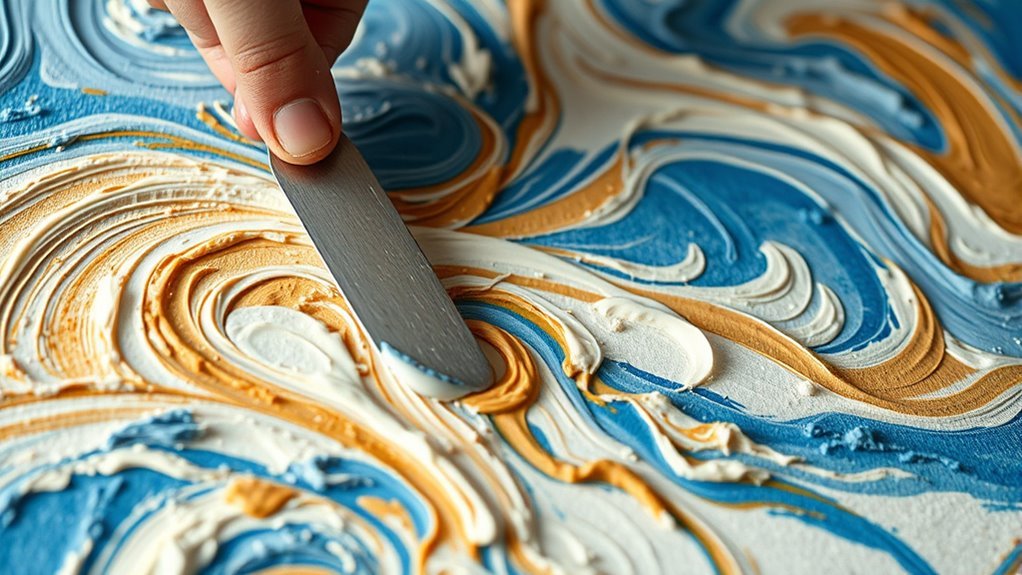
When you apply texture paste, use tools like palette knives, combs, sponges, or even your fingers to shape and manipulate the surface. Press these tools into the wet paste to create patterns—try swirling with a palette knife, ridging with a comb, or stippling with a sponge for varied effects.
Don’t hesitate to experiment; each tool produces distinct textures, like parallel lines from a comb or soft dots from a sponge. To add depth, layer additional paste over dried sections, building complexity in your design. This layering lets you combine patterns and textures for a richer look.
Keep your movements deliberate to control the pattern outcome and enhance your artwork’s tactile appeal. It’s all about playing around until you find what feels right for your piece.
Allowing Texture to Dry Properly
Since texture paste varies in thickness, you’ll need to allow ample time for it to dry fully to avoid cracking or warping. Drying won’t happen overnight—it can take several hours to days.
To help the process, keep your artwork flat and in a well-ventilated room. Avoid placing it in direct sunlight or near heat sources, which can cause uneven drying and damage.
Check the texture by gently touching a hidden spot to ensure it’s firm and dry before handling or adding paint. Remember these key points:
- Keep the textured surface flat during drying to prevent distortion
- Place artwork in a well-ventilated space to reduce moisture buildup
- Dry at room temperature, avoiding direct sunlight or heat
- Regularly check drying progress by gently touching an inconspicuous area
Painting and Finishing Your Artwork
After the textured paste has dried completely and feels solid, you can start painting your artwork with acrylics to bring out its depth and detail. Use brushes to highlight raised areas and enhance shadows, adding vibrant contrast.
If you want smoother progressions, lightly sand select spots once the paint dries. This technique refines your textures without flattening them.
Once satisfied with the painting, apply a clear varnish or sealant to protect your piece. Choose between glossy or matte finishes depending on the look you want.
Alternatively, you can leave the texture unpainted or apply a subtle color wash for a natural effect. Finally, let your artwork dry thoroughly before handling or displaying it to avoid smudges or damage, ensuring your textured masterpiece stays pristine.
Frequently Asked Questions
How to Do Textured Art for Beginners Step by Step?
Start by prepping your canvas and choosing texture paste. Apply it with tools or fingers, creating patterns.
Let it dry fully, then paint over or leave as is. Experiment freely, reworking textures as you go.
Don’t be afraid to try different techniques—textured art is all about playing around and seeing what feels right!
How to Make Your Own Textured Art?
You’ll mix texture paste, apply it with tools like palette knives, and create patterns on a primed canvas. Experiment with sponges or combs, let it dry fully, then paint or leave it natural for striking textured art.
Give it a try! It’s fun to see how different tools create unique effects. And once it’s dry, you can really make it your own with color or keep it simple and raw.
What Do You Need to Create Textured Art?
You’ll need quality texture paste, a stretched cotton canvas, and basic tools like palette knives or sponges to apply it.
Grab acrylic paints and brushes for color, and consider sanding tools or extra layers to enhance your piece.
What Are Some Ideas for Textured Art for Beginners?
Try stripes with a palette knife, dots with a sponge, or swirls using your fingers.
Mix sand or fabric into paste, layer textures, and combine smooth and rough areas.
You’ll create engaging, tactile art quickly.
Conclusion
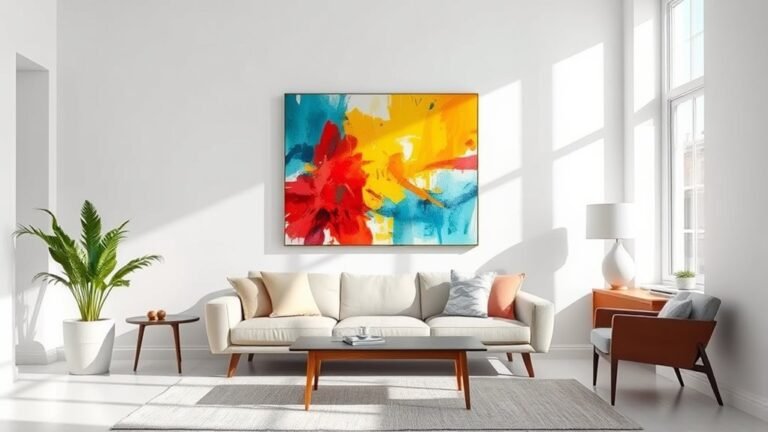
By exploring textured art, you discover that the theory of perfection is often overrated. Embracing texture’s unpredictability teaches you that beauty lies in imperfections and spontaneity.
As you prepare, apply, and paint your textured canvas, you realize that art isn’t about flawless control but expressing your unique touch. So, trust the process, let your creativity flow, and remember—texture adds life and depth, making your artwork truly one of a kind.
Creating textured art invites you to break free from rigid rules and enjoy the tactile experience. Each layer and brushstroke brings out personality in your piece, turning a simple canvas into a vibrant story.
In the end, textured art is about celebrating originality and the joy of discovery. So dive in, experiment with different materials, and watch your art come alive with texture, depth, and endless possibilities.