How to Print Digital Art in 5 Easy Steps
To print your digital art in five easy steps, start by preparing your file with 300 DPI resolution. Make sure to use CMYK color mode and set proper bleed margins. These settings ensure your artwork looks sharp and colors come out true to life.
Next, choose paper that suits your art style. Matte paper works great for detailed pieces, while glossy paper makes colors pop and look vibrant. Picking the right paper really helps your art stand out.
Then, find a professional printing service that uses high-quality inks. Upload your correctly sized file, and adjust the positioning if needed to get everything just right.
Finally, order samples to check the color accuracy and print quality before committing to the final print. Following these basics will get you closer to stunning results and help you explore finer details.
Key Takeaways
- Prepare your digital art file with 300 DPI resolution and CMYK color mode. Make sure to include bleed and safe margins for accurate printing.
- Choose the right paper type and weight. For instance, matte paper works great for detail, while glossy paper makes colors pop and look vibrant.
- Select a professional printing method like Giclée or high-quality inkjet printing. This helps ensure your colors stay true and the print lasts longer.
- Upload your file in a lossless format, such as PNG, TIFF, or PDF. Match the print dimensions and adjust scaling within the print template to get it just right.
- Order sample prints first. This way, you can check color accuracy, texture, and alignment before you finalize your print order.
Preparing Your Digital Art File
How do you guarantee your digital art looks perfect in print? Start by preparing your digital art file with care. Make certain your resolution is at least 300 DPI and that your pixel dimensions match the intended print size—multiply your inches by 300 for accuracy.
Ensure your digital art prints perfectly by setting resolution to 300 DPI and matching pixel dimensions to print size.
Switch your color mode from RGB to CMYK to maintain true color fidelity in print. Save your work in a high-quality, lossless file format like PNG, TIFF, or PDF to preserve detail.
Don’t forget to add bleed (0.125–0.25 inches) and safe margins (0.25 inches) around your design to avoid unwanted cropping during trimming. Finally, double-check your file’s dimensions and resolution to ensure image sharpness.
These steps are essential for producing high-quality prints with vibrant, accurate colors. Just follow them, and your prints will look fantastic every time!
Selecting the Right Paper and Materials
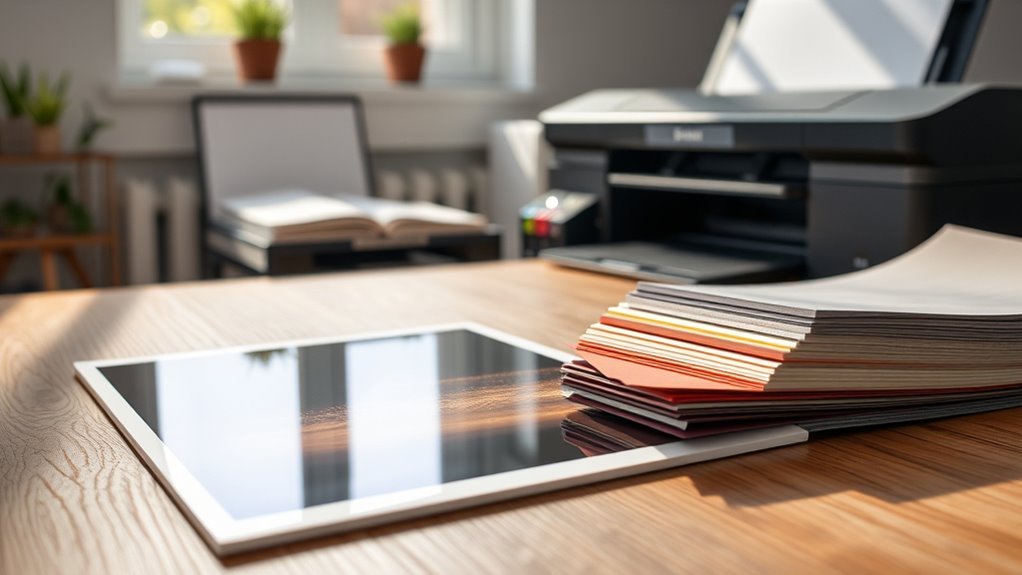
Although digital art looks great on screen, choosing the right paper and materials will make all the difference in print quality and presentation. When selecting paper types, consider how matte paper suits detailed digital artwork by minimizing glare, while glossy paper boosts vibrant print colors with a shiny finish.
For a premium feel, textured fine art papers like watercolor or canvas add depth, perfect for gallery-style prints. Paper weight plays an essential role too; heavier papers ensure durability and a high-quality feel throughout the printing process.
Metallic or colored papers offer unique effects that can enhance your art’s style. To get the best results with print on demand services, match your color profiles carefully with your chosen art papers, guaranteeing your digital artwork truly shines on every print.
Choosing a Printing Method and Service
Once you’ve picked the perfect paper and materials, the next step is choosing a printing method and service that brings your digital art to life. Professional printing services often use inkjet printing with high-quality pigment inks, ensuring vibrant colors and durability.
Choosing the right printing method and service is key to vibrant, durable digital art prints.
When selecting a printing method, consider options like Giclée or Fine Art Printing, which excel in print quality and color calibration. Prepare your digital files carefully, matching resolution to 300 DPI and aligning file size with your chosen paper type.
Compare services by reviewing sample prints, turnaround times, and customer feedback. Popular platforms like Printful and Society6 offer various print products including canvases and metal prints.
Focusing on artwork preparation and selecting the right printing services guarantees your digital art will look stunning in its final form. It’s all about making sure your vision comes through exactly as you imagined!
Uploading and Configuring Your Print
Where do you start when uploading your digital art for print? Begin by preparing your digital art with the right file formats like PNG, PDF, or TIFF, assuring a resolution of at least 300 DPI and CMYK color mode. Match your file dimensions to the desired print size to avoid distortion.
When you upload, adjust scaling and position within print area templates, adding bleed (0.125-0.25 inches) for edge-to-edge printing. Remember, monitor calibration helps you preview colors accurately.
Keep these steps in mind:
- Check file formats and resolution before upload
- Use platform guides to set bleed and safe margins
- Preview your design carefully, verifying alignment and proportions
This careful upload and configuration guarantees your print turns out just right.
Reviewing and Ordering Samples
Why settle for guessing when you can see your digital art in print before committing to a full run? Ordering sample prints from your chosen print provider lets you evaluate print quality, paper texture, color accuracy, and finish options firsthand.
Make sure to specify your artwork resolution—at least 300 DPI—and preferred file format, like PNG or PDF, for precise printing samples. Comparing samples on different papers helps you find the best match for your art’s style.
Specify artwork resolution (300 DPI+) and file format for accurate samples; test various papers to match your art’s style.
Use print testing to spot issues such as print defects, color mismatches, or cropping early, so you can adjust before mass production. Keep track of sample costs and turnaround times to manage your budget and schedule efficiently.
Reviewing and ordering samples is essential for confident, high-quality digital art prints. It really pays off to get it right the first time!
Frequently Asked Questions
What Is the Best Way to Print Digital Art?
You’ll get the best digital art prints by using high-resolution 300 DPI files with CMYK color profiles. Choosing quality paper or canvas really makes a difference, too.
Opt for professional giclée printing whenever you can. And here’s a tip: always order a sample first to check colors and details. That way, you know exactly what you’re getting.
How Do I Print Out My Digital Art?
You simply prepare your file at 300 DPI, convert it to CMYK, choose quality paper, then print using a reliable printer or service.
Always order a sample print first to make certain colors and details look perfect.
It’s a good way to catch any issues before you do a full run. Plus, seeing your digital art on paper can be pretty exciting!
What Are the 7 Steps in Processing Screen Printing?
You’ll follow seven steps: design your artwork, create the stencil, expose the screen, wash out emulsion, dry the screen, align it, then print.
Did you know screen printing dates back over 1,000 years? Pretty cool!
How to Do Digital Art as a Beginner?
You should start by choosing a digital art program and practicing simple shapes, lines, and colors.
Experiment with layers and brushes, watch tutorials, and save your work often.
Don’t hesitate to ask for feedback to improve quickly.
It really helps you learn faster and see things from a different perspective. Just keep practicing, and you’ll get better in no time!
Conclusion
Now that you’ve mastered these five simple steps, you’re ready to bring your digital art to life. Imagine gifting a close friend a vibrant, professionally printed piece that captures a shared memory—watching their eyes light up is priceless.
By preparing your file carefully, choosing the right materials, and reviewing samples, you guarantee your art looks stunning every time. These steps ensure your digital prints maintain color accuracy and sharpness, making your creativity truly shine.
Don’t wait—start printing your digital art today and share your creativity with the world! With the right printing techniques, your artwork will stand out beautifully, whether it’s for gifts, home décor, or exhibitions. Printing digital art has never been easier or more rewarding!