What Is Body Art and How Do Beginners Get Started?
Body art includes tattoos, piercings, body painting, and henna, offering a unique way to express creativity and culture directly on your skin. It’s a fascinating form of self-expression that combines art and personal meaning in a very visible way.
Whether you’re drawn to the permanence of tattoos or the temporary flair of henna, body art lets you tell your story in a creative style.
As a beginner, start by practicing techniques on non-human surfaces to get comfortable with the tools and methods. Learning about body anatomy is also key—it helps you create designs that flow naturally with the body’s contours.
Choose mediums that fit your personal style and always take safety seriously by seeking professional guidance.
Begin with simple projects and build your skills gradually. Explore these basics, and you’ll discover even more ways to master and appreciate body art. It’s a journey that’s as rewarding as it is creative!
Key Takeaways
- Body art includes tattooing, piercing, body painting, and henna. It offers both permanent and temporary decoration options.
- Tattoos are permanent ink designs, while body painting and henna provide temporary, artistic expressions on the skin.
- Beginners should start by practicing techniques on non-human surfaces. This helps build confidence and skill without any pressure.
- Learning about body anatomy and proportions is really helpful. It allows you to create natural and appealing body art designs.
- Taking courses or tutorials is a great idea. They ensure you learn safety, proper techniques, and help you develop skills gradually.
Understanding Different Types of Body Art
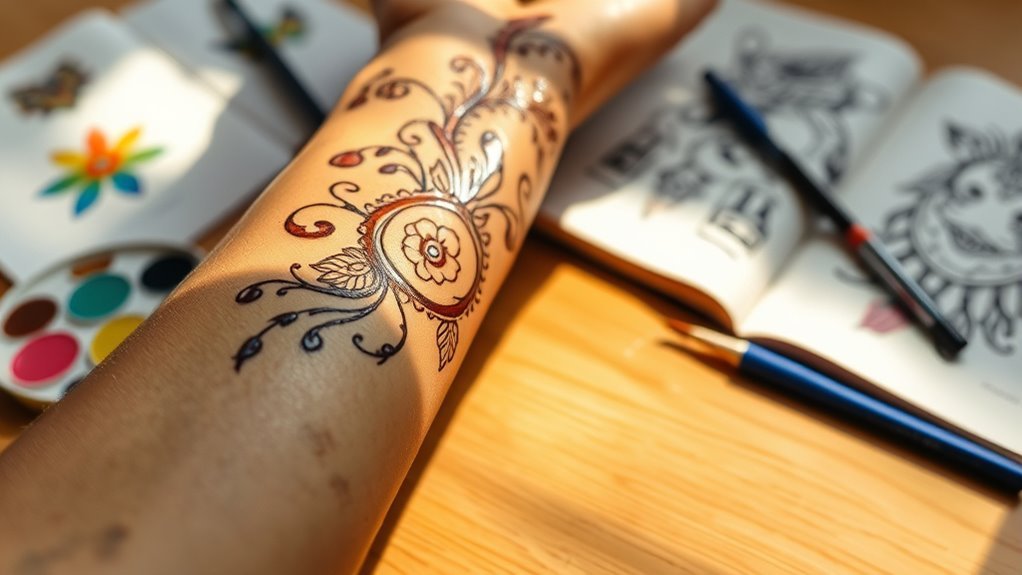
When you explore body art, you’ll find it includes several distinct forms like tattooing, piercing, body painting, and henna designs. Tattooing creates permanent designs by inserting ink into the skin’s dermis, while piercing involves making openings in various body parts for jewelry.
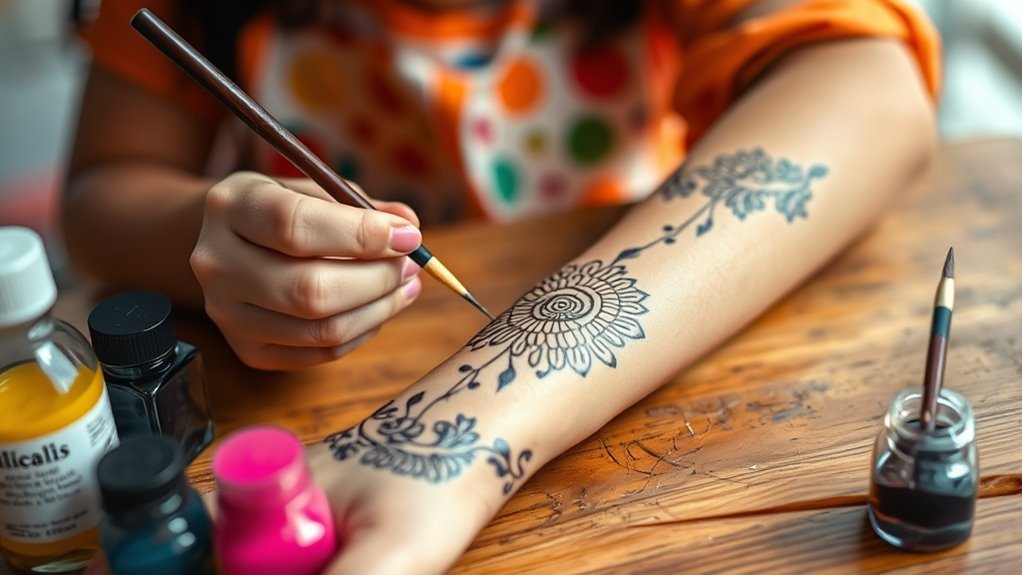
Body painting, including face painting and airbrush body techniques, uses temporary or semi-permanent paints to decorate your skin artistically or culturally. Henna designs apply natural dye to your skin, producing intricate, temporary patterns often seen in celebrations.
Understanding these different types helps you appreciate the variety within body art and how each form expresses creativity on your body parts in unique ways. Whether you prefer permanent or temporary decoration, body art offers diverse options to suit your style.
Essential Steps for Beginners Starting Body Art
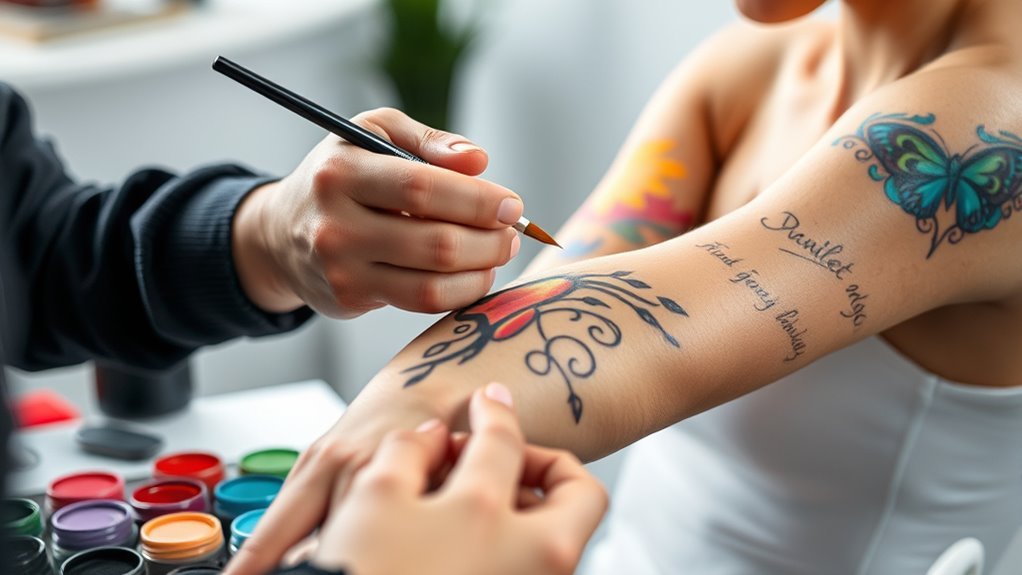
Although starting body art can feel overwhelming, focusing on essential steps will help you build confidence and skill effectively. To get started with face and body painting, follow these steps:
First, make sure you practice basic techniques on non-human surfaces. This helps you build foundational skills before moving to full body work.
Begin by practicing basic techniques on non-human surfaces to build your foundational skills confidently.
Next, learn about different body painting mediums so you can choose what suits your style and goals. It’s good to know your options early on.
Also, study body anatomy and proportions. Understanding how designs flow on an amazing body ensures your art looks natural and appealing.
Finally, consider enrolling in professional courses or tutorials. They’ll teach you about safety, tools, and techniques that help your work last anywhere.
Frequently Asked Questions
What Are Some Examples of Body Art?
You’ll find body art examples like tattoos, piercings, henna designs, and body painting. These are some of the most popular ways people express themselves through their bodies.
You can also explore scarification and subdermal implants for unique looks. They might be a bit more adventurous but definitely make a statement.
Temporary options like glitter tattoos are fun for beginners. They’re easy to try out without the long-term commitment.
What Body Part Should I Draw First?
Did you know 70% of beginners start with the face first? You should draw the face or head initially—it helps you grasp proportions and facial features.
This builds a solid foundation before moving on to more complex body parts. Give it a try!
Is Body Art Permanent or Temporary?
Body art can be either permanent or temporary. You can get tattoos or piercings for lasting designs.
Or, if you want something fun and short-term, try body paint, henna, or glitter tattoos. They’re great for switching things up without the long commitment!
How to Start Art as a Beginner?
Did you know 65% of beginners improve noticeably within a month? Start art by practicing basic sketches daily, investing in quality supplies, following tutorials, and joining art communities to get feedback and stay motivated on your creative journey.
It’s actually easier than you might think. Just grab some pencils and paper, and begin with simple shapes. Before you know it, you’ll see your skills grow!
Conclusion
Now that you know the basics of body art, it’s time to immerse yourself and express yourself—like a Renaissance artist with a smartphone. Don’t be afraid to experiment with different styles, whether it’s tattoos, henna, or temporary paints.
Remember, patience and practice are key. Start small, gather your tools, and enjoy the creative journey.
Your body is your canvas, so make your mark and let your unique story shine through! Body art offers endless possibilities for self-expression and creativity. As a beginner, exploring various techniques will help you find your style and build confidence. Whether you choose permanent tattoos, intricate henna designs, or vibrant temporary paints, each form of body art allows you to tell your story in a personal, visual way. So grab your supplies, try new designs, and most importantly, have fun turning your body into a living masterpiece!