How to Pack Framed Art for Moving Step by Step
To pack framed art for moving safely, start by removing all hanging hardware and backing. Store these pieces carefully so you can reassemble them later without any hassle.
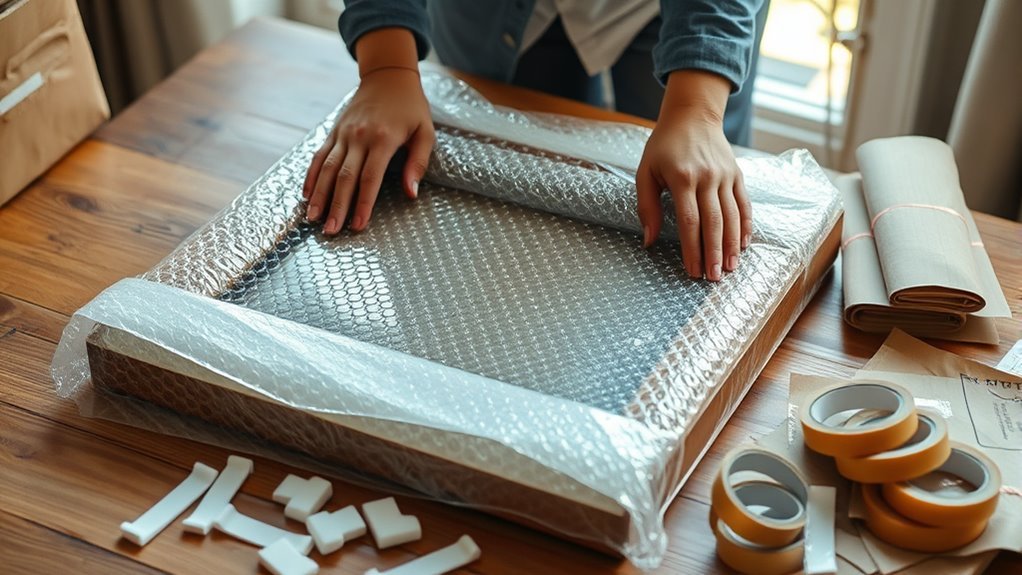
Next, cover the glass or plexiglass with acid-free paper to protect against scratches. Then, wrap the entire frame in bubble wrap, paying special attention to the edges and corners. This step is crucial because those areas are the most vulnerable during transit.
Secure the bubble wrap with painter’s tape, and don’t forget to add corner protectors for extra cushioning.
Place your artwork upright in a sturdy box filled with soft padding to keep it from shifting around.
Finally, seal the box tightly and label it as fragile. Following these simple steps will help keep your framed art safe and sound during your move.
If you want more tips, there are plenty of tricks to guarantee flawless packing!
Key Takeaways
- Remove all hanging hardware and backing from the framed art to prevent damage during transit and store hardware securely.
- Cover the glass or plexiglass surface with acid-free paper or glassine to protect from scratches.
- Wrap the entire frame with bubble wrap, focusing on corners and edges, securing it with painter’s or packing tape without touching the glass.
- Place the wrapped artwork upright in a sturdy box, fill gaps with packing materials, and seal the box securely with tape.
- Label the box clearly as fragile, indicate the upright position, and keep it upright during transport for safe handling.
Essential Materials and Tools for Packing Framed Art
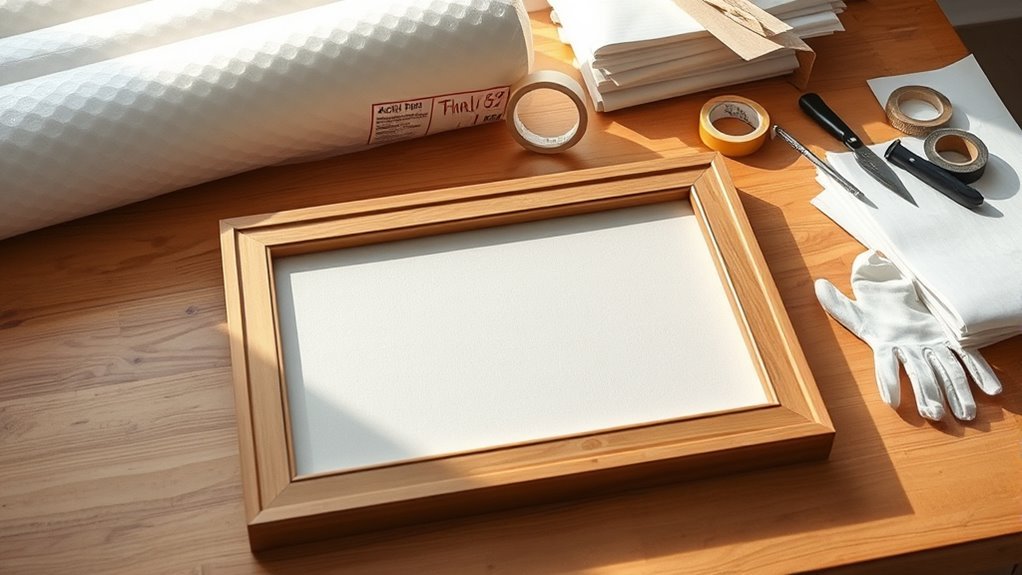
Before you begin packing your framed art, gather sturdy, appropriately-sized boxes or custom-built crates to provide solid support during the move. You’ll need essential packing materials like acid-free paper to cover surfaces and protective wrapping such as bubble wrap to shield the glass or plexiglass.
Don’t forget foam sheets and corner protectors to cushion edges and absorb shocks. Reliable packing tape will keep everything sealed tight, while painter’s tape or glassine helps protect delicate surfaces without leaving residue.
Stock up on shipping supplies, including markers for labeling and stretch wrap or plastic sheeting for extra protection. By preparing these materials upfront, you ensure your framed artwork stays safe and secure throughout transit. This reduces the risk of damage and makes your move smoother and worry-free.
Step-by-Step Guide to Preparing and Packing Framed Artwork
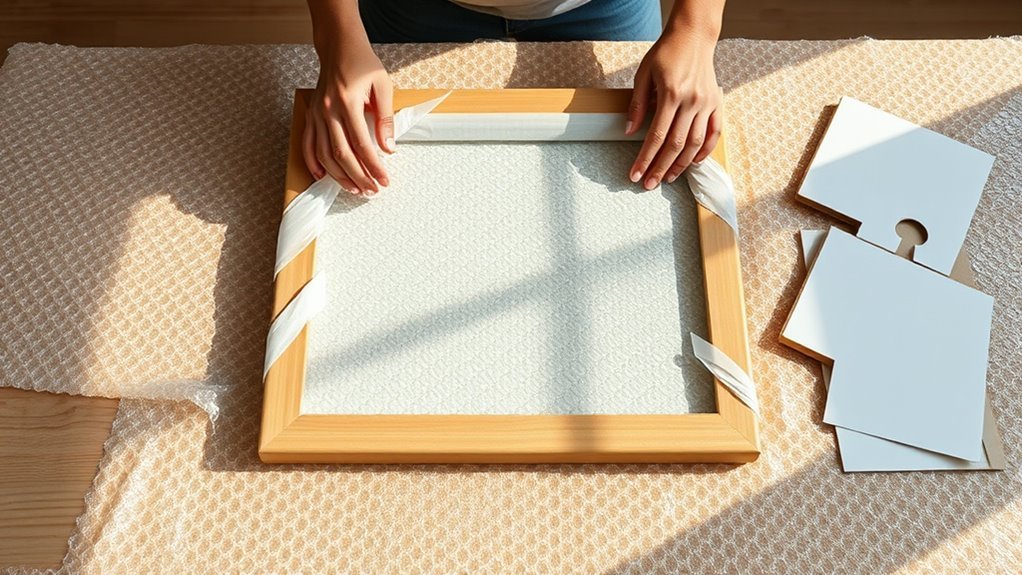
Start by carefully removing any hanging hardware and backing from your framed artwork to prevent damage during transit.
Next, cover the glass with glassine or acid-free paper to avoid scratches.
Wrap the entire frame in bubble wrap, emphasizing corners and edges for maximum artwork protection. Secure the bubble wrap with painter’s or packing tape without pressing on the glass.
Finally, place the wrapped framed artwork upright in a sturdy moving box. Fill any gaps with packing materials to prevent movement.
Follow these packing steps to ensure your fragile items arrive safely.
| Step Number | Task | Packing Material Needed |
|---|---|---|
| 1 | Remove hardware and backing | None |
| 2 | Cover glass surface | Glassine or acid-free paper |
| 3 | Wrap frame | Bubble wrap, tape |
| 4 | Box and fill gaps | Moving box, packing materials |
Frequently Asked Questions
How Best to Pack Framed Art for Moving?
You should protect the glass with painter’s tape, wrap the art in bubble wrap, and add corner protectors.
Then, place it upright in a sturdy box with padding. This keeps your framed art safe during moving.
How to Pack Large Paintings for Moving on a Budget?
You can pack large paintings on a budget by wrapping them in acid-free paper. Adding DIY corner protectors helps keep those edges safe.
Reinforce the painting with cardboard sheets for extra support. Then, cushion it with moving blankets to prevent any bumps or scratches.
Place the paintings upright in padded boxes. This way, you avoid damage during transport and keep your artwork looking great.
How to Pack Paintings When Moving House?
If you’re moving, you’ll want to protect your paintings by wrapping them in bubble wrap. Using corner protectors is also a smart move to keep the edges safe.
Place the paintings upright in a sturdy box. Label the box as fragile so movers handle it carefully throughout the move. This way, your artwork stays safe and sound!
How Do I Pack Photo Frames for Moving?
You should remove hardware, tape the glass in an X, wrap the frame with acid-free paper, cushion it with bubble wrap, and place it upright in a sturdy box filled with packing material to prevent movement during your move.
It might sound like a lot, but taking these steps really helps protect your photo frames from damage. Plus, it makes unpacking a whole lot easier!
Conclusion
Packing your framed art carefully can save you from costly damages—did you know that over 30% of artwork gets damaged during moves?
By using the right materials and following these steps, you’re protecting your valuable pieces and memories.
Taking the time to prepare your art properly not only ensures it arrives safely but also gives you peace of mind.
So, pack smart and keep your cherished artwork looking perfect in your new space!
When it comes to moving framed art, careful packing is key to avoiding damage. Using quality packing materials like bubble wrap, corner protectors, and sturdy boxes helps shield your art from bumps and shocks. Wrapping each piece securely and labeling boxes clearly makes unpacking easier and safer. Remember, the goal is to maintain the condition and value of your framed art throughout the move. By following these simple packing steps, you can protect your artwork effectively and enjoy your new home without worrying about damages.