7 Tips on How High Above Couch to Hang Art
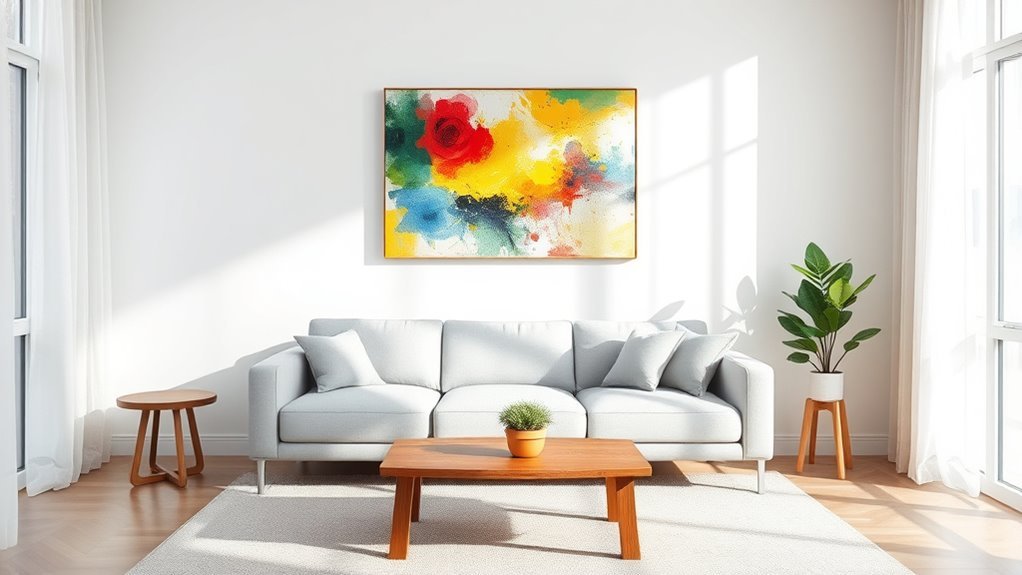
You should hang art about 6 to 10 inches above your couch to create balance and keep it at eye level, typically 57-60 inches from the floor. This height works well for most rooms and ensures your artwork is comfortably visible without straining your neck.
Aim for artwork that’s roughly two-thirds the width of your couch to maintain proportion. This helps the piece feel connected to the furniture beneath it, rather than floating awkwardly or looking too small.
Use a tape measure and painter’s tape to mark placement accurately. These tools make it easier to visualize where the art will go before you commit to nails or hooks.
Adjust the height if your ceiling is particularly low or tall. Sometimes a little tweak can make a huge difference in how the art complements your space.
These simple tweaks can transform your space—there’s a lot more to explore on perfecting your art placement. It’s all about finding that sweet spot where your decor feels balanced and inviting.
Key Takeaways
- Hang artwork 6 to 10 inches above the sofa back for balanced visual proportion and harmony. This helps create a cohesive look without overwhelming the space.
- Adjust height based on ceiling: 8-10 inches for 8 ft ceilings, 12-15 inches for ceilings 14 ft or higher. Taller ceilings call for a bit more space above the sofa to keep things feeling balanced.
- Aim for artwork bottom about 8 inches above the sofa top and keep the center near eye level (57-60 inches from floor). This makes sure your art is easily appreciated without straining your neck.
- Use painter’s tape to mark placement and ensure proper alignment before hanging. It’s a simple trick that saves you from unnecessary holes and guesswork.
- Ensure art width is about two-thirds of the sofa width for balanced scaling and cohesive room design. This ratio keeps the artwork from looking too small or too large in relation to your sofa.
The Ideal Height to Hang Art Above a Couch
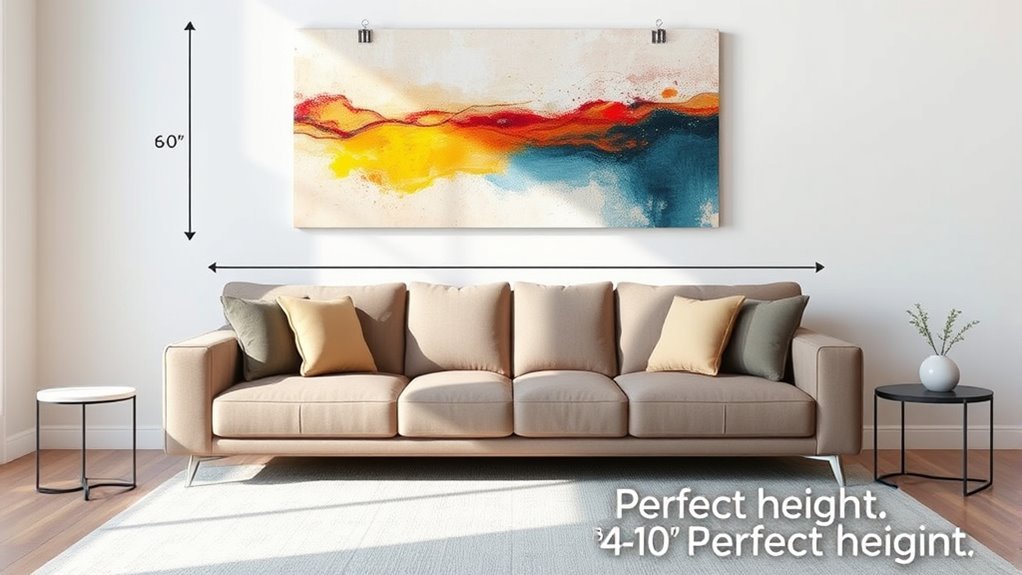
When you hang art above your couch, aim to place it 6 to 10 inches above the sofa’s back to create a balanced look. This range helps maintain proportion and harmony, especially with larger pieces.
Center your hanging artwork at about 57 to 60 inches from the floor for a visually pleasing focal point. If you’re hanging pictures that are a single large piece, positioning them 6 to 8 inches above the sofa usually looks most proportionate.
Understanding the 2/3 Rule for Art Size
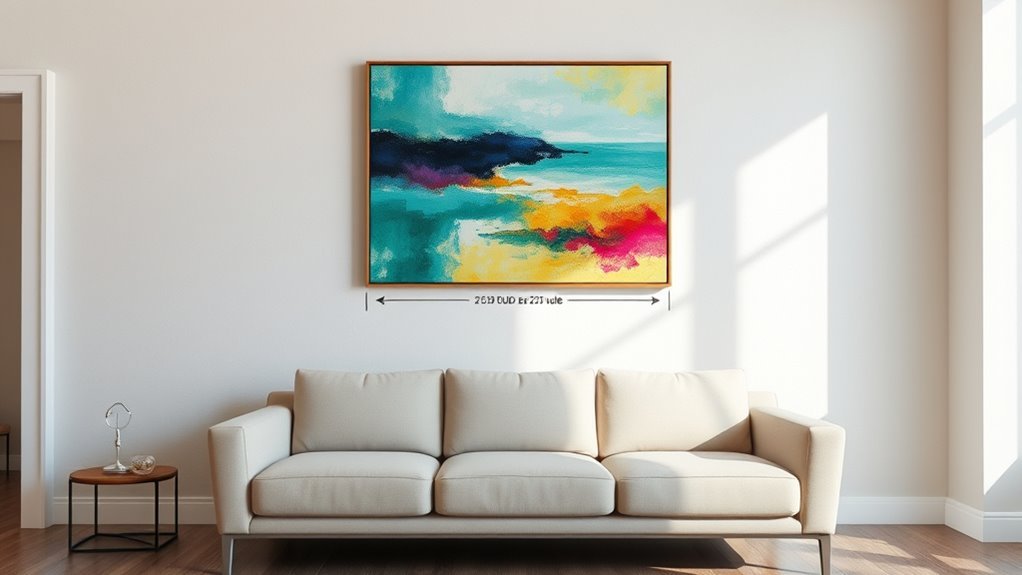
Finding the right height for your artwork sets the foundation, but choosing the proper size is just as important to achieve balance. The 2/3 rule helps you pick artwork that complements the size of the sofa below it.
Choosing the right artwork size is key to balancing your space and complementing your sofa perfectly.
By making the art about two-thirds the width of your sofa, you ensure the piece fits the space without overwhelming or underwhelming it. For example, a 90-inch sofa pairs well with artwork around 60 inches wide.
This rule works for single pieces or grouped art. Remember, while the 2/3 rule is a great guide, you can tweak it based on your room’s dimensions and style.
- Artwork width ≈ 2/3 size of the sofa
- Creates visual harmony with hanging height
- Prevents artwork from overpowering furniture
- Works for both single and gallery walls
- Flexible for personal style and room size
Measuring the Distance Between Couch and Artwork
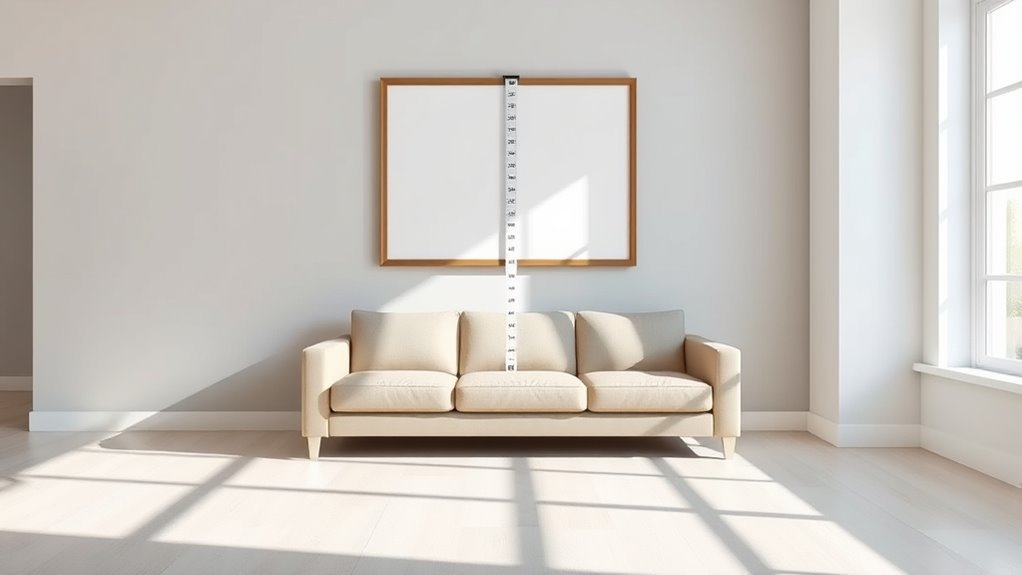
Although choosing the right size for your artwork matters, measuring the distance between your couch and the art is equally important to create a cohesive look.
Start by measuring from the top edge of your couch or sofa back to where you want the bottom of the artwork to hang. The standard recommendation is 6 to 8 inches, with many designers favoring about 8 inches above the sofa’s backrest for balance.
When hanging artwork, use a tape measure for accuracy and consider the available wall space to avoid overcrowding or awkward gaps.
If you’re working with multiple or large pieces, adjust your measurements to keep the art connected but not too close to the couch. To finalize, use painter’s tape to mark the spot before installing hooks or nails.
Choosing Between Single or Multiple Art Pieces
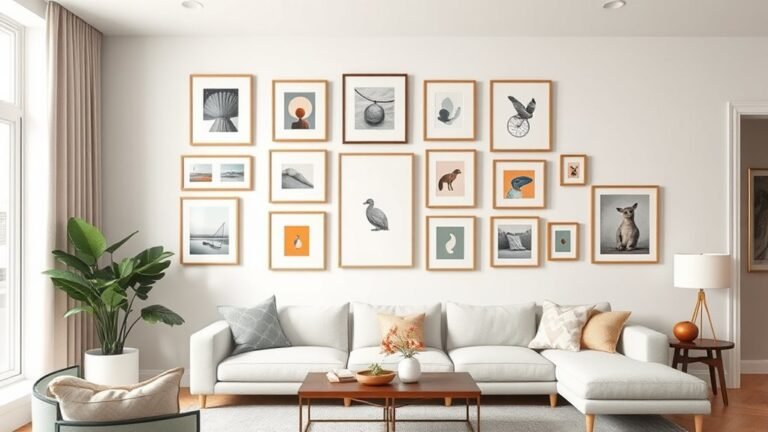
You can make a bold statement with a single large piece that fills about two-thirds of your sofa’s width. Alternatively, multiple smaller pieces spaced evenly create harmony and add visual interest.
Think about whether you want a simple focal point or a layered, personalized look. It really depends on the vibe you’re going for in your space.
Single Piece Impact
When you choose a single piece of art above your couch, it should span about two-thirds the sofa’s width to maintain balanced proportions. This rule helps you nail the size and scale so your wall art complements, not overwhelms, your space.
For best results, hang artwork with the bottom edge 8-10 inches above the sofa back. Center it at about 57 inches from the floor—eye level—to create a natural focal point. Adjust the height slightly for taller pieces or unique ceiling heights to keep harmony in the room.
- Choose one statement piece for a bold, simplified look
- Ensure the art’s size suits the sofa’s width
- Maintain consistent spacing for visual balance
- Use hanging artwork to elevate your room’s style
- Consider wall art impact before final placement
Multiple Pieces Harmony
Selecting multiple pieces to hang above your couch can create a dynamic look that rivals a single statement artwork. When choosing to hang several artworks, aim for their combined width to measure about two-thirds of your couch’s width.
This ensures the display feels balanced without overwhelming the space. Leave 2-3 inches between each piece to maintain cohesion and avoid a cluttered appearance. Grouping smaller artworks lets you mimic the impact of one large piece while offering flexibility in style and arrangement.
Just make sure the grouped artworks are scaled proportionately, filling the space thoughtfully. By carefully arranging multiple pieces, you can personalize your wall and create a harmonious focal point above your couch that complements your room’s design.
Adjusting Art Placement for Ceiling Height and Room Size
Although art placement might seem straightforward, adjusting it for ceiling height and room size guarantees your piece complements rather than overwhelms the space. When you consider the height of the ceiling and the room’s proportions, your artwork will feel balanced and intentional.
For low ceilings (8 ft), hang art 8-10 inches above the sofa to maintain proportion. High ceilings (14 ft+) call for 12-15 inches above the sofa to avoid crowding.
Measure from the floor to the sofa’s top, then add 8 inches to set the art’s bottom edge. Aim for eye-level placement (57-60 inches from floor) in tall rooms for cohesion.
Adjust height based on room size to keep art neither too small nor too high. This approach ensures your art fits perfectly within your space’s height and scale.
Using Painter’s Tape and Levels for Accurate Hanging
Start by using painter’s tape to outline your artwork’s dimensions on the wall, so you can see exactly how it will fit above your couch. Measure carefully and mark the height with tape, aiming for that sweet spot about 8-10 inches above the sofa back.
Then, grab a level to make sure your tape lines are perfectly straight before you hang anything. This way, you’ll avoid any crooked artwork and get the placement just right.
Tape for Dimension Mapping
When you want to hang art above your couch with confidence, using painter’s tape to map out the artwork’s dimensions on the wall makes all the difference. This simple step helps you visualize the placement and guarantees the piece fits proportionally.
Start by applying painter’s tape to mark the height and width, then use a level to draw straight lines along the tape for accurate alignment. You can even map out multiple height options to see what looks best before making holes.
After deciding, remove the tape, measure precisely, and hang your art with certainty.
- Outline artwork dimensions with painter’s tape
- Mark desired placement and size directly on the wall
- Use a level to draw straight, temporary lines
- Compare multiple height options for balance
- Remove tape before final measurement and hanging
Ensuring Level Alignment
To guarantee your artwork hangs perfectly straight, use painter’s tape to outline its width on the wall and then check the alignment with a level tool. This helps you visualize the exact placement and assures proper horizontal alignment before hanging.
Measure the height from the floor to where you want the bottom or center of the piece, marking the wall accordingly. When hanging multiple artworks, employ a laser or spirit level to maintain consistent height and alignment across all pieces for a cohesive display.
Step back to visually inspect the level lines, making necessary adjustments. Using painter’s tape combined with a reliable level tool simplifies the hanging process and prevents crooked art, giving your space a polished and balanced look.
Enhancing Room Aesthetics With Proper Art Placement
Although selecting the right artwork is important, placing it correctly above your couch truly enhances your room’s aesthetics. Proper art placement creates visual harmony and elevates your space’s overall feel.
Choosing the right artwork is key, but perfect placement above your couch truly transforms your room’s ambiance.
To achieve this, consider these tips:
- Hang art 8 to 10 inches above the couch for a balanced look. For larger pieces, reduce spacing to 6 to 8 inches to maintain proportion.
- The artwork should be about two-thirds the width of your sofa to fit scale.
- Use painter’s tape to outline placement and ensure alignment with furniture size.
- Adjust height slightly based on ceiling height and personal preference to boost room aesthetics.
A little tweak here and there can make a big difference in how your space feels. It’s all about finding that sweet spot that looks just right!
Frequently Asked Questions
How High Should Wall Art Be Hanging Above the Sofa?
You should hang wall art about 8 to 10 inches above your sofa’s back. For larger pieces, 6 to 8 inches works well.
Keep the center at eye level for a balanced, visually pleasing look. It really helps tie the room together and makes the space feel more inviting.
What Are the Rules for Hanging Art Above My Sofa?
Don’t hang your art so high it moonlights as a ceiling decoration. Keep it 8-10 inches above your sofa, center at eye level, and make sure it’s wide enough—your couch deserves some artistic respect!
What Is the 2/3 Rule for Wall Art?
The 2/3 rule means your wall art should be about two-thirds the width of your sofa. This keeps the look balanced and guarantees your artwork complements, rather than overwhelms, the furniture beneath it.
It’s a simple way to make sure everything feels just right. Not too big, not too small — just perfectly in sync with your space.
How to Hang Artwork Above a Couch?
You’ll want to hang your artwork about 8 to 10 inches above the couch’s back. Measure carefully and mark with painter’s tape.
Also, make sure the art’s width is roughly two-thirds of the sofa’s width. This helps create a balanced look that’s pleasing to the eye.
Conclusion
When hanging art above your couch, aim to place it about 6 to 12 inches higher than the backrest—that’s the sweet spot that keeps your space balanced.
Did you know that artwork hung at eye level is noticed 80% more often? By following these tips and trusting your eye, you’ll create a stunning focal point that draws attention and enhances your room’s vibe effortlessly.
So grab your tape and level, and get hanging! Remember, the right height for art above your couch can transform your living room, making it feel more inviting and stylish. With these simple guidelines, you’ll master how high above your couch to hang art and create a perfect balance that complements your décor beautifully.