How to Arrange Wall Art Using 3 Essential Tips
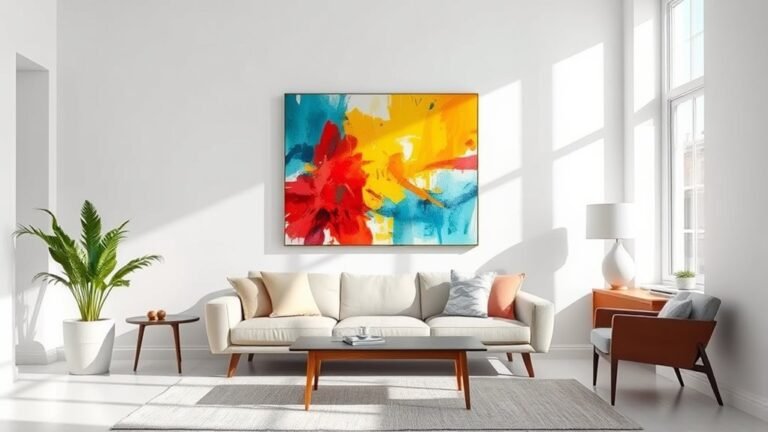
To arrange your wall art perfectly, start by choosing pieces about two-thirds the width of the furniture below for balanced scale. This helps create a harmonious look that feels just right for your space. When the sizes match well, your art won’t overpower or get lost next to your furniture.
Next, hang the artwork so its center sits at eye level, around 57-60 inches from the floor. This makes it easy to appreciate without straining your neck.
Plus, leave 6-8 inches of space above your furniture to give everything room to breathe.
Finally, keep consistent 2-3 inch gaps between multiple pieces. This avoids clutter and keeps the display feeling organized and inviting.
With these simple tips, you’ll quickly create a cohesive and stylish wall art arrangement that suits your room’s style and size perfectly.
Key Takeaways
- Choose artwork size proportional to furniture, ideally two-thirds its width, for balanced visual harmony.
- Hang art with its center at 57-60 inches from the floor for optimal eye-level viewing.
- Maintain consistent 2-3 inch spacing between pieces to create a polished and cohesive gallery wall.
- Use larger artwork for big walls and modest-sized pieces for smaller spaces to maintain proper scale.
- Arrange art in relation to nearby furniture and decor to ensure cohesion and inviting aesthetics.
Choose the Right Size and Scale for Your Artwork
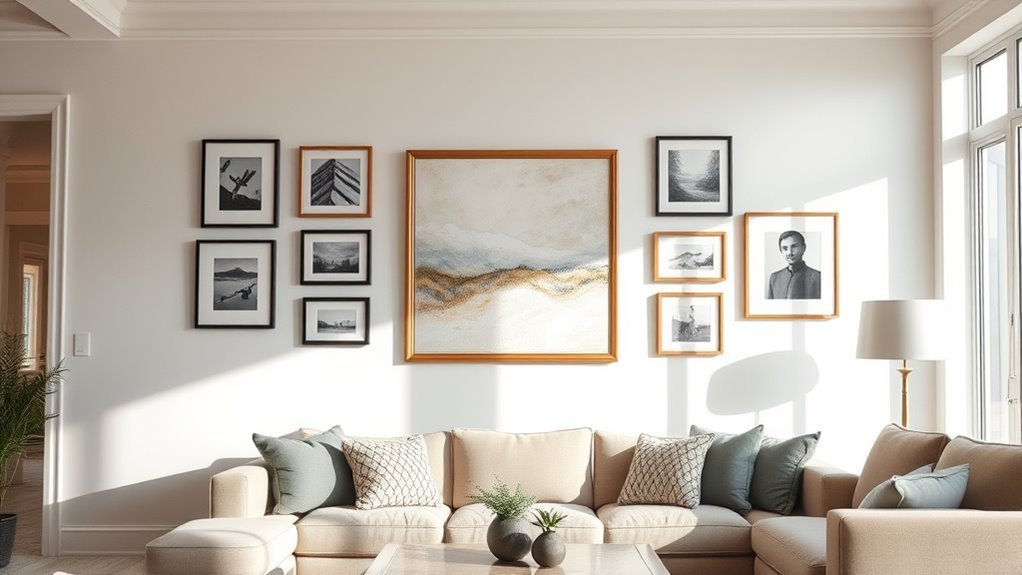
When you choose artwork for your space, make sure its size complements the furniture and wall. Aim for artwork dimensions that are about two-thirds the width of the furniture below to maintain proper proportion and visual balance.
Consider the wall space carefully—large areas call for bigger pieces so the art size doesn’t get lost, while smaller walls suit more modest artwork. Use scale as your guide: your piece should fill roughly 60-75% of the wall space above furniture, depending on your room’s style.
For a cohesive composition, ensure your placement relates well to matching items nearby. This thoughtful approach to size, scale, and proportion guarantees your artwork enhances the room’s overall aesthetic without overwhelming or underwhelming the space.
Determine Optimal Height and Placement
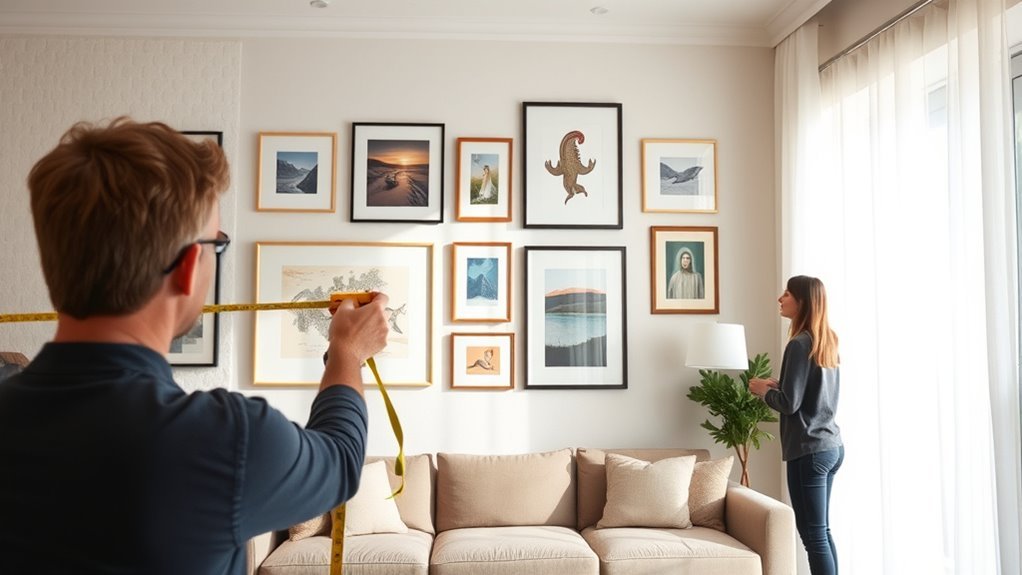
Although choosing the right artwork size is important, determining the ideal height and placement ensures your pieces are both visually appealing and easy to appreciate. Aim for a center height of 57 to 60 inches from the floor, aligning the artwork with your natural eye level for ideal height.
When positioning standalone art, set the center at about 60 inches to create a balanced look. Consider wall arrangement by leaving 6 to 8 inches between the top of furniture and the artwork’s bottom to maintain harmony.
Follow hanging guidelines by adjusting art positioning based on room features, ensuring artwork placement complements furniture and architecture. Proper eye level and spacing between frames promote visual harmony, making your wall arrangement both cohesive and inviting.
Maintain Consistent Spacing Between Pieces
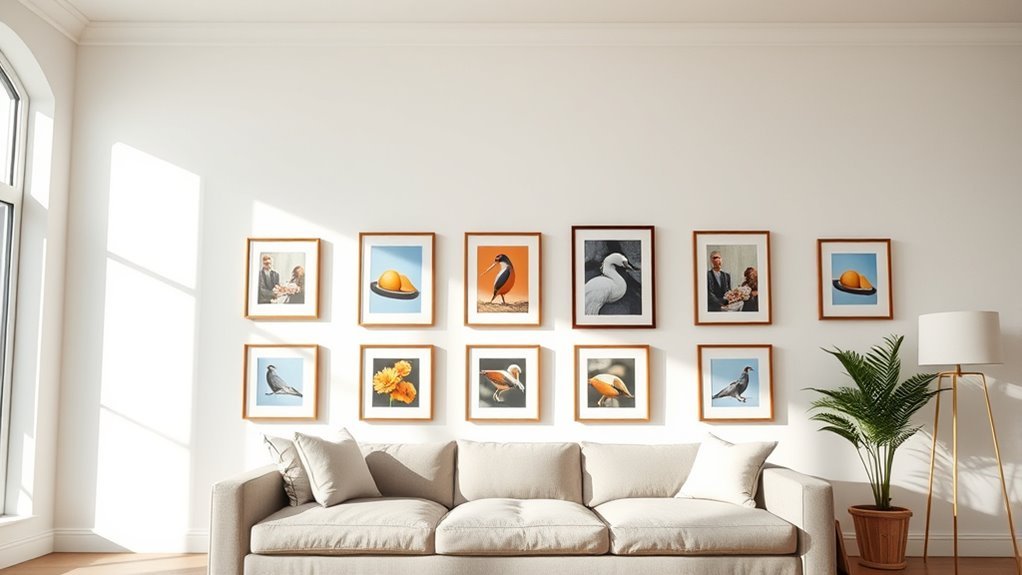
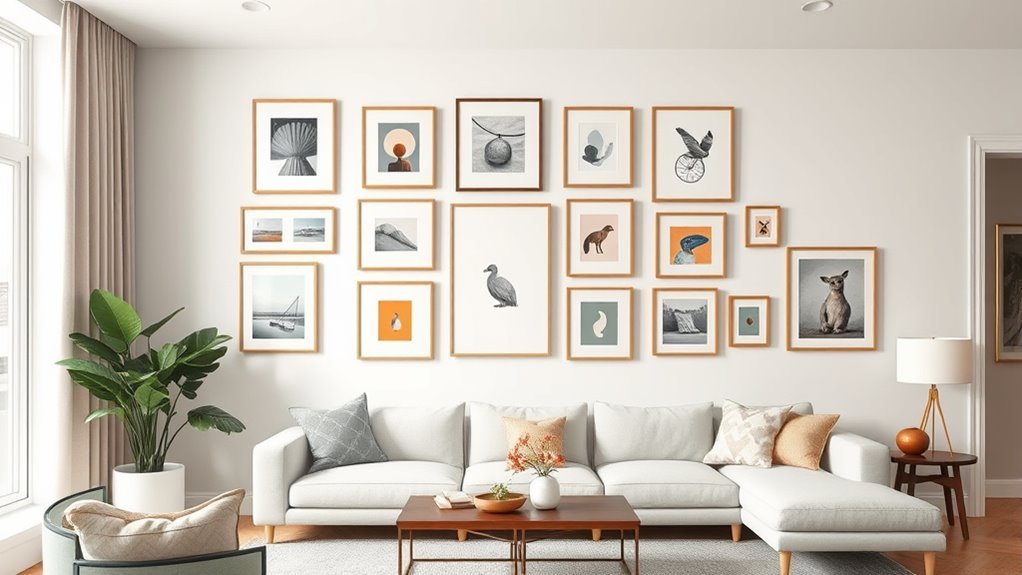
After determining the right height and placement for your artwork, focus on keeping consistent spacing between each piece. For a polished gallery wall, maintain even gaps of about 2 to 3 inches. This spacing ensures visual balance and prevents clutter.
When grouping pieces, treat the cluster as one unit, spacing items evenly within it to enhance your artwork arrangement. Use painter’s tape or measuring tools to mark exact measurements before hanging, which helps achieve a uniform look.
These spacing tips prevent overcrowding and allow each piece to stand out. Consistent spacing not only improves aesthetics but also creates harmony across your gallery wall. By carefully planning the gaps, you’ll craft a cohesive display that highlights every artwork beautifully.
Frequently Asked Questions
How to Arrange 3 Paintings on a Wall?
You’ll want to hang the middle painting at eye level and place the other two symmetrically on each side, keeping consistent 2-3 inch gaps.
Make sure the total width covers about two-thirds of your wall or furniture. This way, everything looks balanced and pleasing to the eye.
What Is the 2/3 Rule for Wall Art?
Balance boldly: the 2/3 rule means your wall art should be two-thirds the width of the furniture beneath it.
This guarantees your artwork won’t overwhelm or wither, creating a cohesive, engaging centerpiece for your space.
It’s a simple trick that helps your room feel put together without much effort. Just remember, size does matter when it comes to wall art!
What Is the 3-5-7 Rule in Interior Design?
The 3-5-7 rule helps you space art or decor evenly by using 3, 5, or 7 inches between pieces. It creates balanced proportions, making your wall arrangement look harmonious and visually appealing.
It’s a simple trick that can really elevate the look of your space. Just remember: spacing matters when you’re putting things together on your walls!
What Are the Essential Rules for Hanging Art on Walls?
You’ll hang art at eye level, space pieces evenly, and size artworks to furniture. You’ll align frames consistently, maintain balanced gaps, and create harmony.
These rules guarantee your walls look polished, proportioned, and visually inviting. It’s all about making sure everything feels just right and easy on the eyes.
Conclusion
Remember, “a picture is worth a thousand words,” so arranging your wall art thoughtfully can truly transform your space. By choosing the right size and scale, placing your pieces at the most suitable height, and keeping consistent spacing, you’ll create a balanced and eye-catching display.
Trust your instincts, but use these tips to guide you.
With a little effort, your walls will tell a beautiful story that reflects your style perfectly. Arranging wall art is not just about hanging pictures; it’s about creating a cohesive look that enhances your room’s vibe. So, when you’re ready to decorate, remember these essential tips for wall art arrangement.
They’ll help you achieve a stunning, personalized gallery wall that makes your space feel inviting and uniquely yours.