10 Steps to Pack Canvas Art for Moving Safely
To pack your canvas art for moving safely, start by gathering quality materials like bubble wrap, acid-free paper, and sturdy boxes. These essentials will help protect your artwork from damage during transit.
Next, set up a clean workspace with plenty of padding to keep the canvas safe while you work. It’s a good idea to document your artwork with photos before you start packing—just in case anything happens.
Once you’ve done that, carefully remove the canvas and let it acclimate to the room’s temperature. This helps prevent any warping or damage.
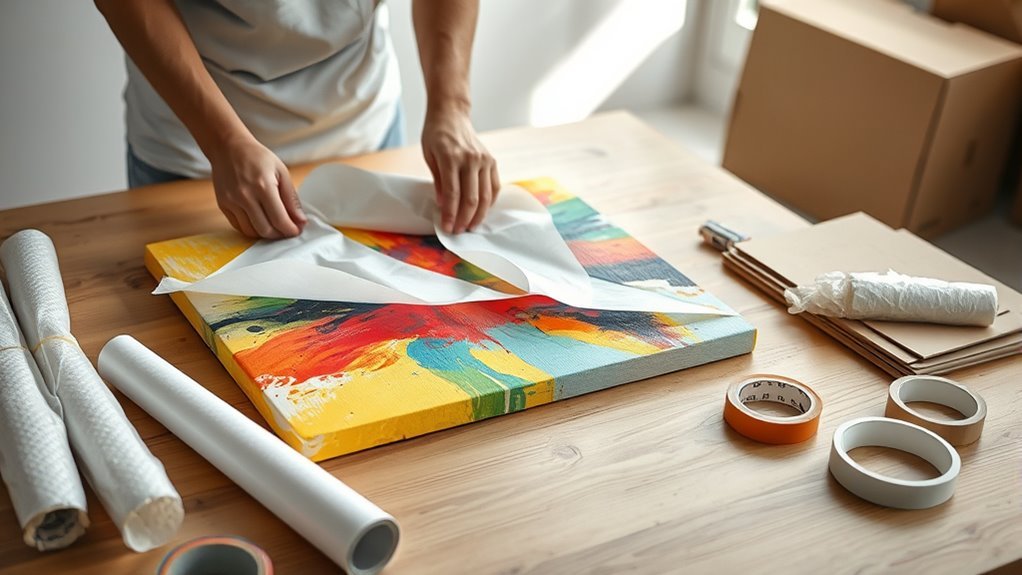
Gently clean the surface to remove dust or dirt without harming the paint. Then, wrap the canvas tightly with bubble wrap and secure it with painter’s tape.
Don’t forget to use corner protectors for extra safety.
Finally, place the wrapped canvas upright in a sturdy box filled with cushioning material.
Keep following these steps for detailed tips to protect your masterpiece perfectly during your move!
Key Takeaways
- Use acid-free tissue paper and bubble wrap to fully cover and protect the canvas surface and edges. This will keep it safe from scratches and moisture.
- Secure corner protectors made of foam or cardboard to prevent damage during transit. These little guards really help when boxes get jostled around.
- Place the wrapped canvas upright in a sturdy, well-fitted box with cushioning to avoid movement. Make sure it fits snugly so it won’t shift.
- Label the box as fragile and seal it securely with painter’s tape, avoiding adhesives on the artwork. Painter’s tape sticks well but won’t harm your art.
- Remove the canvas carefully from the wall and allow 24-48 hours for acclimation before packing. This helps prevent any damage from sudden temperature or humidity changes.
Gather Essential Packing Materials
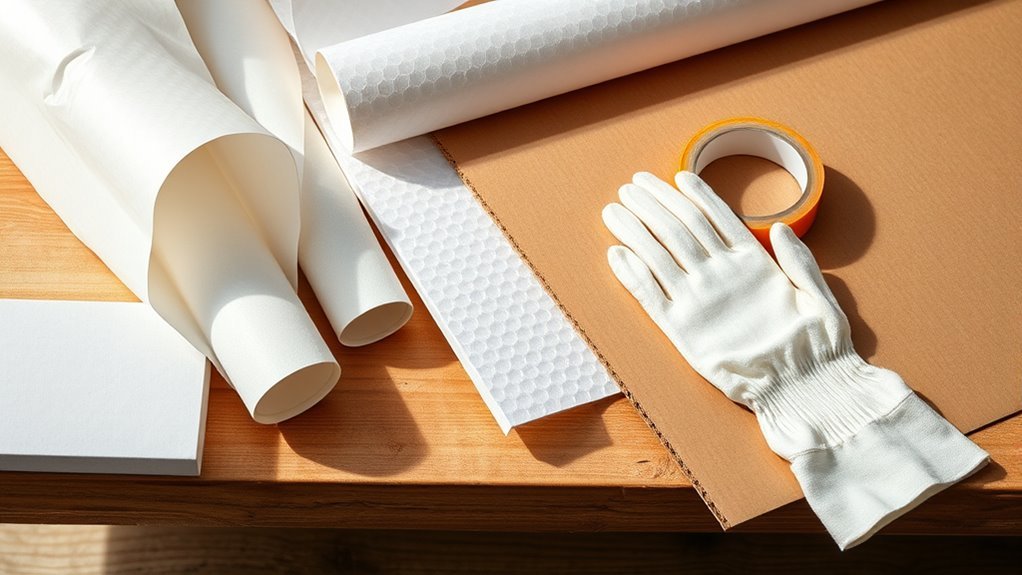
To pack your canvas art securely, start by gathering essential materials like high-quality bubble wrap, acid-free tissue paper, and sturdy boxes designed for artwork. Use protective corner protectors made of cardboard or foam to shield the edges during transit.
Choose sturdy boxes or custom crates that fit your canvas dimensions comfortably to avoid unnecessary pressure. Wrap your artwork carefully, adding padding with foam sheets or additional bubble wrap to prevent movement inside the box.
Painter’s tape helps secure the wrapping and keeps everything in place. Don’t forget to label the boxes clearly as fragile using markers to ensure careful handling.
Having all these packing materials ready guarantees your canvas art stays safe and intact throughout your move. It’s all about being prepared and taking those extra steps for protection.
Prepare a Clean and Cushioned Workspace
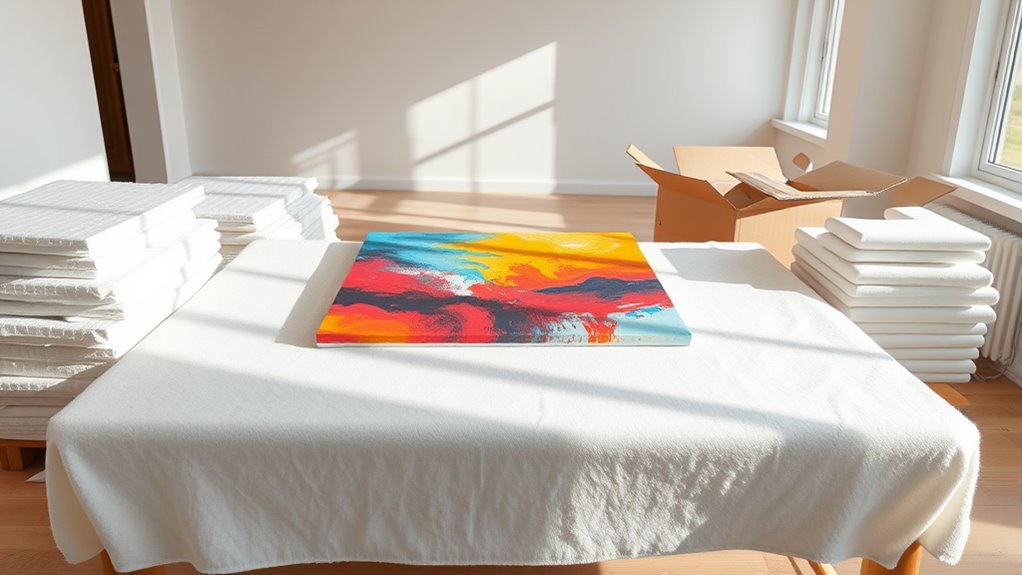
Start by choosing a soft, flat surface to lay your canvas artwork on, like a padded table or clean floor. Make sure to clear away any clutter, dust, or sharp objects that might scratch or damage the painting.
Keeping your workspace clean and cushioned helps protect your art as you get ready to pack. It’s a simple step, but it makes a big difference!
Choose Soft, Flat Surface
Although it might seem simple, selecting a clean, flat surface is essential for protecting your canvas art during packing. Choose a workspace that’s level and smooth to prevent any accidental damage.
Add cushioning like a soft cloth or padded mat to enhance protection against scratches or impacts. Keeping your area organized helps you work efficiently and safely.
Follow these steps to prepare your workspace:
- Pick a flat surface such as a sturdy table or countertop, free from debris or sharp objects.
- Ensure the surface is level to keep the canvas stable.
- Add padding or soft cushioning to protect the artwork’s surface.
- Arrange all packing materials nearby for an organized, smooth process.
This setup maximizes protection and ease when wrapping your canvas.
Clear Clutter and Debris
Creating a clean, clutter-free workspace builds on choosing a soft, flat surface by removing anything that could harm your canvas art. Start by clearing away clutter and debris to prevent dust and particles from causing scratches or damage.
Sweep the area thoroughly to eliminate loose dust, and remove sharp objects or tools that might accidentally puncture the canvas. Lay down soft blankets or mats for cushioning, ensuring your artwork rests on a protected surface.
Organize packing materials like bubble wrap and tape nearby in separate zones to keep your workspace tidy and efficient. This organization not only speeds up packing but also minimizes the chance of clutter interfering with your handling.
Keeping your workspace clean and well-organized safeguards your canvas art throughout the moving process. It really makes everything easier and safer!
Document and Photograph Your Canvas Art
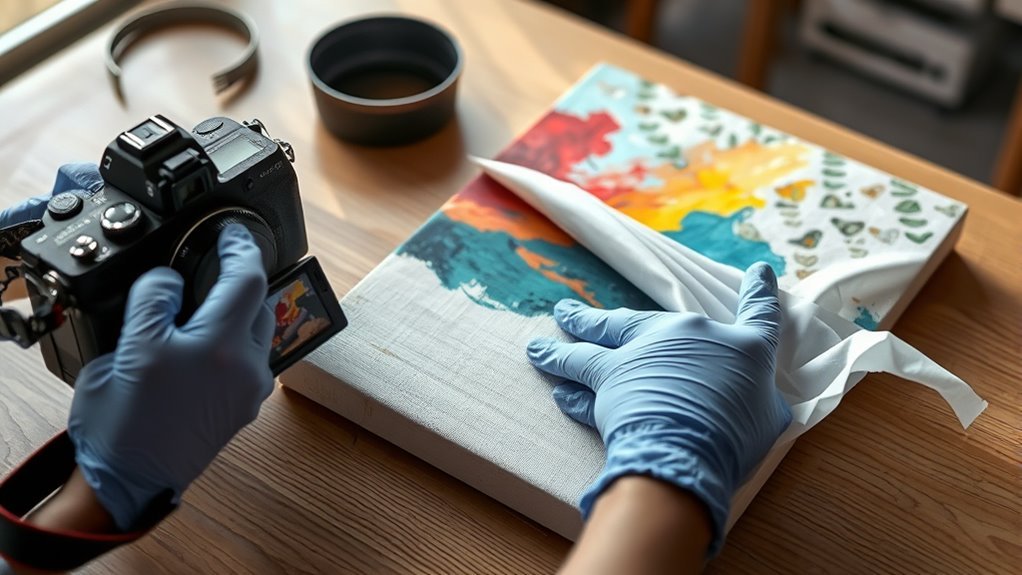
Before you pack, take clear photos of each canvas from multiple angles and note down key details like size, artist, and any damage.
Make sure you keep this information organized in an inventory system to track all your artwork. This will help protect your pieces and simplify insurance claims if needed.
Record Artwork Details
When you prepare to move your canvas art, you’ll want to document its condition thoroughly by taking high-resolution photos from multiple angles. This artwork documentation supports art collection management and helps with damage assessment.
Alongside photographs, create a detailed inventory list that includes the artwork’s title, artist, artwork dimensions, medium, and any existing damages or unique features. Don’t forget to note fragile items and handling instructions to guide safe packing and transport.
Here’s what to record:
- Artwork title, artist, and medium
- Exact artwork dimensions
- Visible damages or fragile areas
- Special handling instructions
Store all artwork photographs and documentation digitally or in print for easy access and insurance claims. It makes everything easier down the line, trust me.
Photograph Each Piece
How do you guarantee every detail of your canvas art is captured before the move? You photograph each piece carefully, taking high-resolution images from multiple angles.
It’s a good idea to include a ruler or another object for scale reference to show accurate measurements. Also, document any existing damages clearly; this damage documentation is vital for insurance purposes.
Save these photos digitally on your computer or cloud for easy access. Later, you can use them for condition verification when your artwork arrives.
| Step | Purpose |
|---|---|
| High-resolution photos | Capture fine details |
| Multiple angles | Show all surfaces |
| Scale reference | Provide accurate measurements |
| Damage documentation | Support insurance claims |
This method ensures your canvas art’s condition is well-documented and protected throughout the move.
Organize Inventory System
Although photographing your canvas art is essential, organizing a detailed inventory system guarantees you keep track of every piece throughout the move. Proper documentation and cataloging help with labeling, identification, and tracking your artwork efficiently.
To set up an effective inventory system:
- Take clear photographs of each piece from multiple angles to document condition and details.
- Create an inventory list with titles, dimensions, mediums, and unique markings.
- Assign identification numbers or codes, linking them to descriptions and photos for easy tracking.
- Store records digitally or physically, updating them as you pack and keeping backups for insurance and reference.
This thorough recordkeeping ensures you won’t lose or misplace any canvas art during your move. It really makes the whole process smoother and less stressful.
Remove Canvas From Wall and Allow Acclimation
Before packing your canvas art, carefully remove it from the wall by supporting the frame with both hands to avoid stressing the surface. Proper canvas removal involves gentle handling to prevent damage to the artwork or frame.
Once removed, place the canvas upright in a low-traffic area to allow acclimation. This step is essential for environmental stability, letting the artwork adjust gradually to the room’s temperature and humidity.
Avoid exposing it to direct sunlight, drafts, or sudden temperature changes during this period. Keep the canvas in the same orientation and height as when it was hung to minimize stress.
Allow 24 to 48 hours for acclimation, ensuring the support frame remains stable and the canvas isn’t subjected to pressure or distortion before moving or packing.
Dust and Gently Clean the Canvas Surface
When you’re ready to clean your canvas, use a soft microfiber cloth to gently remove dust and dirt without scratching the paint. Avoid abrasive materials that might damage the surface.
For stubborn dirt, lightly dampen your microfiber cloth with distilled water—make sure it’s only slightly moist to prevent water damage. Never apply any cleaning liquids or solvents directly on the canvas, as these can harm the paint.
Follow these steps to clean your canvas surface effectively:
- Gently wipe the entire canvas with a dry microfiber cloth to remove loose dust.
- Lightly dampen the cloth if dirt persists, and carefully clean affected areas.
- Pay close attention to edges and corners where dust tends to gather.
- Allow the canvas to air dry completely before packing to avoid moisture buildup.
Wrap Canvas With Acid-Free Paper or Glassine
To protect your canvas from damage and discoloration during the move, wrap it carefully with acid-free paper or glassine. These materials provide excellent surface protection by covering both the front and back of your canvas, preventing scratches and discoloration.
Make sure the acid-free paper or glassine completely overlaps the edges to ensure full coverage. When wrapping, keep the covering smooth and wrinkle-free to avoid abrasion or creasing.
Since your canvas is fragile, avoid adhesives that might leave residue or cause damage over time. Instead, gently secure the wrapping at the edges without touching the painted surface.
Proper wrapping with acid-free paper or glassine is a key step in damage prevention, ensuring your artwork stays safe and pristine throughout the move.
Secure the Wrapping With Painter’s Tape
After wrapping your canvas with acid-free paper or glassine, you need to secure the covering without risking damage. Painter’s tape is ideal for this step because it is low-tack and removable, ensuring glass protection and shattering prevention during packing.
To secure your canvas art effectively, start by applying two strips of painter’s tape in an X pattern across the glass or plexiglass center. Make sure to cover the entire glass surface firmly without gaps to hold it if it cracks.
Smooth the tape down to avoid wrinkles or bubbles, ensuring uniform support. Just a heads up—avoid duct tape or strong adhesives that might damage the frame or leave residue.
This method keeps the wrapping secure and protects your canvas art during transit with minimal risk. It’s a simple trick but really helps keep everything safe!
Wrap the Canvas With Bubble Wrap for Cushioning
When wrapping your canvas, make sure the bubble wrap bubbles face outward to provide the best cushioning. Cover all surfaces, including edges and corners, with enough layers to protect against damage.
Secure the wrap with packing tape, but try to avoid getting tape directly on the painted surface. This will keep your artwork safe during the move. Just take your time, and you’ll be all set!
Bubble Wrap Placement
Although it might seem simple, wrapping your canvas securely with bubble wrap is essential for protecting it during your move. Proper bubble wrap placement cushions your artwork from shocks and prevents damage to edges and corners.
To wrap your canvas effectively, start by placing acid-free paper between the painted surface and the bubble wrap to avoid any damage. Then, wrap the entire canvas with bubble wrap, making sure the bubbles face outward for maximum cushioning.
Focus on thoroughly covering the edges and corners since they’re the most fragile parts during transit. For larger or more delicate canvases, use multiple layers of bubble wrap to absorb greater impact.
Finally, secure the bubble wrap with packing tape to keep it in place and ensure all sides are protected. This careful bubble wrap placement really helps safeguard your canvas throughout the move.
Wrapping Techniques
To protect your canvas effectively, start by covering it entirely with parchment paper or acid-free tissue. This shields the surface from scratches and dust.
Next, use bubble wrap as your primary cushioning material. Wrap the canvas with the bubbles facing outward to provide maximum shock absorption.
This wrapping technique ensures the fragile canvas and its edges receive adequate padding against impacts. When wrapping, make sure the bubble wrap fully covers every part of the canvas to maximize protective materials’ effectiveness.
Avoid leaving gaps that could expose the artwork. Once wrapped, the bubble wrap layer creates a secure barrier, reducing the risk of damage during transit.
This method combines careful layering and cushioning, making it a reliable step in packing canvas art safely. It’s a straightforward way to keep your artwork safe and sound.
Securing the Wrap
After wrapping your canvas with bubble wrap to cushion it, securing the layers properly will keep everything in place during the move. To create a secure protective layer, follow these steps:
- Use packing tape to hold the bubble wrap snugly around the canvas without taping directly on the painted surface. This way, you protect the artwork itself.
- Pay extra attention to the edges and corners. Add additional bubble wrap there for better impact absorption.
- Make sure the bubble wrap fits snug but not too tight. You want a little bit of movement to avoid putting pressure on the canvas.
- Wrap both the front and back surfaces thoroughly with bubble wrap. This helps guard against punctures and abrasions during the move.
Use Corner Protectors and Reinforce Edges
When you prepare your canvas art for moving, securing the corners and edges is essential to prevent damage. Start by attaching sturdy corner protectors made of foam or cardboard to each corner; these provide vital impact absorption during transit.
Protect your canvas art by securing corners with sturdy foam or cardboard protectors to absorb impacts during moving.
Make sure the corner protectors fit snugly without putting pressure on the fragile surfaces of your canvas. Next, reinforce edges using extra strips of packing tape or protective padding like foam boards to prevent fraying or warping.
This edge reinforcement strengthens vulnerable areas and adds stability during handling. Secure all corner protectors and edge reinforcements firmly with packing tape to keep them in place throughout the move.
Proper corner protection and edge reinforcement complement your canvas wrapping, ensuring your artwork arrives intact and damage-free. Taking these extra steps really makes a difference when you’re moving delicate pieces.
Place Wrapped Canvas in a Sturdy Box and Fill Gaps
Once you’ve secured the corners and edges of your wrapped canvas, it’s time to place it in a sturdy box that fits snugly without bending the artwork. Choose a box that supports the entire canvas and prevents flexing.
Position the wrapped canvas upright and centered inside the box. Then, fill gaps with packing materials to avoid any movement during transit. Use foam inserts, crumpled paper, or bubble wrap for cushioning.
Finally, seal the box securely and label it clearly. Follow these steps:
- Select a sturdy box sized to fit your canvas without bending.
- Place the wrapped canvas upright with protective layers intact.
- Fill gaps using foam inserts, bubble wrap, or packing paper.
- Securely seal the box and add fragile labels for careful handling.
Frequently Asked Questions
What Is the Best Way to Pack Canvas Paintings for Moving?
You should wrap your canvas paintings with acid-free paper and secure them with painter’s tape. Then, add bubble wrap for extra protection.
Place the wrapped paintings in a sturdy box and fill any gaps with padding to keep them from shifting around. Make sure to label the box carefully, and handle everything gently during the move.
How to Safely Pack Artwork for Moving?
You’ll want to know 30% of artwork gets damaged during moves. To safely pack yours, wrap it well with protective layers, secure edges, and use a sturdy box filled with cushioning.
This helps keep it from shifting or scratching. Taking these steps really makes a difference in protecting your art.
How to Pack Large Paintings for Moving on a Budget?
You can pack large paintings on a budget by wrapping them in bubble wrap and brown paper, securing with painter’s tape. Then, place them vertically in a reinforced box.
Make sure to label the box as fragile and remind anyone handling it to be careful. This way, your artwork stays safe without breaking the bank!
What Is the Safest Way to Transport a Lot of Artwork?
Safely shipping stacks of stunning art starts by securing sturdy, snug boxes, wrapping works with care, and clearly labeling.
You’ll want to enlist expert movers who master meticulous handling to protect your precious pieces perfectly throughout transport. It’s all about making sure every piece arrives just as beautiful as it left.
Conclusion
So, now that you’ve wrapped your precious canvas like it’s the crown jewels—bubble wrap armor, corner protectors, and all—you can almost hear your art thanking you for the spa treatment.
Sure, it might feel like you’re preparing for a museum heist rather than a move, but trust me, your masterpiece deserves this royal escort.
After all, it’s better to be overly cautious than explaining a crumpled canvas to your future self. Taking these extra steps ensures your canvas art stays safe during the chaos of moving day.
Remember, careful packing is key when it comes to moving canvas art safely. Your efforts now will save you from headaches and heartbreak later. So, treat your artwork like the valuable treasure it is, and you’ll arrive at your new home with your canvas art just as stunning as before.