What Is Rendering in Digital Art and How to Do It
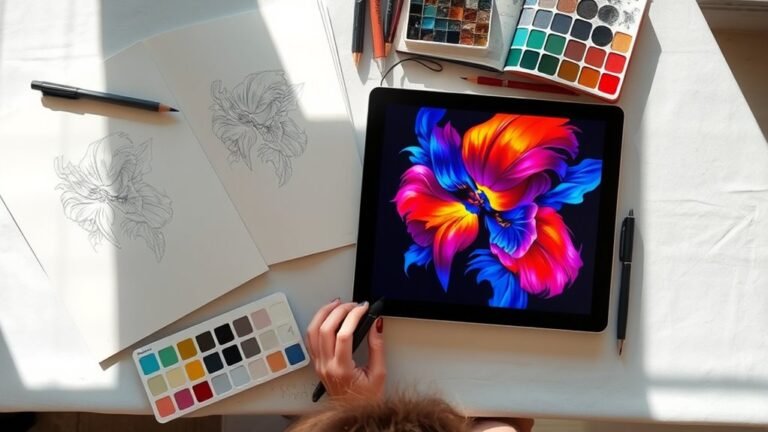
Rendering in digital art means transforming your sketches into polished, vibrant pieces by adding shading, highlights, textures, and depth. It’s a crucial step that brings your artwork to life, giving it a sense of realism and dimension.
Whether you’re working on character designs, landscapes, or concept art, rendering helps turn basic outlines into visually stunning images.
You start with a rough sketch, then apply flat colors on separate layers. After that, you build up shadows and highlights using digital brushes to create depth and volume.
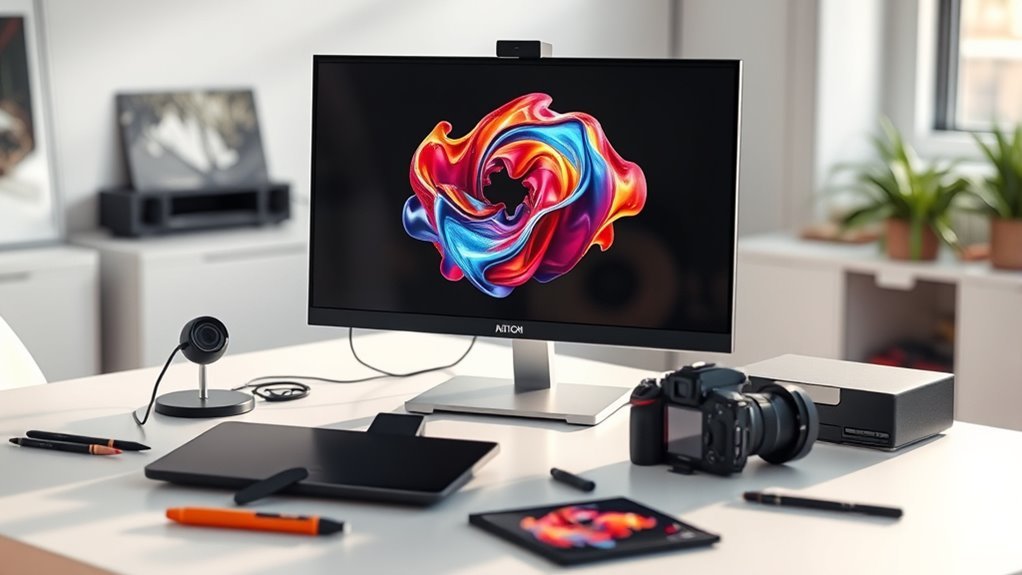
Adjusting lighting and colors is key to achieving a realistic, three-dimensional look. Using software tools, you can enhance details and refine your work easily.
Keep exploring to discover techniques and tools that make your art truly stand out. Rendering is all about patience and practice, but it’s what makes your digital art pop!
Key Takeaways
– Rendering in digital art transforms simple sketches into detailed, vibrant artworks using shading, highlights, and textures for realism.
It’s all about bringing your art to life with depth and detail.
– Key techniques include layering, applying shadows and highlights, using harmonious colors, adding textures, and adjusting lighting effects.
These methods help make your artwork pop and feel more natural.
– Digital brushes, blending modes, opacity controls, and software tools are essential for enhancing details and achieving realistic surfaces.
Using the right tools can really make a difference in how polished your piece looks.
– The rendering process involves sketching, applying base colors, gradually adding shading, incorporating textures, and fine-tuning colors and details.
It’s a step-by-step journey from a rough idea to a finished masterpiece.
– Rendering elevates artwork by adding depth, dimension, and polish, making images visually appealing and professionally finished.
In short, it’s what takes your art from good to wow!
Understanding Rendering in Digital Art
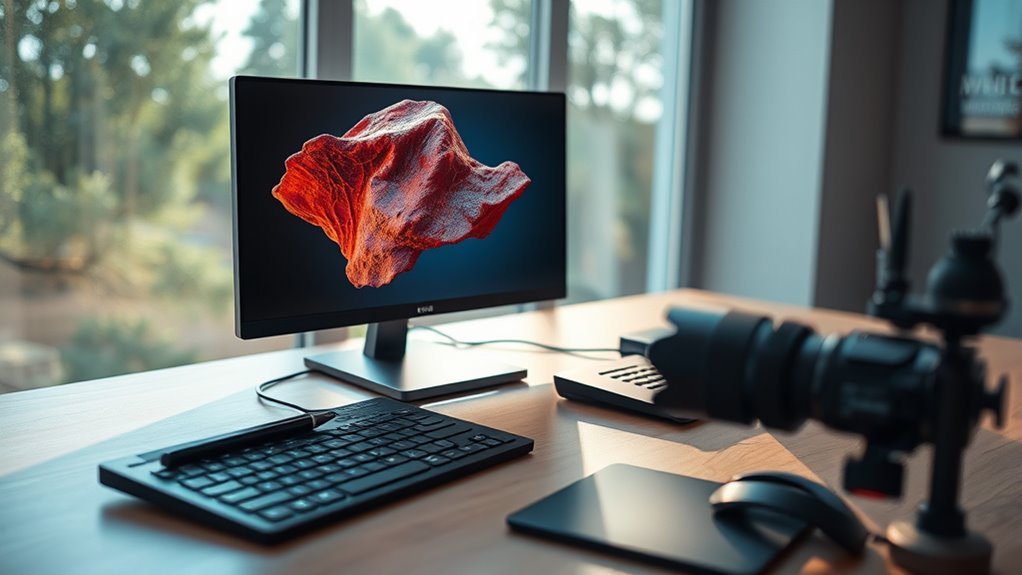
How do artists transform a simple sketch into a vibrant digital masterpiece? It’s all about digital rendering—a careful rendering process where you refine your base sketch by adding shading, highlights, and textures.
Digital rendering transforms simple sketches into vibrant masterpieces through shading, highlights, and detailed textures.
You’ll work with layers to separate different elements, making it easier to adjust lighting effects and colors. Understanding color theory helps you choose harmonious hues that bring your digital painting to life.
As you apply shading and highlights, you create depth, making your artwork feel three-dimensional and realistic. Using software tools like brushes and blending modes, you enhance textures and simulate how light interacts with surfaces.
Mastering these techniques lets you elevate your sketches into polished pieces full of detail and visual appeal. It’s pretty cool how these steps come together to change something simple into something amazing!
Step-by-Step Guide to Rendering Your Digital Artwork
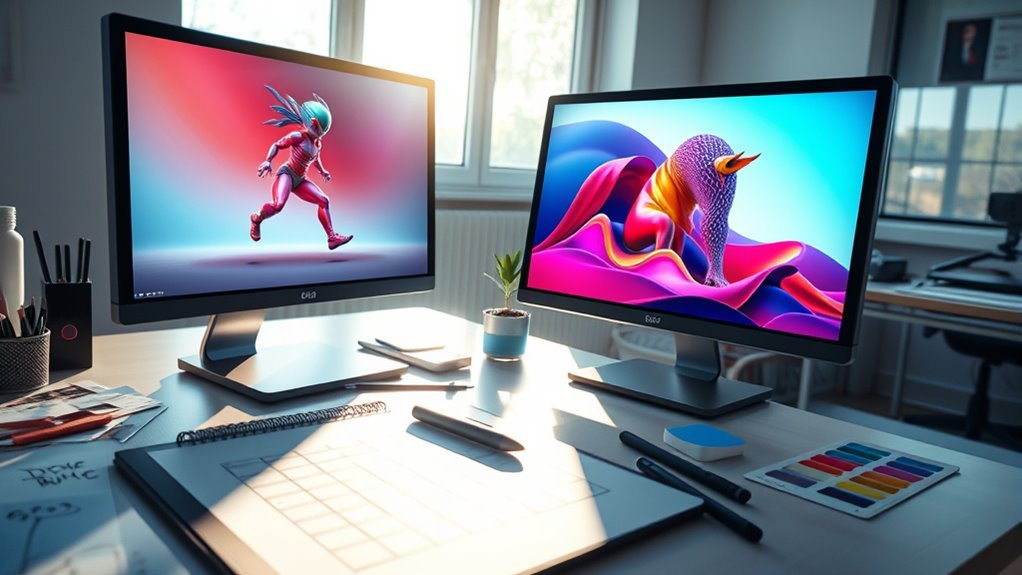
Once you’ve finalized your concept, start by creating a rough sketch to map out your composition and basic shapes. This initial step sets the foundation for your rendering in digital art.
Next, follow these steps to bring your artwork to life:
- Apply flat base colors on a separate layer to establish the overall color scheme without shading.
- Gradually build up shading with soft brushes, adding depth and dimension to your piece.
- Use textured brushes and adjust opacity to create realistic surfaces and smooth progression.
- Refine details, add effects like glows or reflections, and tweak color balance for a polished final look.
Frequently Asked Questions
Is Rendering Difficult to Learn?
Yes, rendering can be difficult to learn at first, but don’t get discouraged.
You’ll improve through practice, experimentation, and studying tutorials.
Keep at it, and soon rendering will feel more natural and less intimidating.
What Are the Five Rendering Techniques?
The five rendering techniques you use are flat coloring, shading, blending, highlighting, and texturing.
You’ll start with flat colors, add shadows, smooth progression, emphasize light, and finish by applying textures for realism.
It’s like building up layers—each one adds more depth and detail.
What Is Rendering in Art?
Think of rendering as breathing life into your sketch. It’s the process where you add shading, highlights, and details to turn your rough drawing into a polished, lifelike image.
It truly pops and feels three-dimensional. Rendering is what makes your art stand out and look more realistic.
How to Render Step by Step?
Start with a clear sketch, then block in flat base colors on a new layer. Gradually add shadows and highlights.
Blend smoothly, refine edges and textures. And finally, finish by sharpening details and adjusting overall contrast for polish.
Conclusion
Now that you understand rendering in digital art, you can bring your creations to life with depth and realism. Imagine a digital portrait where careful shading and lighting transform a flat sketch into a lifelike image. It’s like how artist Lisa used rendering to elevate her character designs, making them jump off the screen.
By practicing these techniques, you’ll see your artwork gain vibrancy and emotion. Rendering helps turn simple ideas into stunning visual stories that truly connect with viewers. Keep experimenting with shading, light, and texture to enhance your digital art skills.
Remember, mastering rendering in digital art takes time, but it’s worth the effort. The more you practice, the better your images will look, full of depth and personality. So keep creating, exploring, and watching your artwork evolve into something amazing!