How to Do Diamond Art in 7 Easy Steps
To do diamond art in seven easy steps, start by unpacking your kit and checking that you have all your tools ready. It’s important to get familiar with what’s included so you can work smoothly.
Next, take a good look at your canvas and pick a starting section, usually a corner, to make the process easier. Pour a small amount of gems into your tray and give it a gentle shake to lay them flat.
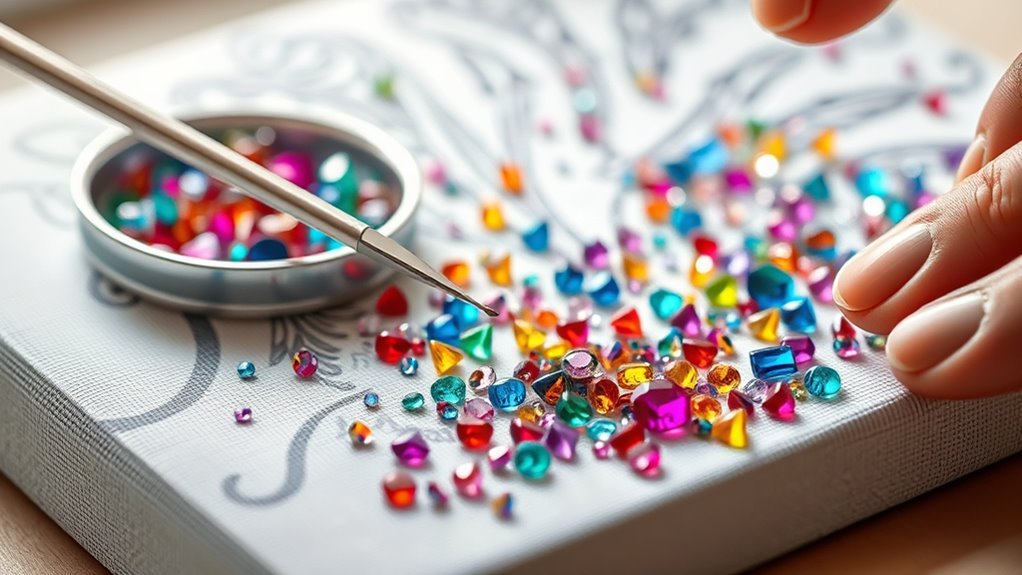
Dip your pen in the wax to help pick up diamonds easily—it makes placing each gem much simpler. Then, carefully place each gem on the matching symbol on your canvas. Remember, patience is key here!
When you’re done, store any leftover gems safely so they don’t get lost. Don’t forget to protect your finished piece to keep it sparkling. Keep following for more tips on making your diamond art shine perfectly!
Key Takeaways
- Unpack and organize all diamond art materials, including canvas, tools, and diamond packets, on a clean, flat surface.
- Match symbols on the canvas with the corresponding diamond colors using the provided legend or chart.
- Pour a small amount of diamonds into the tray and gently shake to align them faceted side up.
- Dip the pen tip lightly into wax to pick up diamonds easily without overloading the tool.
- Press each diamond firmly onto the adhesive canvas, working section by section for neatness and accuracy.
Gather Your Diamond Painting Kit Contents
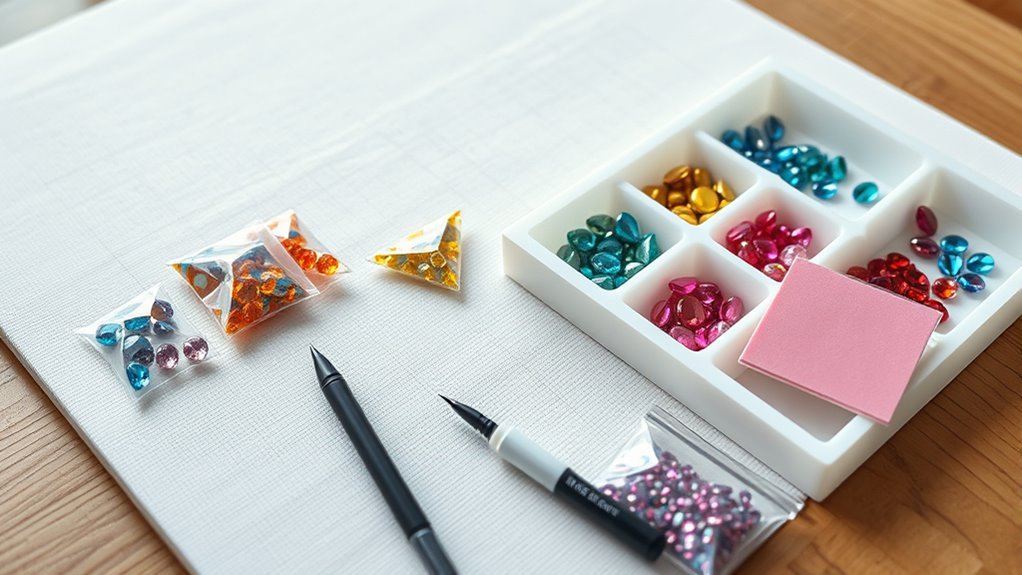
Before you begin your diamond painting project, have you checked that all the kit components are present and in good condition? Start by carefully unpacking your diamond painting kit, making sure you have the pre-printed canvas, diamond packets, tools, and instructions.
Identify the canvas and locate the labeled diamond packets, which are sorted by color and marked with corresponding symbols or DMC color codes for easy use. Verify that your tools—like the pen, tray, wax, cover minder, and scissors—are included and undamaged.
Organize everything neatly on a flat surface so you can easily access each item while working. Taking these steps ensures you’re fully prepared and your diamond painting experience will be smooth and enjoyable right from the start.
Examine the Diamond Painting Canvas
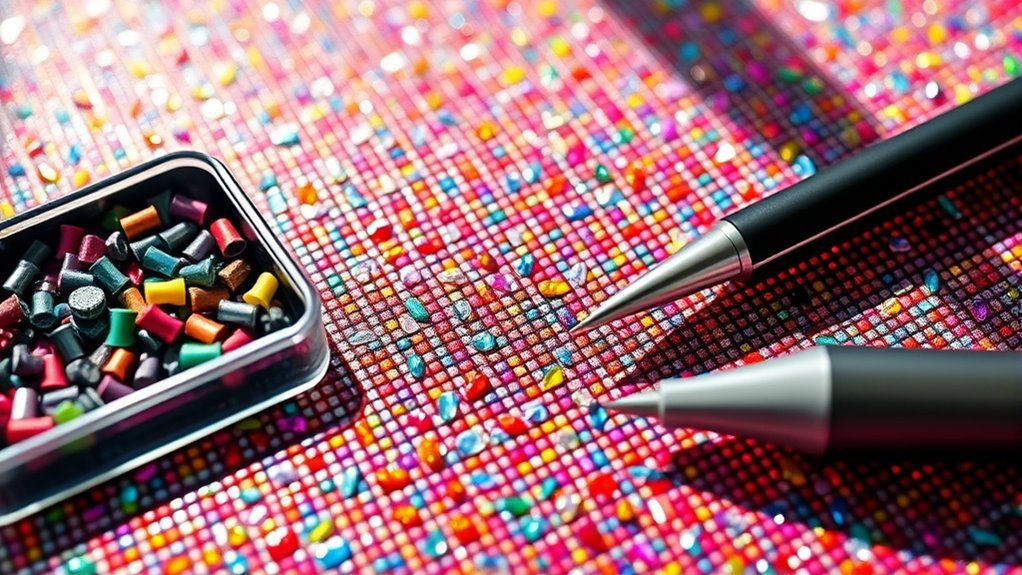
When you start your diamond painting, carefully examine the printed chart on the canvas to understand the symbols and their matching colors. Familiarize yourself with these symbols to guarantee you place the diamonds accurately.
Lay the canvas flat on a stable surface, smoothing out any wrinkles or folds that might interfere with your work. Next, peel back a small section of the protective film to expose the adhesive area where you’ll begin. Keep the rest of the film covered to protect the sticky surface.
Study the printed design closely and decide which section or symbol you’ll tackle first to maintain precision. Taking these steps will set a solid foundation for your diamond painting, making the process smoother and more enjoyable.
Choose the Starting Section on the Canvas
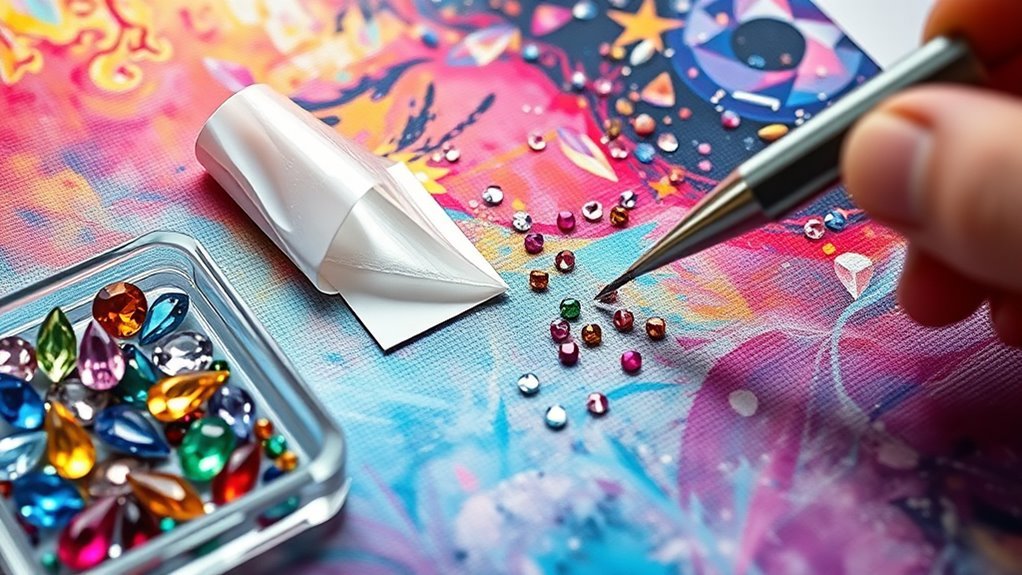
Start by identifying the symbols on your canvas and matching them to the correct diamond colors. Pick a section near the edge or bottom to keep your hand from smudging the adhesive.
Choose an area with clear symbols so you can place diamonds efficiently and stay organized. This way, you’ll have an easier time working without any mess.
Identifying Canvas Symbols
How do you guarantee you’re placing the right diamonds in the correct spots? Start by examining the symbols printed on your canvas. Each symbol corresponds to a specific color, which you can easily identify using the legend included in your diamond painting kits.
When you begin your first diamond painting, choose a section near the edge, peel back the protective film, and reveal the symbols and adhesive. Use your diamond painting pen to pick up the diamonds matching each symbol.
Since diamond art includes a wide variety of designs and symbols, make sure to carefully match each one with its designated Dotz® packet before placing diamonds. I’ll try to keep this process simple for you—using the word “symbols” correctly ensures you understand the different kinds, making your painting experience smooth and enjoyable.
Matching Colors Efficiently
After you’ve matched the symbols on your canvas with their corresponding colors, pick a starting section near the edge. This helps protect the adhesive surface from smudging. Plus, it keeps your work neat and manageable.
To match colors efficiently, follow these steps:
- Identify the symbols on your canvas and find their color codes in the legend.
- Open the Dotz® packets for the selected color, pour a small amount into your tray, and gently shake to align the gems.
- Use the symbol chart to locate the first area you’ll work on, making sure you have the correct Dotz® ready.
- Focus on one color at a time, finishing its section before moving on to the next. This way, your workflow stays smooth and easy.
Selecting Accessible Areas
When you choose where to begin your diamond art, pick a spot near the bottom or corner of the canvas. This helps keep your work steady and avoids smudging the adhesive.
Look for a clear, symbol-rich area that matches your chosen color. This way, you can place diamonds more efficiently without any hassle.
Peel back only a small portion of the protective film at a time. Keeping the rest covered helps keep the adhesive clean.
Try not to start in the middle to reduce the risk of damage. Also, make sure your chosen area has good lighting so you can see the symbols clearly and place diamonds accurately.
| Tip | Reason | Action |
|---|---|---|
| Start at bottom/corner | Avoids smudging | Choose canvas edge |
| Clear, symbol-rich area | Easier diamond placement | Locate matching symbols |
| Small film peel | Keeps adhesive clean | Peel only section you work on |
| Good lighting | Improves accuracy | Work near light source |
Prepare Your Diamond Tray With Gems
Before you start placing gems on your canvas, pour about one-third of your chosen Dotz® color into the grooved tray to avoid spills. This amount helps you manage the gems without overwhelming the tray.
Next, gently shake the tray so the gems settle flat side down, with their shiny facets facing up for easy picking. Tap the tray lightly to line up the gems neatly in the grooves.
Keep the rest of the gems sealed and separate to prevent color mixing. Remember to check your tray regularly and refill it with the same color to keep your workflow smooth.
- Pour about one-third of the Dotz® color into the tray.
- Shake gently to settle gems flat side down.
- Tap lightly to align diamonds in grooves.
- Store extras sealed and refill as needed.
Load the Pen With Wax for Picking Gems
Although loading the pen with wax might seem simple, doing it correctly is key to picking up gems smoothly. Start by twisting open the wax pot and peeling off the protective film to access the wax inside.
Dip the tip of your pen gently into the wax, pressing down just enough to pick up a small amount. Then, twist or press the pen to spread the wax evenly across the tip.
Be careful not to overload it—too much wax can make placing gems tricky. Keep your pen’s tip coated by re-dipping into the wax as needed throughout your project.
This ensures your pen maintains a good grip, making gem pickup quick and easy every time.
Place Gems Carefully on the Canvas
Once your pen tip holds just the right amount of wax, you’re ready to pick up each gem with the faceted side facing up to catch the light.
To place gems carefully on the canvas, follow these steps:
1. Align the gem’s flat side with the matching symbol on the adhesive canvas for precise placement.
2. Gently press the gem onto the canvas, ensuring it sits flat and securely.
It’s best to work systematically by completing one section or color at a time. This way, you stay organized and accurate.
3. Keep the protective film over the canvas when you pause. It helps prevent dust and debris from sticking.
Store Leftover Diamonds and Care for Finished Art
To keep your leftover diamonds organized for future projects, store them in labeled ziplock bags marked with their DMC color codes. This way, you’ll easily find the colors you need next time.
Once your diamond art is finished, place it in a clean, dry spot like a portfolio or storage box to protect it from dust and damage. Gently wipe the surface with a soft, damp cloth to remove dust or fingerprints—avoid scrubbing to keep the adhesive intact.
Also, don’t expose your artwork to direct sunlight for long periods, as this can cause fading. When you’re not displaying your piece, handle it carefully to prevent diamonds from loosening or the adhesive from weakening.
Taking these steps will keep your diamond art vibrant and safe for years. It’s pretty simple, but it really makes a difference!
Frequently Asked Questions
What Is the Trick to Diamond Art?
The trick is to work systematically, starting one section at a time. Load your pen with wax properly, use a multi-placer tool for speed, and keep your canvas covered when not working to avoid dust and mistakes.
It’s all about staying organized and being patient. This way, you’ll make fewer errors and enjoy the process more. Plus, your diamond art will look amazing when it’s done!
What Are 7 Things I Wish I Knew Before Starting Diamond Painting?
Imagine planting a garden: you’d sort seeds, work in small patches, be patient, avoid disturbing roots, use the right tools, keep light handy, and treasure each bloom.
Knowing these seven helps your diamond art flourish smoothly.
Do You Start Diamond Painting From Top or Bottom?
You should start diamond painting from the bottom. It helps you avoid knocking off placed diamonds and keeps your work neat.
Peel back the protective film section by section, working upward for better control and organization. This way, your diamonds stay secure and your painting looks great!
What Are Some Good Diamond Art Patterns for Beginners?
You’ll want simple floral designs, geometric patterns, or bold, high-contrast motifs like hearts or stars.
Choose kits with large sections, fewer color changes, and clear instructions to make your diamond art experience smooth and enjoyable.
These kinds of patterns are perfect for beginners because they keep things fun without being overwhelming.
Plus, finishing a piece quickly helps keep your motivation up!
Conclusion
Now that you’ve gathered your kit, examined your canvas, and chosen your starting spot, you’re ready to prepare your tray, load your pen, and place each gem with care. You’ll see your masterpiece come alive, one dazzling diamond at a time.
Remember to store your leftovers wisely and care for your finished art lovingly. With patience, focus, and creativity, you’ll turn tiny gems into a sparkling work of art you’ll be proud to display.
Diamond art is all about enjoying the process as much as the result. So take your time, have fun with each step, and watch your design shine brighter with every gem you place. This craft is a wonderful way to express yourself and create something truly unique. Keep your diamond art kit handy, and you’ll always have a relaxing, rewarding project to dive into whenever inspiration strikes!