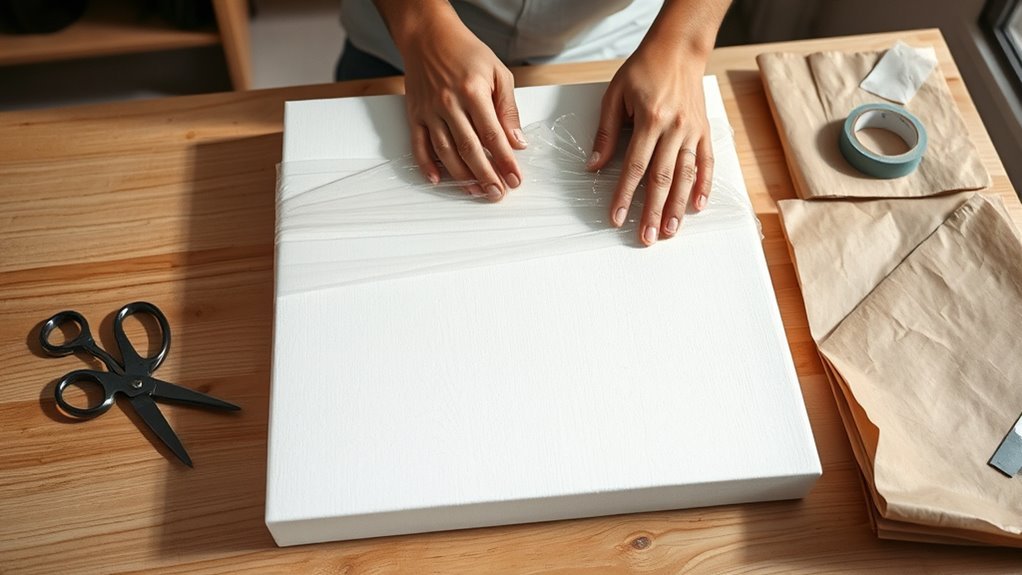
How to Wrap Canvas Art in 7 Easy Steps
To wrap canvas art in 7 easy steps, start by gathering quality canvas, stretcher bars, and stapling tools. These are the basics you’ll need for a professional-looking finish.
Next, measure your canvas and add about 2 inches for wrapping.
Then, center it on a backing board. Staple the canvas on opposite sides, pulling it tight to keep things smooth and even.
Secure the remaining sides while maintaining consistent tension.
When you get to the corners, fold them neatly at a 45-degree angle and staple them down for a clean, polished look.
Finally, trim any excess fabric, leaving a crisp edge.
Stick with these simple steps, and you’ll master the art of professional canvas wrapping in no time!
Key Takeaways
- Measure canvas size, adding 2 inches on each side for wrapping and securing to the frame.
- Center the canvas face up and align with the stretcher bars or backing board edges.
- Staple the canvas starting at the center of one side, then pull tight and staple the opposite side.
- Continue stapling evenly outward from center to corners, maintaining smooth, wrinkle-free tension.
- Fold corners neatly at 45 degrees, staple securely, trim excess fabric, and finish edges for a clean look.
Gather Your Materials and Tools
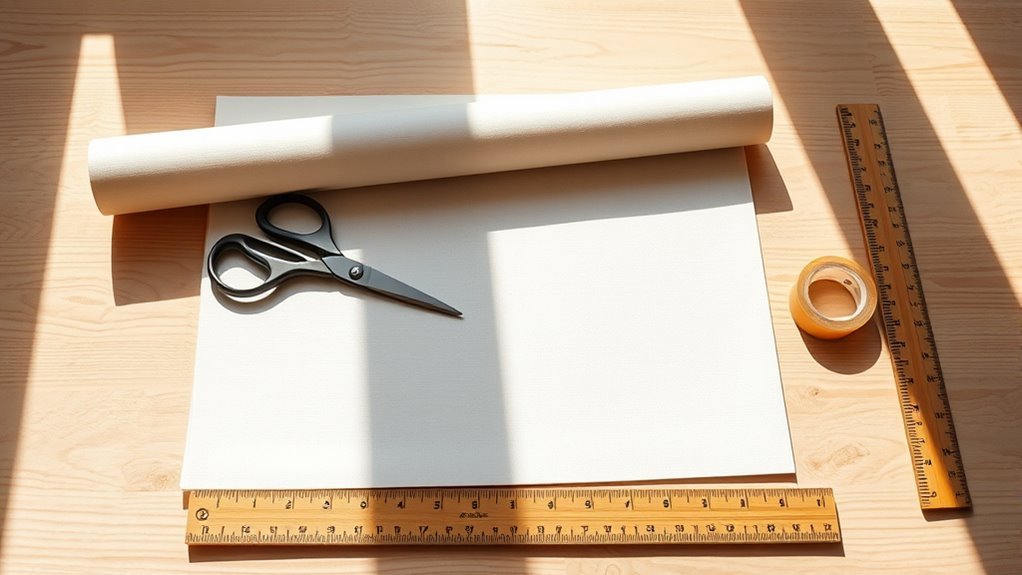
Before you begin wrapping your canvas art, make sure you gather all the necessary materials and tools. You’ll need stretcher bars, scissors, a staple gun, and a measuring tape to get started.
It’s important to measure your canvas carefully to guarantee it fits your frame, leaving extra fabric for wrapping the edges. Choose a high-quality canvas, like linen or cotton, with the right weight to suit your artwork.
Have picture hanging hardware, such as eye hooks and wire, ready for later assembly. Additionally, keep a staple lifter and pliers nearby to help tighten and adjust the canvas as you work.
Prepare Your Canvas and Backing Board
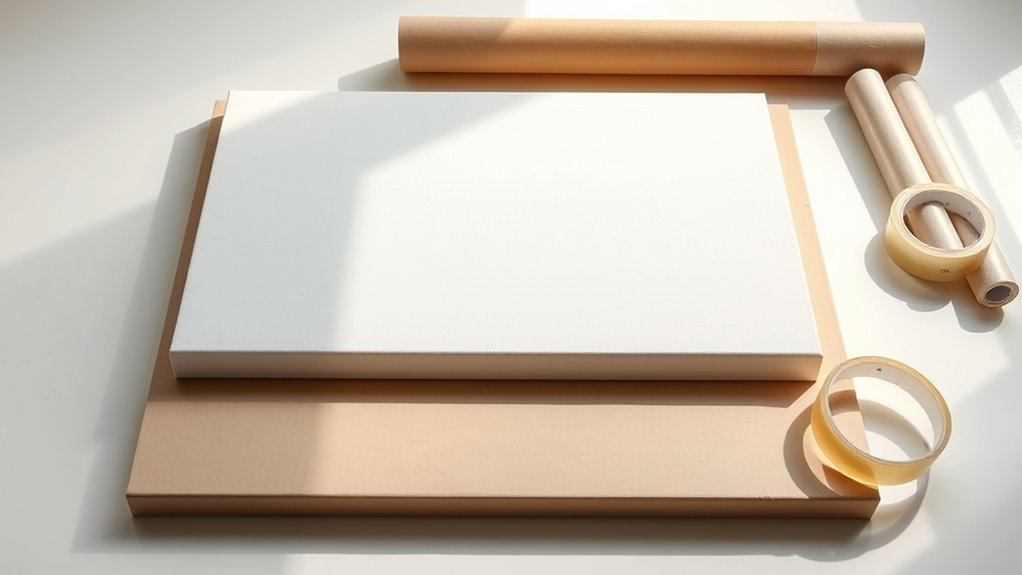
When you prepare your canvas and backing board, start by measuring your printed canvas and adding at least 2 inches on each side. This guarantees you have enough fabric to wrap around the board.
Lay your printed canvas face up on a flat surface, making sure the image is centered and aligned properly. Then, place the stretcher or backing board behind the canvas, matching the edges carefully to the print’s center points.
Place your canvas face up, center the image, then align the backing board carefully behind it.
Mark the corners of the backing board on the canvas’s backside with a pencil for precise placement. This step really helps with accurate stretching later on.
Finally, flip the canvas and backing together to double-check alignment before you start to stretch and secure the fabric. Proper preparation ensures a clean, taut wrap and a professional-looking stretched canvas.
Position the Canvas and Backing Board Correctly
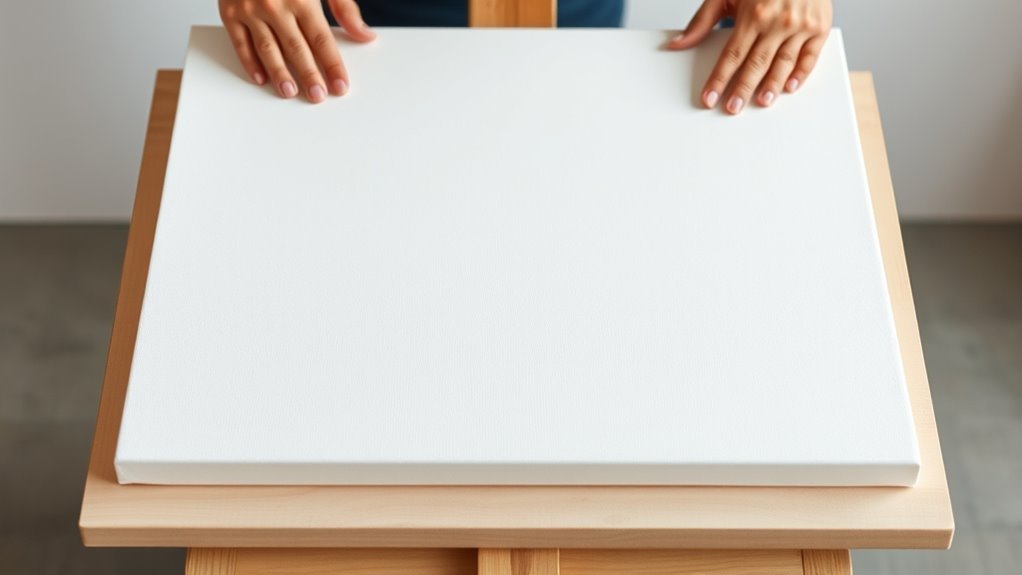
Place your canvas face up and align the stretcher bars carefully with the edges of your artwork. Mark the corners lightly to make sure you position everything precisely when you flip it over.
Make sure the canvas is taut and the backing is secure before you start stapling. This way, everything stays nice and tight. It’ll make your final piece look much better!
Align Canvas Precisely
How do you guarantee your canvas art sits perfectly on its frame? Start by laying the canvas face up on a flat surface. Position the stretcher bars or backing board over it, making sure the image is centered and aligned with the edges.
Use a pencil to lightly mark the corners on the backside of the canvas. This helps you measure and align the canvas accurately before flipping it. After marking, carefully flip the canvas, keeping the image’s orientation correct.
Align the stretcher bars with the marked corners. Double-check that the image is level and centered on the frame. If necessary, gently adjust the canvas to ensure it’s straight and evenly distributed.
This precise alignment sets the stage for a flawless wrap.
Secure Backing Firmly
With your canvas perfectly aligned on the frame, the next step is to secure the backing firmly. Position the canvas centered on the backing board, ensuring even margins around the stretcher bars.
Use painter’s tape or light clamps to hold it steady while you double-check the placement. Fold the canvas edges neatly over the back of the board, keeping the fabric taut but not overstretched.
Begin by stapling the opposite sides—start in the center of one side, then staple the opposite side’s center to balance tension. Continue stapling outward toward the corners, adjusting the canvas to keep it smooth and tight across the backing.
Taking these steps will help you secure backing firmly, protecting your artwork and maintaining a professional finish.
Staple the Canvas on the First Two Opposite Sides
Start by folding the canvas edges over the frame and stapling the center of one side to secure it firmly. Then, pull the canvas taut on the opposite side and staple the center there, making sure both sides are aligned evenly.
Keep the tension consistent as you work to prevent wrinkles and guarantee a smooth surface. It really helps to take your time here, so the canvas lays nice and flat.
Align and Staple Evenly
Once you’ve positioned the canvas over the frame, begin stapling at the center of one side to maintain even tension. Stretch the canvas gently as you staple, ensuring it lies flat and smooth.
Next, move to the opposite side and align the canvas carefully, matching the tension from the first side. This keeps the canvas evenly stretched and prevents any puckering.
Use your staple gun to staple every 5-10 centimeters along these two sides, checking frequently that the canvas stays centered on the frame. Make sure the staples sit flush with the wood to avoid bumps or wrinkles.
Maintain Canvas Tension
Although it might seem straightforward, stapling the canvas on the first two opposite sides requires careful attention to maintain even tension.
To stretch the canvas properly and avoid slack, follow these steps:
- Use a staple gun to place a staple in the center of one side. Then, pull the canvas taut before stapling the opposite side’s center.
- Continue stapling outward from the center, spacing staples about 5-10 cm apart while keeping the canvas tight.
- Gently press on the canvas between staples to ensure consistent tension. Adjust if you notice any wrinkles or sagging.
Secure the Remaining Two Sides With Proper Tension
When you pull the canvas taut across the frame, make sure to apply even tension before stapling the remaining two sides. Start by stapling the canvas at the center of each side, then work your way outward toward the corners of the stretcher. This method guarantees uniform tension and prevents wrinkles.
Use a tensioning tool like Pit Bull Grippers or gallery pliers to assist with stretching the canvas gently as you go. After each staple, check that the canvas remains smooth and tight; adjust by hand or with pliers if necessary.
Be careful not to overstretch the canvas, as this can warp the frame or damage the material. Securing these two sides properly sets the foundation for neat, professional wrapping.
Fold and Staple the Corners Neatly
Start by folding each corner of the canvas at a 45-degree angle inward, creating a sharp, clean edge. This step guarantees your corners look professional and tight.
Next, follow these tips to fold and staple the corners neatly:
- Pull the opposite side taut before you fold corners to avoid wrinkles and achieve a smooth finish.
- Staple the folded edge flat against the back of the frame, securing the canvas firmly.
- Repeat this process for all four corners, checking each for crispness and evenness.
Trim Excess Material and Finalize the Wrap
After folding and stapling the corners neatly, you’ll want to trim the excess canvas from the back of the frame. Use sharp scissors or a utility knife to trim excess canvas, leaving about 1-2 inches for a clean finish.
Next, fold the remaining canvas tightly around the edges and secure it with staples to prevent fraying or loosening. Make sure all staples lie flush with the frame and that the corners are folded smoothly without puckering or gaps.
Trim any loose or uneven edges at the back to maintain a tidy, professional look and avoid bulkiness. Finally, inspect your wrap carefully for loose staples or folds, making adjustments as needed before hanging your beautifully wrapped canvas art.
Frequently Asked Questions
How to Wrap a Canvas Painting?
You lay the canvas face up and center it on the stretcher bars. Then, you fold and staple the edges tightly, starting from the center and working outward.
Make sure to pull the fabric taut as you go. Secure the corners neatly and trim any excess fabric.
Finally, attach the hanging hardware so your painting is ready to display. It’s easier than it sounds once you get the hang of it!
How to Package a Canvas Painting?
Think of your canvas as a precious gem—wrap it snugly in bubble wrap. Then pack it in a sturdy box with cushioning.
Seal it tightly and label it fragile. That way, you guarantee it’s secure for a safe journey.
How to Paint on a Canvas for Beginners Step by Step?
You start by choosing a primed canvas, sketch your design lightly, then apply thin paint layers, letting each dry before adding details.
Use appropriate brushes, build colors gradually, and finish with varnish to protect and enhance your painting.
How to Hang Canvas Wrapped Art?
Think of hanging your canvas as framing a story—attach eye hooks one-third down. Then, string wire securely between them.
Next, hang it on wall hooks. Adjust until your artwork tells its tale perfectly straight and true.
Conclusion
Now that you’ve wrapped your canvas like a gift from the heart, your art isn’t just protected—it’s ready to tell its story boldly. Think of this wrap as a sturdy frame around your creative soul, holding every brushstroke tight like a hug.
With these steps, you’ve not only preserved your masterpiece but also wrapped it in confidence. Your canvas art is now ready to shine on any wall and inspire every eye that meets it.
Wrapping canvas art is more than just protection; it’s about enhancing and preserving your creativity. By following these simple steps, you ensure your artwork stays vibrant and secure. So go ahead, showcase your wrapped canvas art proudly, knowing it’s both safe and stunning.